Taranis LUA Script : Tune PIDs from your Taranis
The Taranis lua scrip is a super cool feature you can run on your Taranis. It lets you tune PIDs and change vtx settings right from your Taranis. If you are using a TBS Unify Pro or ImmersionRC Tramp VTX you can change your band, channel and even power output.
Learn how to tune your PIDs in this post.
Requirements for the Taranis LUA script
- Taranis must be running at least firmware 2.2.0
- A spare UART port on your flight controller that’s is at least F3. Two spare ports if you are setting up the VTX controls.
- RX that has a SmartPort wire like the XSR or X4R-SB
- If setting up VTX, TBS Unify Pro or ImmersionRC Tramp
Parts Used in this Post
- Tokio X
- Taranis X9D+
- TBS Unify Pro RACE
- FlightClub 4s 1800mAh Graphene Punch Pack
See how to build a Tokio X
Download and Prepare
First step is flash your Taranis to a compatible firmware. You’ll need OpenTX Companion 2.2.0. This is the program needed to connect your Taranis to the computer and flash the firmware.
Go to OpenTX and click OpenTX 2.2.0. Scroll down to the bottom and download the OpenTX Companion 2.2.0 for your system. I’m using Mac so I download the Mac version.
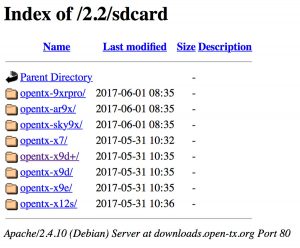 Click the “SDCard content for 2.2.0″. Make sure you download the correct file for your radio.
Download the lua scrips for the Taranis. Get the downloads HERE. Make sure you download the correct file for your radio. I’m using the Taranis X9D+, BFSetup-X9-v0.3-0-g4cd7539.zip.
In the zip file there are two folders BF and TELEMETRY. Go into the new SD card folder for the Taranis card. Drag the BF folder into the SCRIPTS folder. In the TELEMETRY folder there is a file BF.lua, drag that into the SCRIPTS/TELEMETRY folder inside the sd card.
Flash the Taranis
Put your Taranis into boot loader mode by pressing both the left and right horizontal trims towards the center and powering on. It’s the same for the QX7. Now plug your USB into your Taranis and computer.
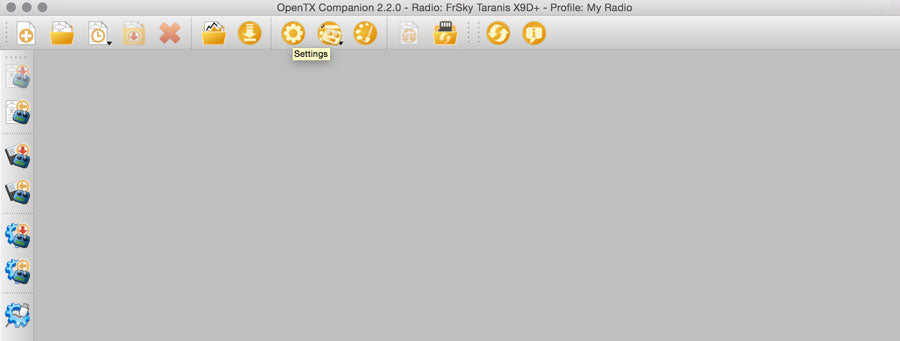
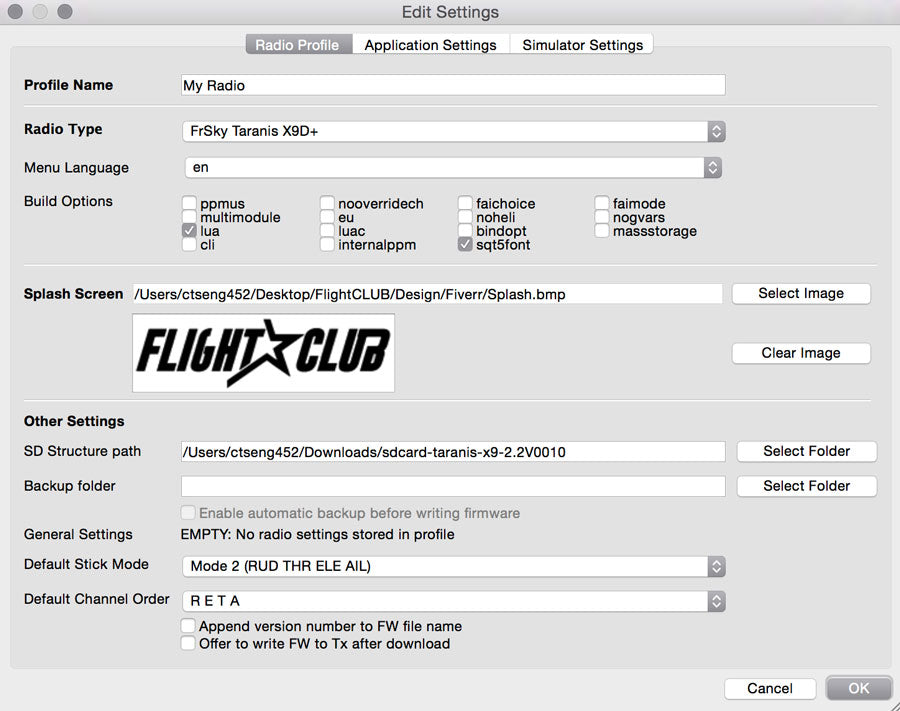
Click the Settings Icon. In the settings windows make sure you have the correct Radio Type set and the Build Options set. Select the location where you downloaded the new SD card structure you downloaded earlier.
Extras
Spash Screen: If you want a different splash screen (the image that shows up when you first turn on your radio) this is where you add it. Choose the location of the file on your computer. The splash screen must be a .bmp file format and 212×64 pixels. You can download the FlightClub splash image if you want :p
Welcome Audio: To change the default audio sound when you first turn on your radio. In the Sounds folder sdcard-taranis-x9-2.2V0010/SOUNDS/en/SYSTEM, change the hello.wav file to the sound file you want. The audio file must be a .wav file. You can use a free program like Audacity to convert .mp3 to .wav. Export the wav file 32khz, 16bit, mono and uncompressed. Save as hello.wav and replace your new file to the existing file in the SYSTEM folder. The Taranis will play whatever file you named hello.wav
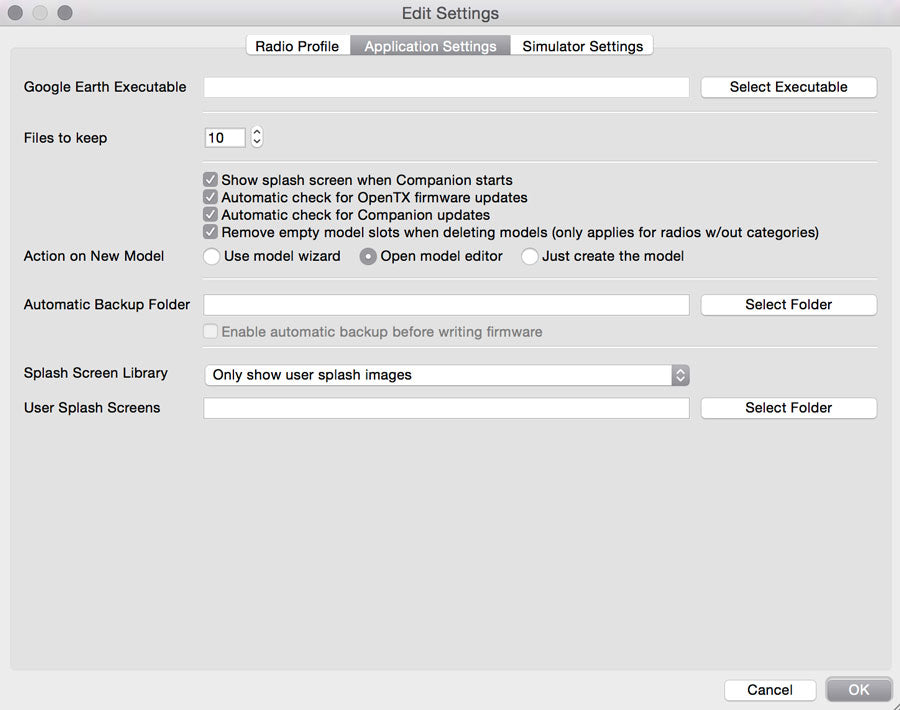
Next go to Application Settings and select the options you want. Click OK.
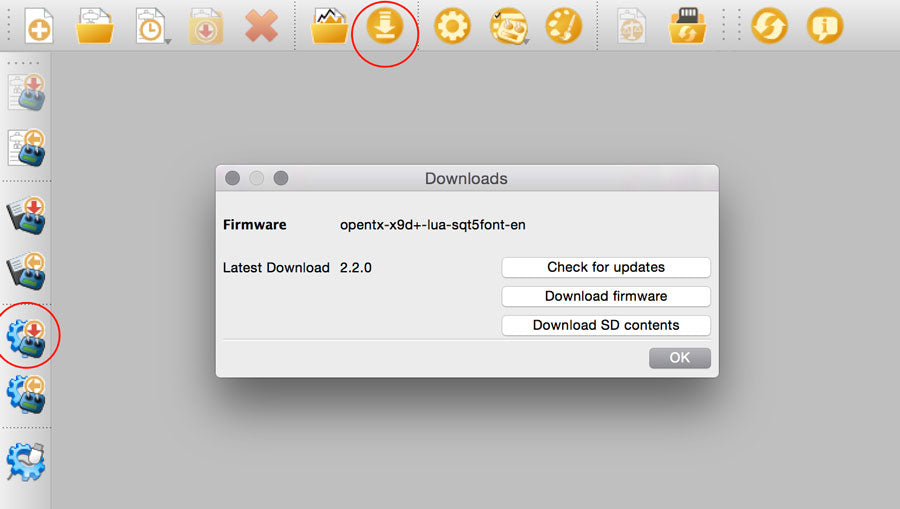
Next download the new firmware for the Taranis. Click the Download Icon. In the popup click “Check for updates” then “Download FW”. Click OK. Then click the Write Firmware to Radio icon.
Flight Controller and RX Setup for Taranis LUA
All you have to do is connect the yellow SmartPort wire from the RX to any free UART port on your flight controller. If you followed the Tokio X build, there’s nothing you need to do. The Smartport wire is connected to UART 5 on the LUX v2. It’s already set up.
For VTX channel/band/power control. On the TBS Unify Pro, connect the SmartAudio wire from the VTX at any spare UART on the FC.
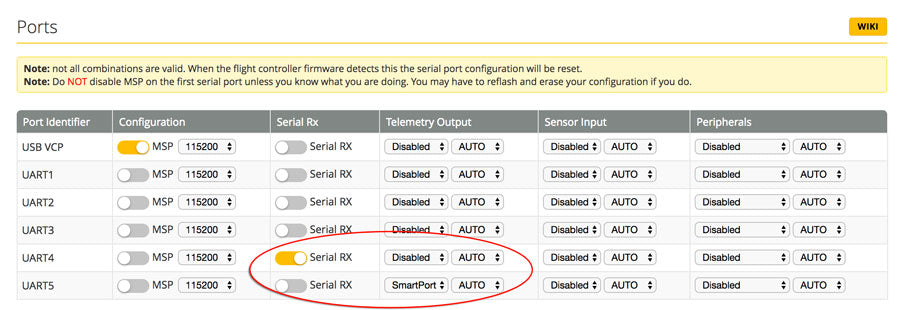
In Betaflight on the Ports tab, enable SmartPort for the UART you connected the yellow Smartport wire on your flight controller.
For the SmartAudio wire, for the UART you connected, under Peripherals enable “TBS SmartAudio”.
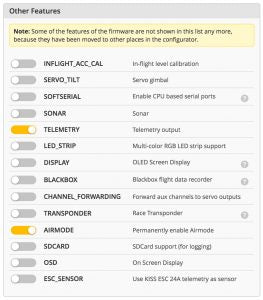
In the configurations tab, make sure Telemetry is enabled.
Taranis LUA Setup
Go to DISPLAY 14/14 screen in the Taranis and setup a screen for the scrips. Select Scripts / BF. Done!
To get to the PID tuning screen, press and hold the PAGE button on the Taranis. The first page is the PIDS, 2nd is Rates and third is the VTX channel and power if you are using the TBS Unify Pro or ImmersionRC Tramp. Press menu to scroll through the pages. Press and hold MENU to save your new PIDS. Done. Go rip!
If you found this post helpful, it would be super cool if you purchased the components from my store or purchase items from my Amazon links. These posts are expensive and take a loooong time to make so the purchases make it possible for me to keep making them. Thanks in advance, I greatly appreciate it 🙂


