How to setup a QAV250
In part 1 of this three part post I talked about how important it is to carefully choose your components when building a QAV250. In part 2 we installed the ESCs, OSDoge and motors. Part 3 will be installing the FPV camera, video transmitter, set up the Taranis and set up the Naze32 in Cleanflight. Then some flight footage.
We’ll cover the OSDoge a little but head over to the dedicated post for OSDoge for setting up the Taranis, Cleanflight and MWOSD.
Parts used in this build in addition to part 2:
Protection!
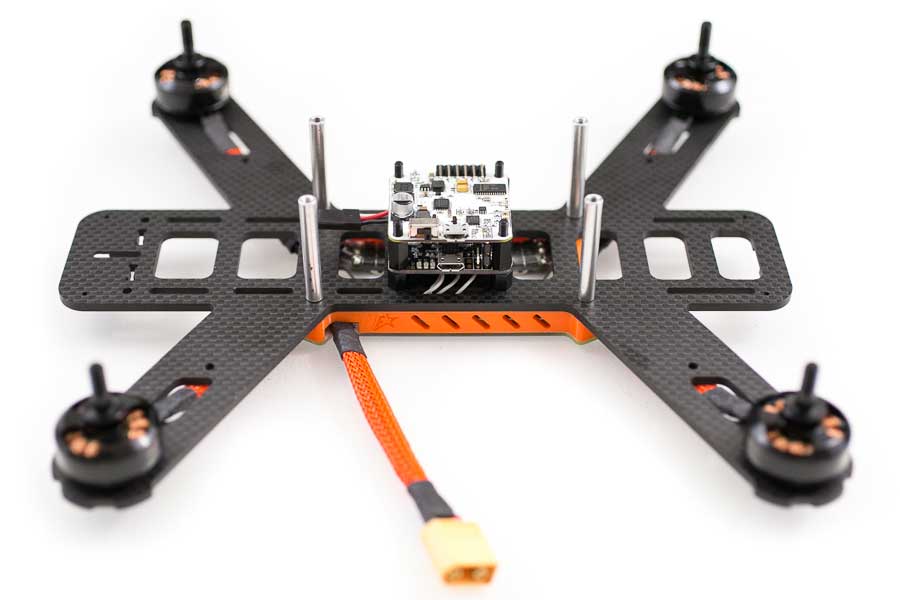
The worst thing to happen to an FPV addict like me is to crash, break something and need to bench your quad until you can get replacements. This happened to me a lot with my first QAV250 so for my second one I made a lot of protection parts.
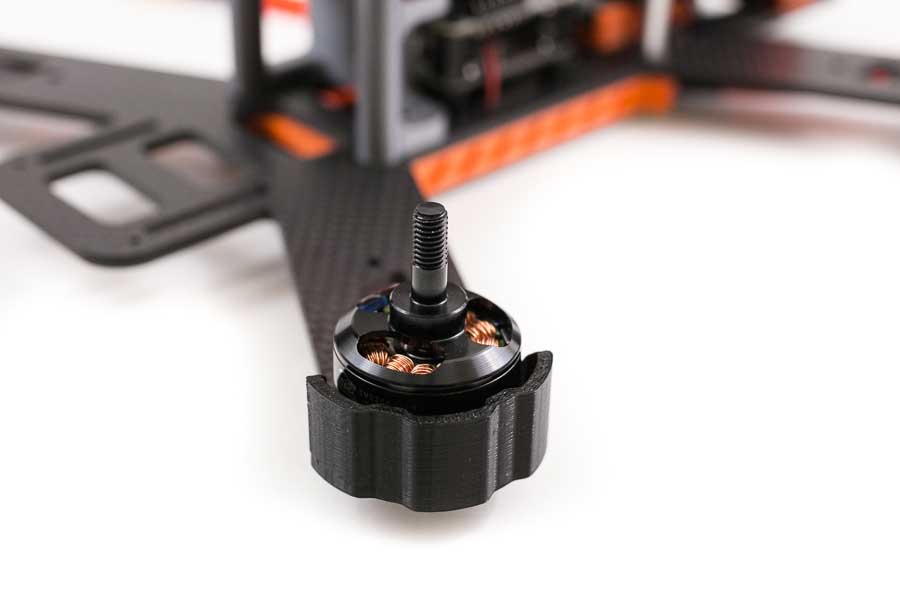
- Motor Gaurds
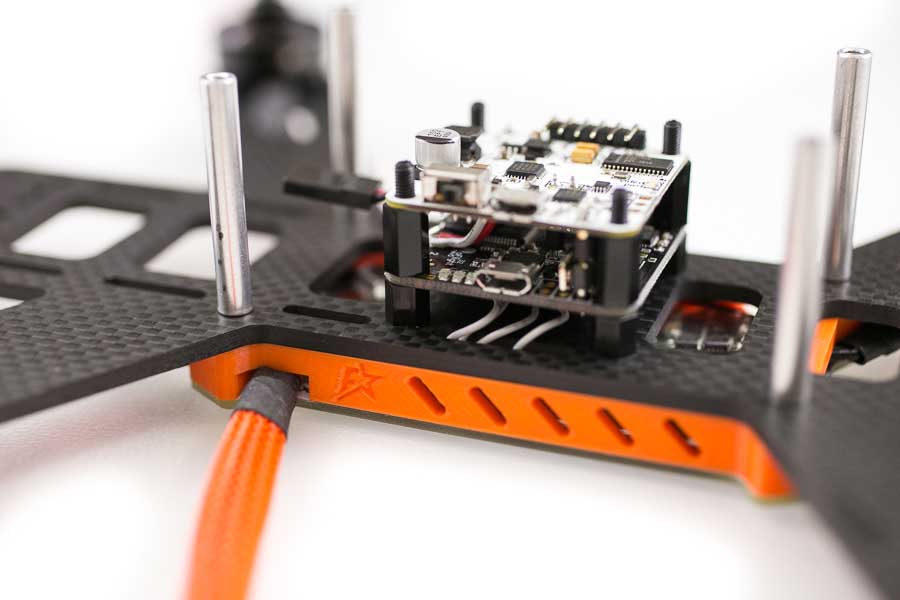
- Flight Controller firewall
- D4R-ii mount
- Video transmitter case
- Adjustable angle FPV camera mount (coming soon)
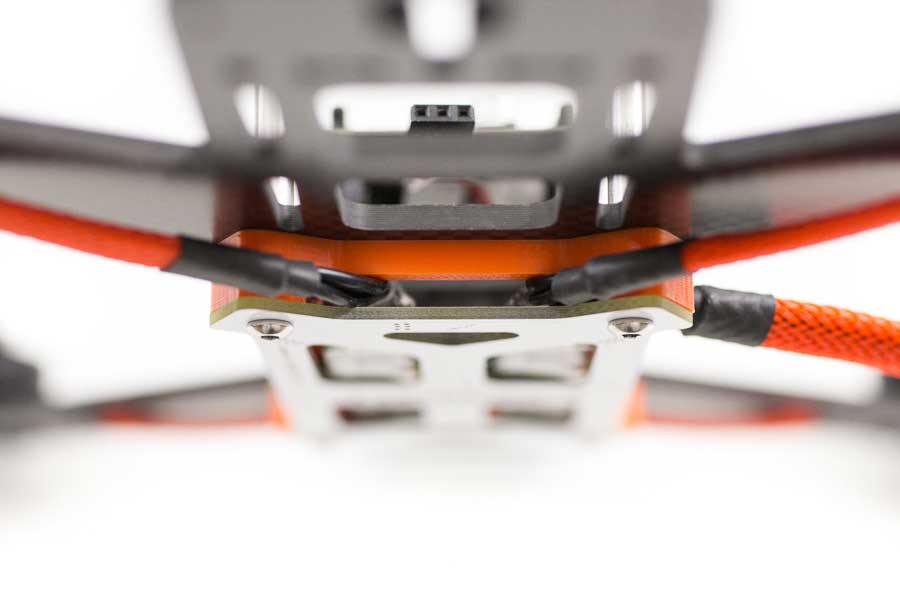
- PDB spacer
Let’s get started!
First thing we’ll do is set up a new model on the Taranis X9D. See video above on how to do that.
CleanFlight and the Naze32
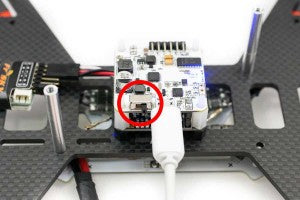 Before you connect the USB on the Naze32 to your computer, make sure you move the toggle switch on the OSDoge towards the USB. This toggle switch connects/disconnects the TX/RX to the Naze32. If you don’t do this you’ll have problems connecting.
- Download and install Google Chrome
- Install/Add Cleanflight
- Download and install the CP210X USB to UART Bridge VCP driver for your computer system.
- Connect the flight controller via micro USB to the computer.
- In Cleanflight in the “Firmware Flasher” tab, select the most current stable firmware for your flight controller in the drop down menu.
- Select “Load Firmware Online” and hit “Flash Firmware”
- If the firmware fails to load online you can download the firmware here. Then select “Load Firmware Local”
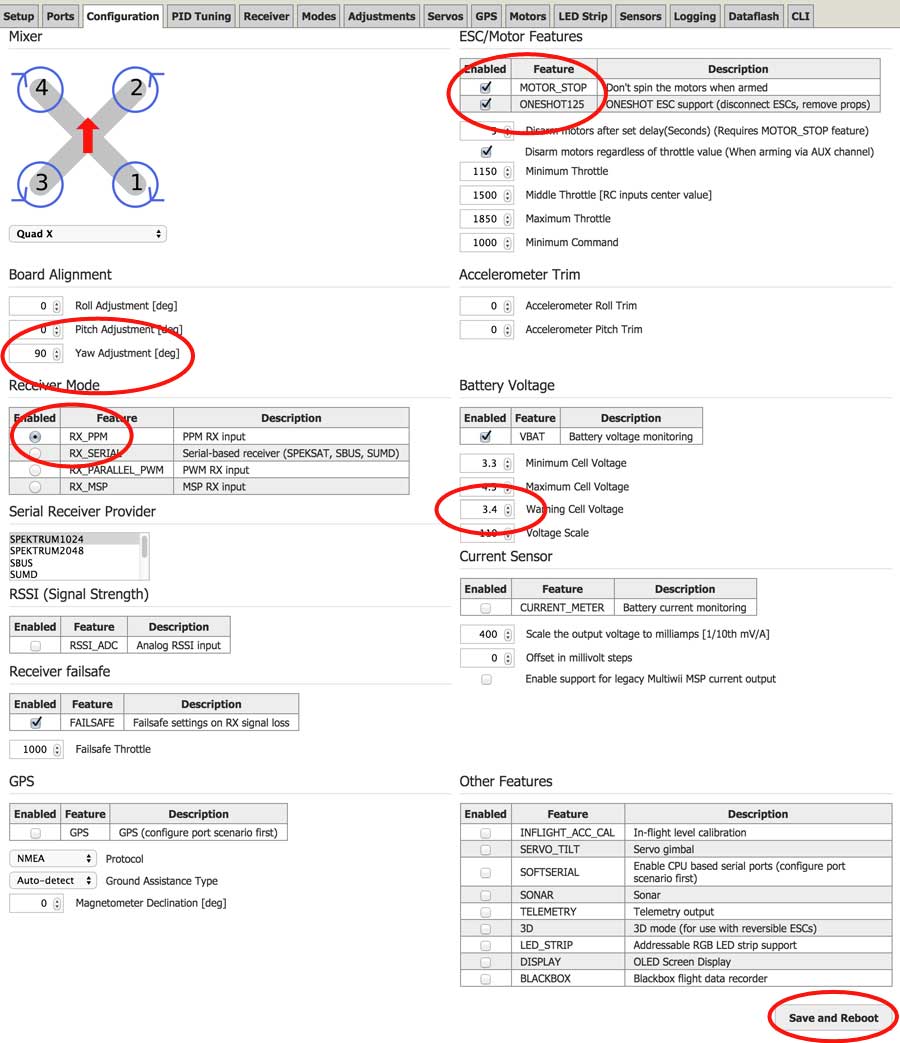
I’ll just show you the settings here. The items circled in red are the changes we need to make. Watch the video to see what each of these settings mean. Anytime you make an adjustment in CleanFlight, make sure you hit “Save and Reboot” on the bottom before you move to another tab. If you don’t you’ll loose your changes.
If you mount your Naze32 any other way than the arrow pointing forward, make sure you make the correct Yaw adjustment in CleanFlight. The correct setting for this build is 90.
Bind the FrSky D4R-ii to the Taranis
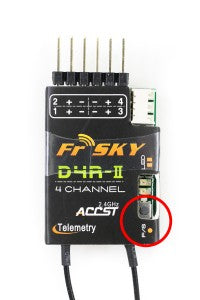 How to bind the D4R-ii RX to the Taranis X9D.
- On page 2/13 in the Taranis, scroll down to “Mode” and change it from D-16 to D-8.
- Select “Bind” on the Taranis and it will start beeping.
- On the RX, hold the F/S button while powering up the RX.
- Release the button and disconnect power. When you power back up the LED on the RX will be green and you’re done.
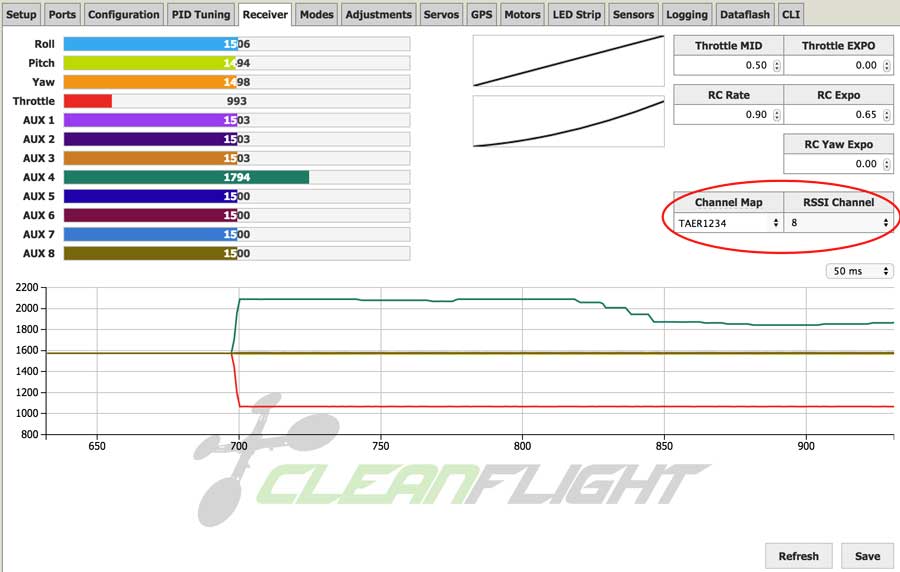
For the receiver tab to work you need to have your QAV250 plugged in the battery. When you first connect your RX to your Naze32 you’ll notice the controls aren’t functioning like it shows in CleanFlight. Change your Channel Map to TAER1234 and everything should function as normal. Change RSSI Channel to whatever channel you set your Taranis to output RSSI. In my case I used CH8.
Modes
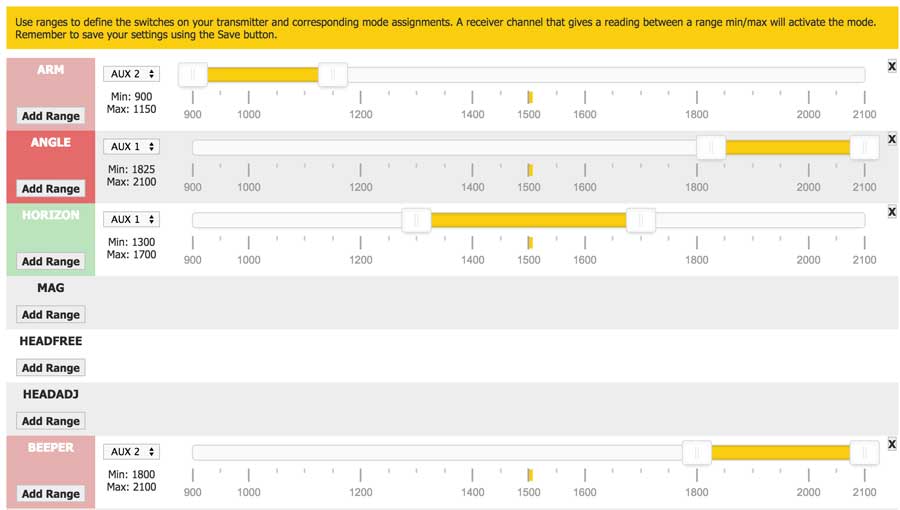
To set up the Modes tab you QAV250 needs to be plugged into the battery. Here are the settings I like to use. You can use any switch you want. First you need to assign switches in the Taranis for the AUX channels (see video). On the Taranis the first 4 channels are reserved for flying the quad, throttle, yaw, pitch and roll. AUX1 will be channel 5, AUX2 is channel 6, AUX3 is channel 7 and AUX4 is channel 8.
To set the mode:
- Hit “Add Range” for the function you want
- Select the correct AUX channel for the switch
- On the Taranis, move that switch in the position you want
- In CleanFlight, move the sliders to the position
UPDATE
I’ve been getting a lot of messages from people saying they don’t have the track “engon” track in their Taranis X9D+. You can download the track from this link. Once you download the track you want, drag that file into the SOUNDS folder in the microSD card in the Taranis. The sound file will show up in the list on your Taranis.
Flight Modes
- ANGLE: This is a self leveling mode with limits on flight angle. If you let go of your sticks the quad will level out and you CAN’T do flips or rolls in this mode.
- HORIZON: Self leveling but without limits on flight angle. If you let go of your sticks the quad will self level and you CAN do flips and rolls.
- RATE/ACRO: This is a full manual flight mode. Non-self leveling and your quad will stay in whatever angle you leave it.
When you are done, hit save and reboot.
Calibrate the ESCs and Motor Testing
Calibrate ESC in CleanFlight
Make sure you do this part with the PROPS OFF. I cringe when I see people on YouTube showing this with their props on. You are asking to get cut up.
- PROPS OFF
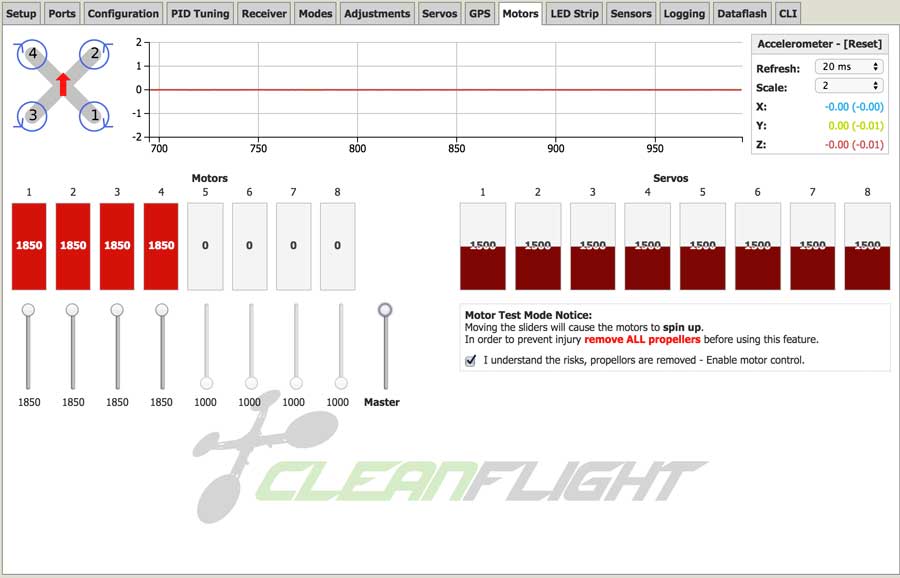
- Hit the Motor Test checkbox
- Move the Master slider all the way to the top
- Plug in the battery. You will hear a bunch of beeps and music from the motors.
- Right after it’s done with the tones, move the master slider all the way to the bottom.
- Let the motors finish it’s musical tones.
- Reconnect the battery and test. All the motors should spin at the same time.
Motor Rotation Test
See the picture on the top left of the Motors tab to see which direction the motors should be spinning. With your PROPS OFF, individually spin each motor to see if they are spinning the correct direction.
If you payed attention to how the motors are connected to the ESCs, you shouldn’t need to reverse any of the motors. See this diagram from part 2 of this build. If you do need to, there are two ways. You can reverse any 2 of the 3 motor wires or you can do it in BlHeli Suite.
So now that we are finished with CleanFlight we can remove the negative leads on the ESC’s. You can leave it on if you want. But if you decide to leave it on, make sure you cover them.
Custom 3D Solutions
My first QAV250 there were a lot of things I didn’t like about it. My second build, I came up with the 3D printed solutions. Here is the first one.
PDB Cover
I designed a 3D printed spacer that replaces the 10mm standoffs. Covering up the messy ESCs gives it a more finished look. It helps keep grass and water away from the electronics.
It’s designed with a tab on the front and back to keep the ESCs from moving around during flight. It’s a good idea to secure the ESCs with double sided tape or zip ties if you aren’t using this cover.
Motor Gaurds
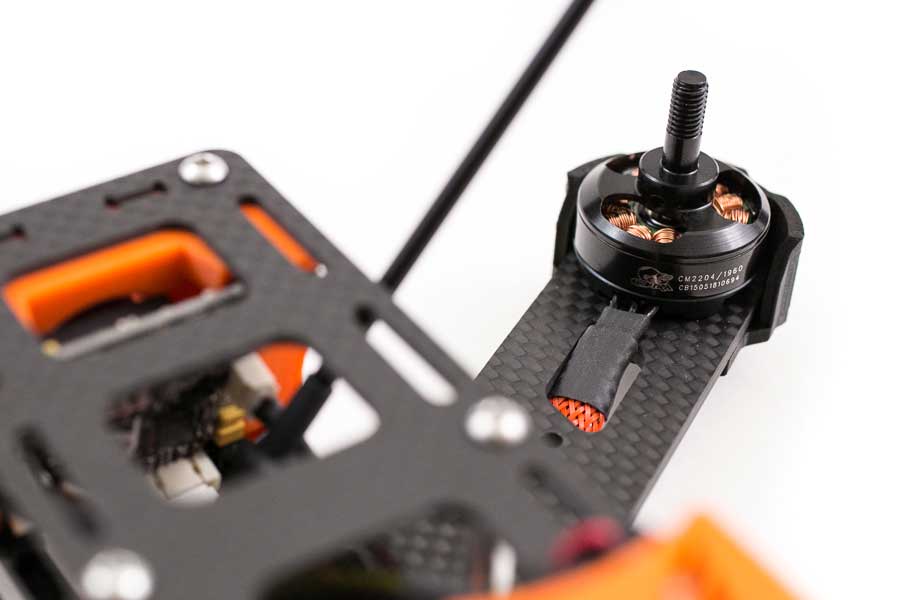
The bad thing about the QAV250 is that the arms are fixed and not moveable like the ZUUL. This means the motors will take a lot of damage on impact. I got tired of smashing motors on my first quad so I designed some motor guards for the QAV250 frame. They fit the QAV250 arms like a glove with the same bolt pattern on the bottom. It also protects the bottom of the frame on the arms.
Install the FPV Camera and Video Transmitter.
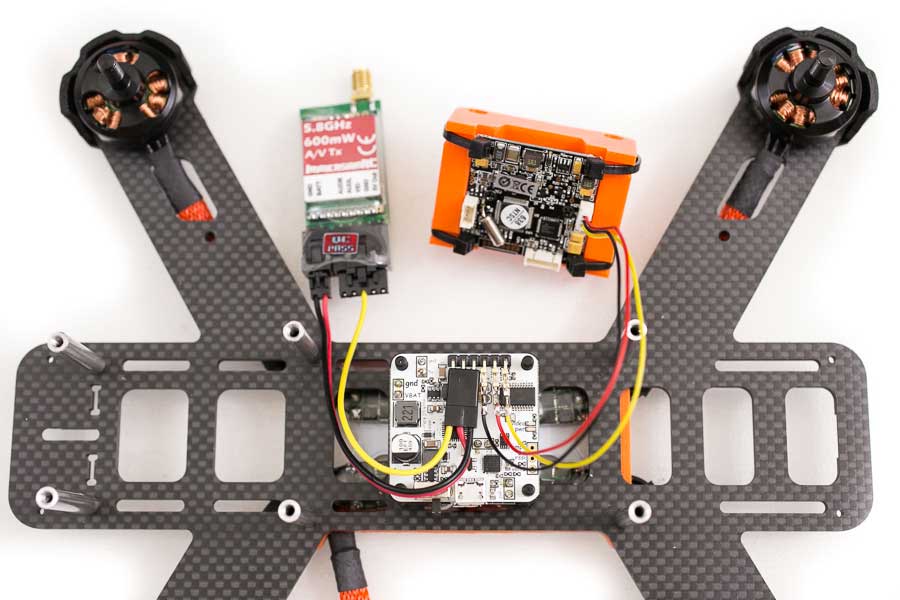
The OSDoge makes connecting the camera and transmitter so easy. The board is labeled with what wires go where. Just connect the camera and transmitter according to the labels. On the ImmersionRC transmitter, remove the two left and two right wires from the 5p molex connector. You only need the center (yellow) wire for the video signal.
I’m using a 3D prototype of the FPV camera mount here. It’s angle is adjustable from 10-20 degrees and slides into the two 35mm standoffs in the front.
If you are using the carbon fiber plate with screws and nuts that came with QAV250, replace the screws and nuts with some zip ties. If you hit a tree while using the screws you will crack your FPV camera board. Zip ties will pop off and save your camera.
I like to use black mesh for the wires inside the quad. It helps hid the messy wires.
Naze32 Firewall
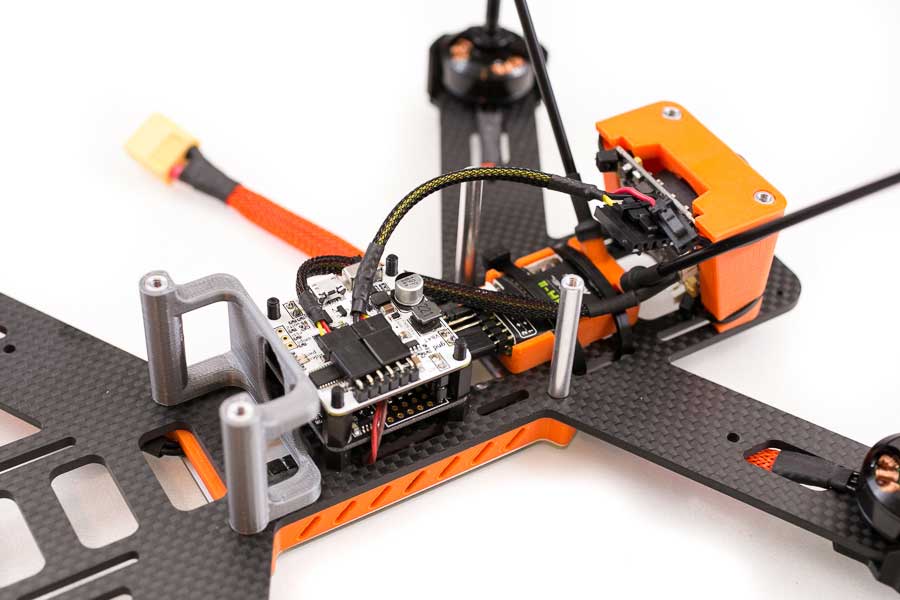
Another problem I had with the QAV250 frame is that it uses the flight controller as the battery stop. So that means if hit a tree trunk (I fly into a lot of trees) the battery is going to keep going forward right through your Naze32 breaking the nylon standoffs. If you don’t have replacements, you are done for the day. Even if you have replacements it’s a pain to swap out in the field.
I designed a firewall that stops keeps the battery from flying through the Naze32. Especially needed in this build because the OSDoge/Naze32 is extra tall. Only weights 6g and slides right into the rear standoffs. It has a cutout for the USB if you have it mounted that way and a cutout on the right side for the battery plugs if you side mount it like I do.
ImmersionRC 600mw Video Transmitter Protection
I love this transmitter but there are some things I don’t like about it. It’s basically a circuit board with heat shrink around it. That makes it an awkward shape and makes it difficult to mount. Also the SMA connector for the antenna is soldered directly on to the circuit board. If your antenna is unsecured and you take a hit, it will rip the SMA connector right off the board. If you can’t trace the leads back to where they go to solder you’re screwed and out $70. I’ve destroyed two transmitters this way. Yeah you can use a 90 SMA adapter or an extension but you sacrifice on picture quality. I read some of those adapters reduce your transmit power by almost half.
This shell is designed to make the transmitter easy to mount. It has tabs on the bottom that fit into the top plate of the QAV250. The main function is to protect the SMA connector. There is a reinforced part around where the SMA connector is soldered on to the circuit board. It prevents the SMA from getting ripped off during crashes.
If you aren’t using this part, you should secure the antenna in a way where it won’t move at the SMA connector. Do it the old fashion way and zip tie it to your frame.
Props
Just a quick tip on installing the props. The props that have a “R” go on the CW motors 1 and 4 (bottom right and top left).
Failsafe
This is very important. Failsafe is a receiver feature that tells the quadcopter what to do if it loses the radio signal. For a racing quadcopter you want set the failsafe to reduce throttle to zero if it looses the tx signal.
I know what you are thinking, why don’t you reduce the throttle to 20% so it will glide safely to the ground? Here’s why: if your failsafe kicked in, it means you lost control of the quad. You don’t want the props spinning at all if it “glides” into a group of people. Keep in mind how sharp the props are. It’s like a spinning knife weapon.
It would be great if it would just glide to the ground but it hardly ever lands that way. Try this next time you are flying. Fly in acro/rate mode, cut the throttle to 20%, let go of your controls and see what the quad does. I promise you it will not glide safely to the ground. It will crash in an awkward way with your throttle still at 20%. You will not only break something but you’ll probably burn up your ESCs and/or motors.
It’s better to have your quad fall to the ground rather than fly into someone with spinning props.
Here’s how you set up failsafe on the FrSky D4R-ii
- Power up the quad and TX.
- On the TX, move the throttle to zero.
- Quickly (less than 1 second) press the F/S button on the D4R-ii. Done.
- Test the failsafe. Increase the throttle until motors start spinning and leave it there. Turn off the TX. The motors should stop spinning.
Finished!
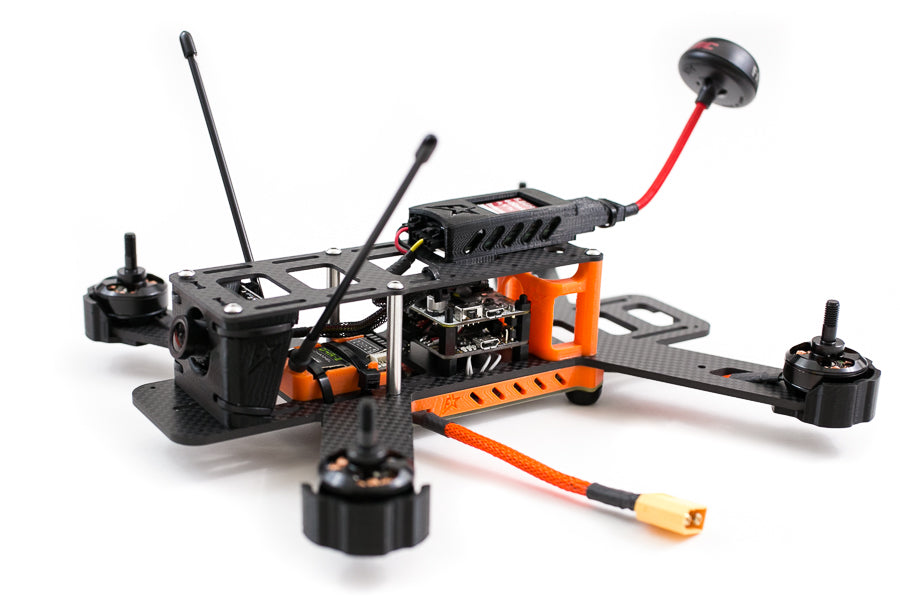
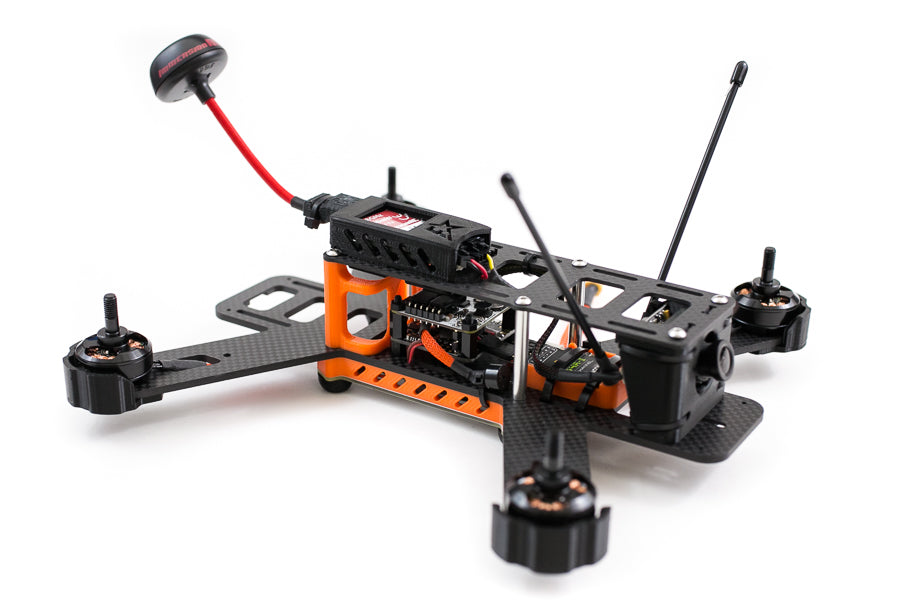
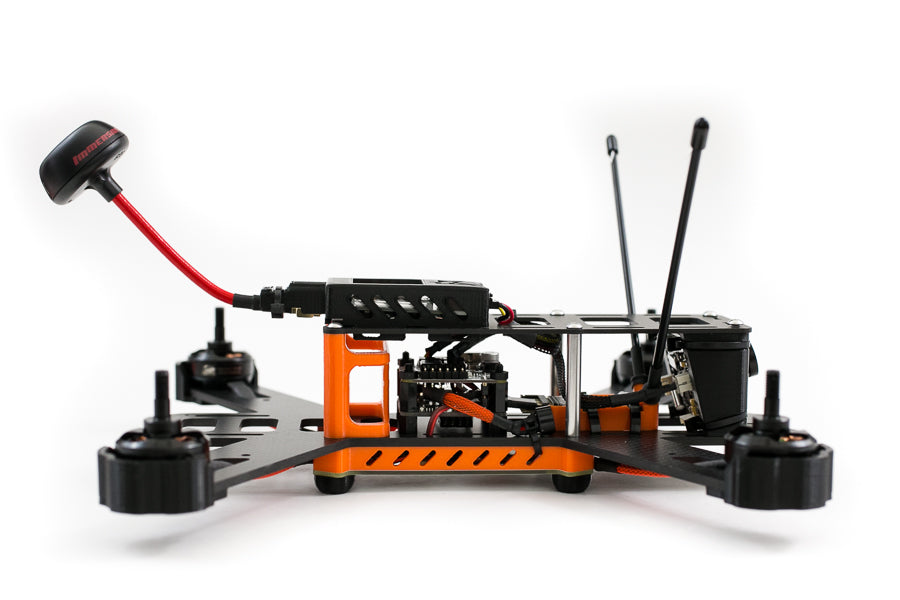
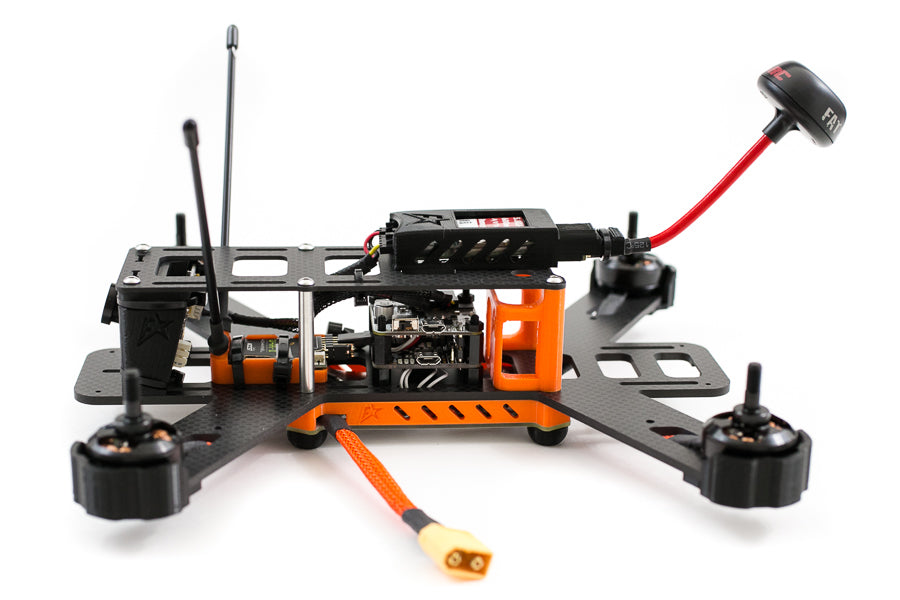
So that’s pretty much it for the build. All that’s left is to install the velcro for the battery. AUW as pictured is 355g and 490g with a 4s 70c battery. Not bad considering it’s fully protected.
Flight Performance: This quadcopter is a beast on 4s!
Quick note: I actually already sold this quad before I did the test flight so I was taking it very carefully making sure I didn’t crash 🙂
This custom QAV250 is so light, nimble and has loads of power. Actually a little too much for my current skill level. In normal flying it had excess power. I never really needed to go over 80% throttle most of the time flying around 50-70% for tree cruising (flying through a lightly wooded area). The BL20A ESCs with dampen light and active breaking gave the quad a really nice feel with really good control. It felt like you could put the QAV250 anywhere you wanted with loads of power to punch out of trouble.
With this setup I was getting about 6-7 min of flight time on a 75c 1300mah 4s battery. Of course flight time depends on how you fly.
So if you are thinking about building a QAV250 or even building your first quad, do your research before buying. You will save a lot of money and have a much better quad in the long run.
If you found this post helpful, it would be super cool if you purchased the components from my store or purchase items from my Amazon links. These posts are expensive and take a loooong time to make so the purchases make it possible for me to keep making them. Thanks in advance, I greatly appreciate it 🙂


