How to Build a Lumenier QAV250, The Correct Way.
Update January 1, 2016
Please watch this video before starting this build. Some things have changed since I made this post. It will show a slightly different but easier build method and updates on the Naze32 rev6.
Time for another build! In part 1 of this post I explained why you should do some research and choose your parts wisely. This time I’ll show you how to build a Lumenier QAV250 the correct way. There are several ways to build a QAV250. When I say the correct way I’m referring to choosing your components.
The first time I built a QAV250, my first quad not including the Hubsan X4, I had no clue what I was doing and wasn’t even sure what I was buying. I just bought whatever recommended by GetFPV. A year later and 2 broken frames, 2 fried ESC’s, smashed LED’s and a bent Lumenier motor, it sits in my quad parts graveyard. It was getting too expensive buying Lumenier replacement parts.
This was before I really learned how to build a quad. As you can see from part 1 of this post, by building this way you not only get a better quad but you also save $140! Take it from someone building their 2nd QAV250. This is the way to build.
Parts List
-
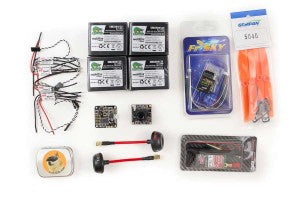 Lumenier QAV250 Carbon Fiber
 - Taranis X9D
- FrSky D4R-ii
- Motors* – Cobra or SunnySky 2204 2300kv or Cobra 2204 1960kv
- Naze32 Acro
- DYS BL20A pre-flashed with BlHeli 14.3 with dampen light and OneShot auto detect
- OSDoge OSD (on screen display, LC filter, 5V for Naze32)
- GemFan 5030 or 5054 Props
- ImmersionRC 600mw Video Transmitter
- Spironet Antenna
- Sony Super HAD 600tvl Camera
- FatShark Dominator V2
Other Parts Needed for this Build
- Batteries – I like the Nano-tech 45-90c batteries, 3s or 4s.
- Battery Charger. I use the HiTec X4, it’s basically 4 chargers in one with a built in power supply. Good if you fly a lot. It can charge 16 1300mah batteries in about 1 hour. Or if you don’t need a big beast like the HiTec, I started with this Tenergy Balancing Charger and works fine. You can use a balance board and charge 3 1300mah batteries at once.
- You’ll need some M3x6 or M3x10mm (depends on how you mount your signal header pins) nylon standoffs to mount the Naze32 to the frame. I like this kit. It has every size and spare you’ll ever need.
Miscellaneous Items
- M3x5mm button head screws. The Cobra motors I’m using came with phillips head screws.
- Heat shrink for the BL20A ESCs
- LiPo battery checker. Needed to calibrate the OSDoge voltage. Plug this into the balance lead to read the battery voltage. Leave it on the QAV250 and it can double as a low battery voltage. This thing is freaking LOUD! If you are using this indoors, cover the two buzzer holes to muffle the sound.
- Wire wrap for the motors and power cable
- Soldering clamp – this little $6 tool makes soldering so much easier. Helps a lot when you are soldering the motor wires to the ESCs.
- Since the Naze32/OSDoge stack is extra tall, it’s a good idea to protect it from the battery. If you hit a tree the battery will shift forward and break the standoffs holding the Naze32. If you don’t have spares you’re done for the day. Even if you do have spares it’s a pain to do a swap in the field. I recommend a flight controller firewall. It prevents the battery from flying through your Naze32/OSDoge stack in front collisions.
*Motors – If this is your first quad, I would recommend going with 2300kv motors such as the SunnySky 2204 2300kv or the Cobra 2204 2300kv with 5030 props. These motors will allow you to fly smoothly and give you good flight times on 5030 props. This setup will let you use a 4s battery for good power and speed. Whatever motor you go with, I highly recommend the 2204 motors over 1806. The 2204 are lower profile (pancake like) than the 1806 so they are much less susceptible to damage during crashes.
I’ll be using the Cobra 2204 1960kv motors because I’ll be using 5045 props on 4s. This setup will give you 6″ prop power without using 6″ props. Do not use this motor if you are running 3s battery on 5030 props. It will fly but will feel very under powered. This motor is designed for more aggressive props such as the 5045 and 6″ props.
Tools
People are asking so I thought I’d include a list of tool I use.
- Soldering Iron – I use the Weller Digital Soldering station. I love this soldering iron. It heats up super fast and is very precise. If you don’t solder everyday like me, an iron like this will do fine. Get one that has adjustable power.
- If you watch my videos you’ll see me use these all the time. These sharp tweezers make soldering so much easier and less burnt fingers. It’s also good when you need to string wires or plug connectors in tight spots.
- This little clamp is very helpful when soldering. Good for tinning wires or just when you need a 3rd and 4th hand.
- Using a soldering vise makes soldering so much easier.
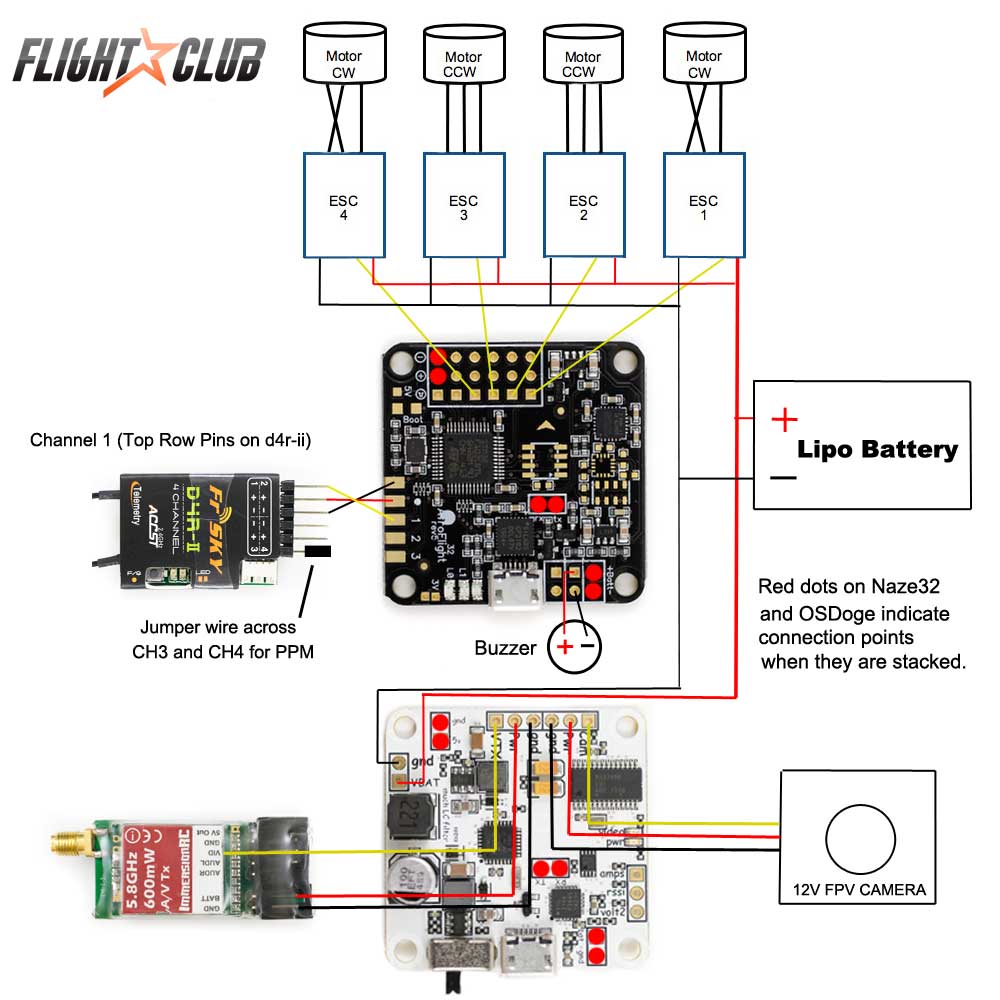
Basic schematic for our QAV250 build with OSDoge.
Here’s a quick summary of this schematic. The BL20A ESCs (electronic speed controller) used in this build are OPTO, meaning they do not have a built in BEC (battery eliminator circuitry) to power the Naze32. The ESCs will get the power directly from battery off the PDB (power distribution board). Only the signal wires will be used coming out of ESC’s 1-4 into the Naze32. The 5V required to power the Naze32 will come from the OSDoge coming in on the power and ground on channel 6 on the Naze32. The D4r-ii will be powered off the Naze32. The OSDoge has a built in LC filter to clean up the power and signal for the video transmitter and FPV camera. Connecting the TX/RX on the Naze32 to the OSDoge will let you tune PIDs from your OSD.
Notice how the ESC’s are connected to the motors. On the BL20A’s, if you connect the motors without crossing any wires, the motor will spin CCW. If you cross 2 of the 3 wires it will spin CW. If you solder it this way you won’t have to reverse the motors in BlHeli Suite.
OK, if this is your first quad build, that must sound super confusing but don’t worry. We’ll go step by step and I’ll try to explain what all this means during the build.
Let’s get the Build on!
Just a quick note before we start, My OCD is in full effect when I build quads. I want everything as clean as possible with minimal wires. A lot of the steps I’m doing may not be totally necessary. As long as you follow the schematic above you’re golden.
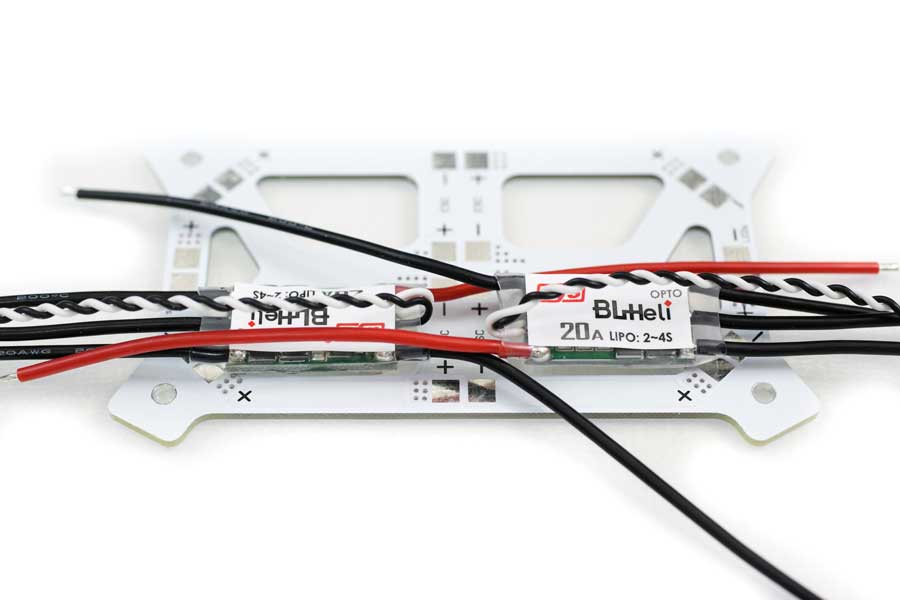
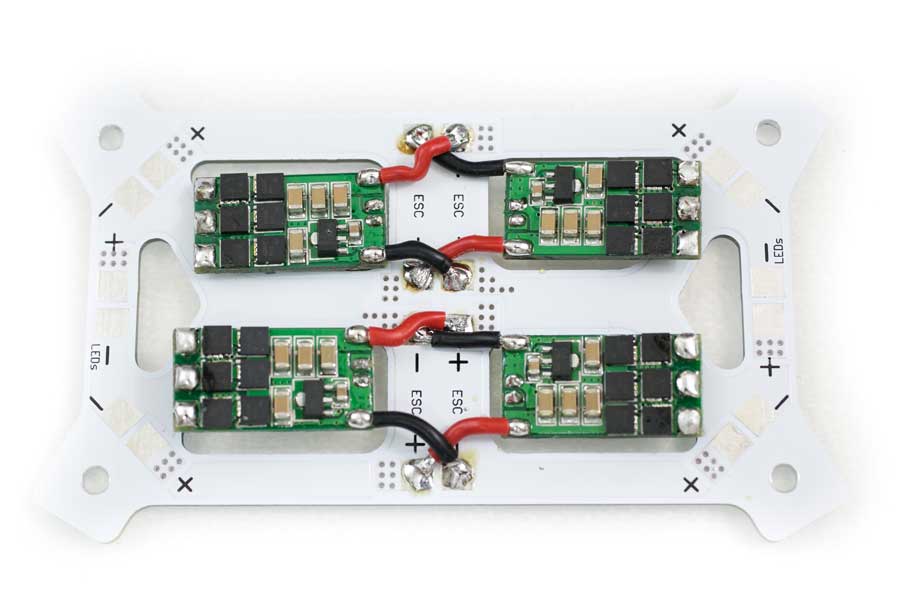
Place the ESCs on the power distribution board and cut the positive and negative wires where they will connect to the PDB. I’ll be using the pads across from the ESC’s because the + and – on the BL20A’s are reversed on the PDB. I want the solder side up on the ESC. It will make things easier later.
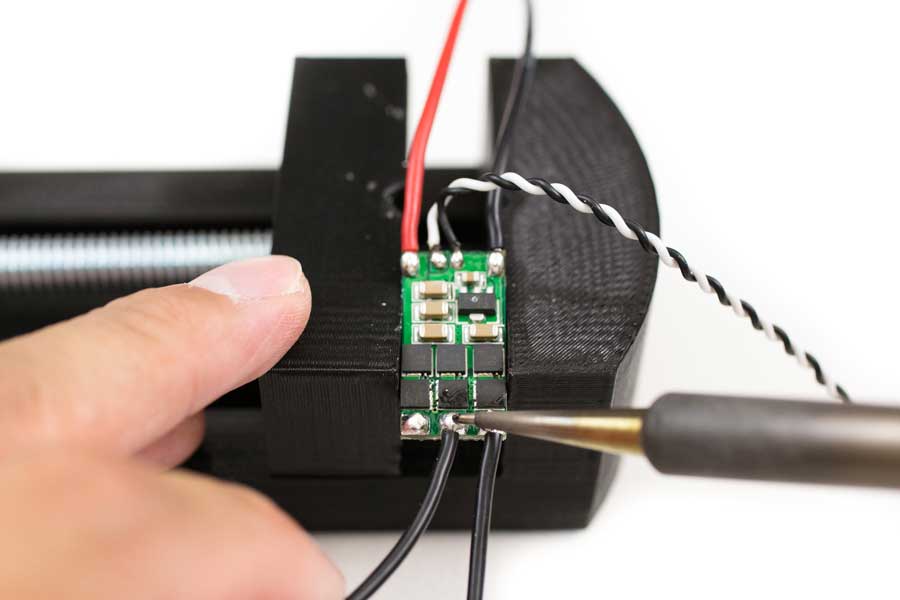
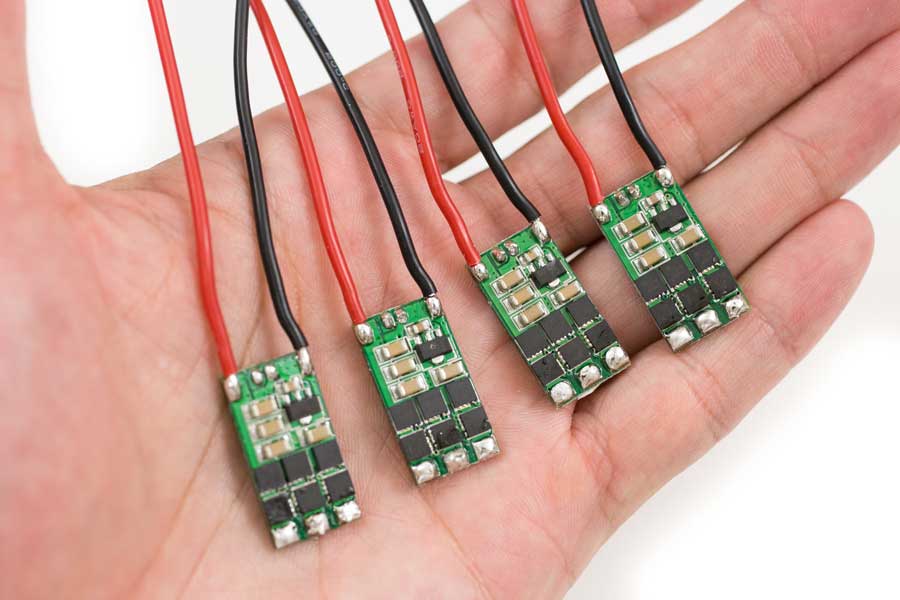
I removed the heat shrink on the ESCS to make soldering easier. Since I’ll be soldering the motors directly to the ESC’s to cut down on weight, I’m going to remove the motor leads on the ESC. Unsolder the signal and ground wire also. It’s easier to do it this way rather than try to cut and re-solder at the tiny connector end.
Four BL20A ESC’s ready to be mounted on the PDB. BTW these only weight 3 grams each as is. That’s 1/4 the weight of a normal ESC with BEC.
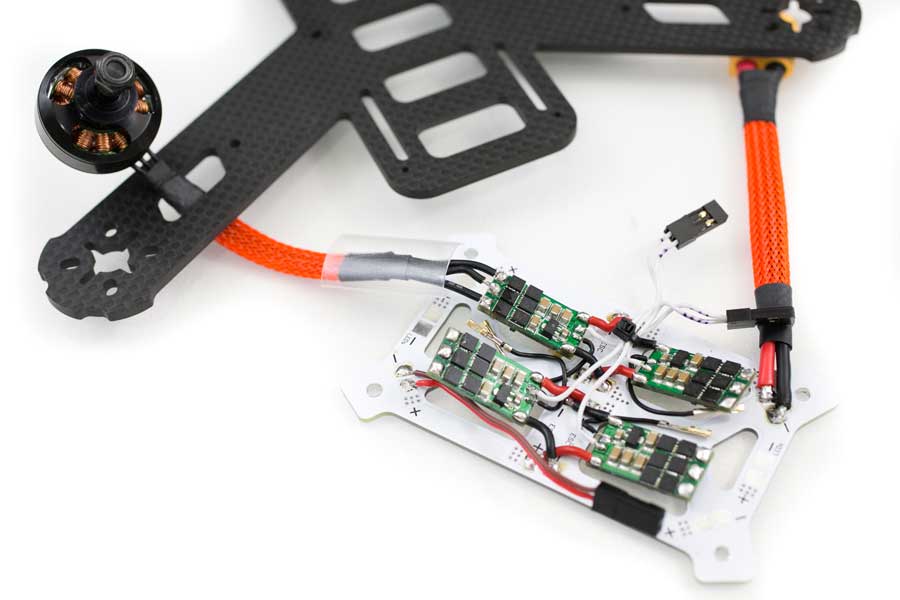
Solder the positive to positive and negative to negative on the ESCs to the PDB. Make sure the solder joints look nice and shinny. If you have a dull/bumpy joint redo it. That’s a bad solder joint and can come apart mid-flight.
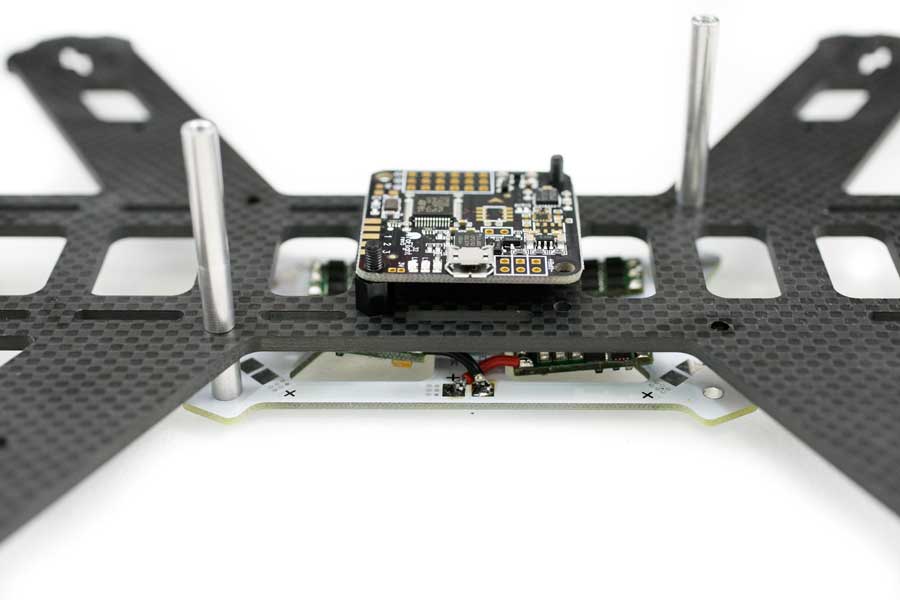
In my build, I’ll be facing the Naze32 to the right so I can have easy access to the micro USB. If you mount your Naze32 any other way than the arrow facing the front, make sure you make the correct YAW adjustment in Cleanflight/Baseflight. If you don’t do this your quad will flip violently on takeoff.
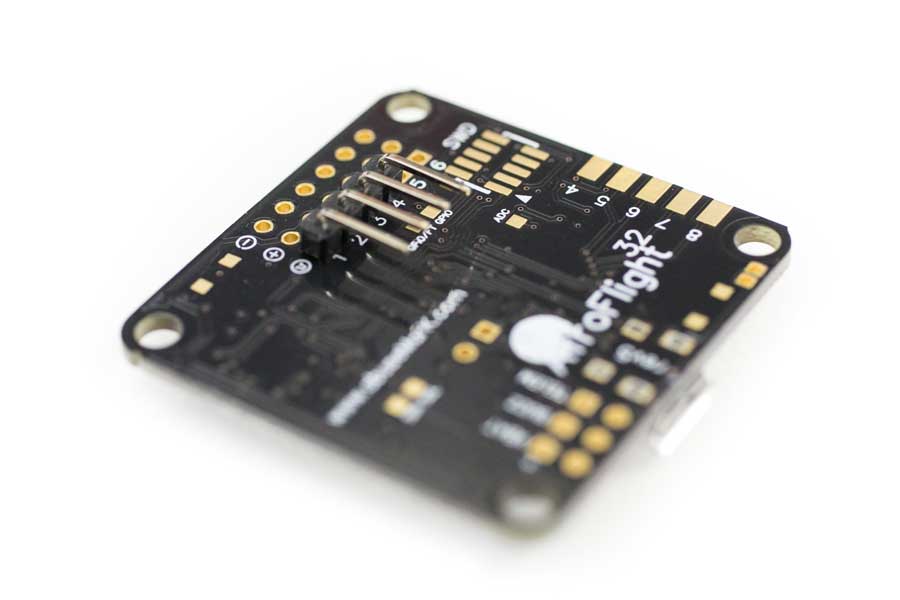
Soldered a 90 degree 4 pin header on the bottom of the Naze32 for the signal wires. This will keep the wires out of sight once mounted.
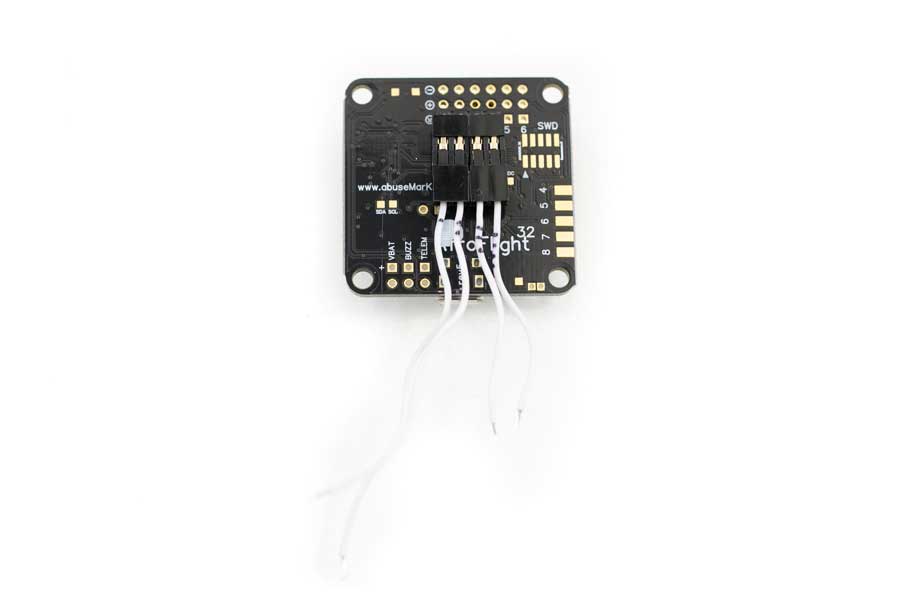
Signal wires cut to length and ready to solder on to the ESCs. It helps to label the signal wires 1, 2, 3 and 4. Cuts down on confusion.
This is what the PDB should look like once all soldered. Signal wires soldered to their corresponding ESCs, battery cable installed and a 2 pin connector soldered directly on the the PDB. This will connect to the VBAT on the OSDoge. It will power the board and let you monitor your battery voltage. I also soldered the negative leads back on to the ESCs. Since we will be directly soldering the motors on the ESCs, we might need to reverse the motor direction or do some tuning in BlHeli. I forgot to show it in the video but be sure to temporarily cover the negative leads on the ESC’s with some tape or heat shrink.
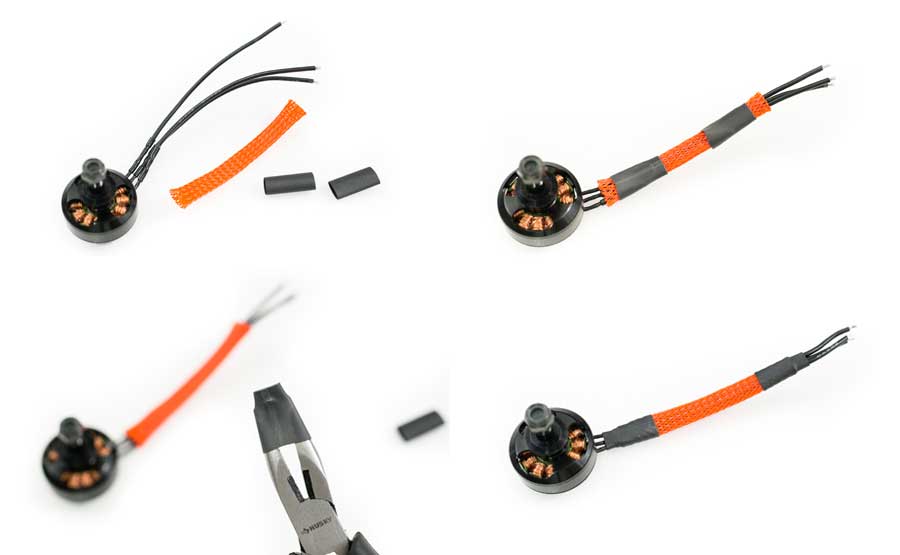
Putting wire mesh around the motor wires is optional. It makes the build look cleaner and protects the wires from the sharp carbon fiber edges. I like to use heat shrink that’s a little smaller and stretch it to fit. That way when you shrink it you get a tighter fit.
Now solder the motors on the ESCs. Don’t forget to put the heat shrink for the ESC through the tube before soldering.
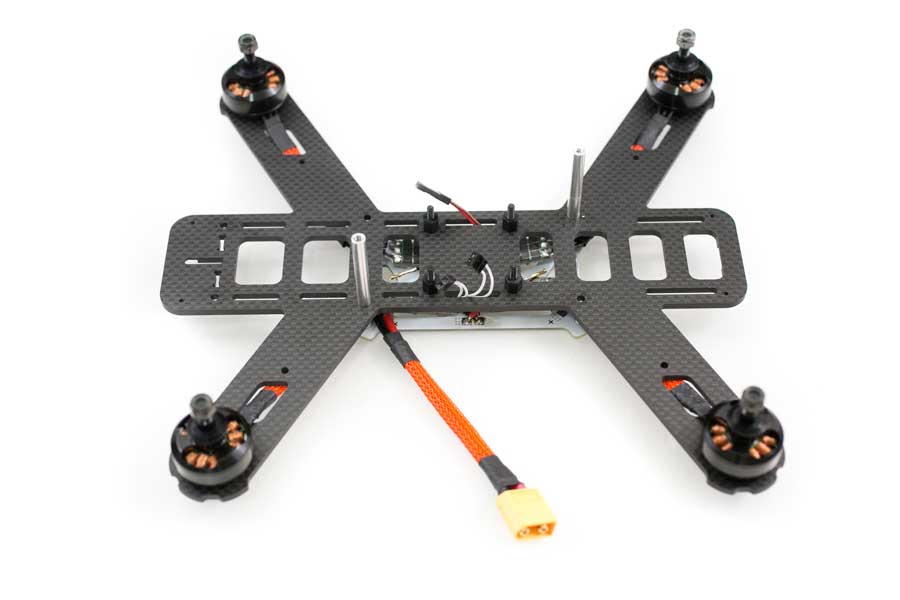
Motors with wire mesh soldered on the ESCs.
OSDoge
I will go over the highlights of the OSDoge install here. To keep this post and video shorter I made a separate post on how to install the OSDoge with RSSI.
Now we prepare the OSDoge to be mounted on the Naze32. The OSDoge comes with male/female header pins that connect when you stack it on each other.
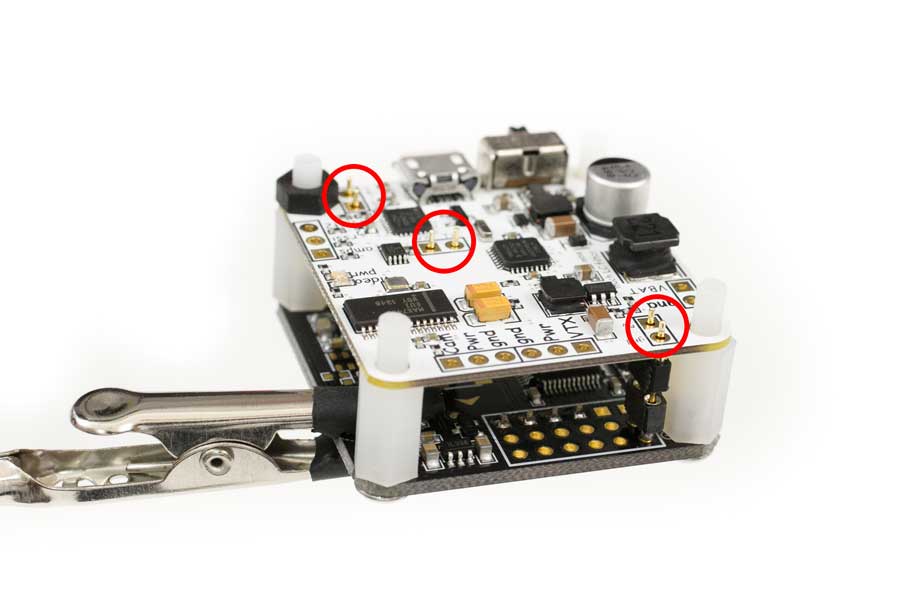
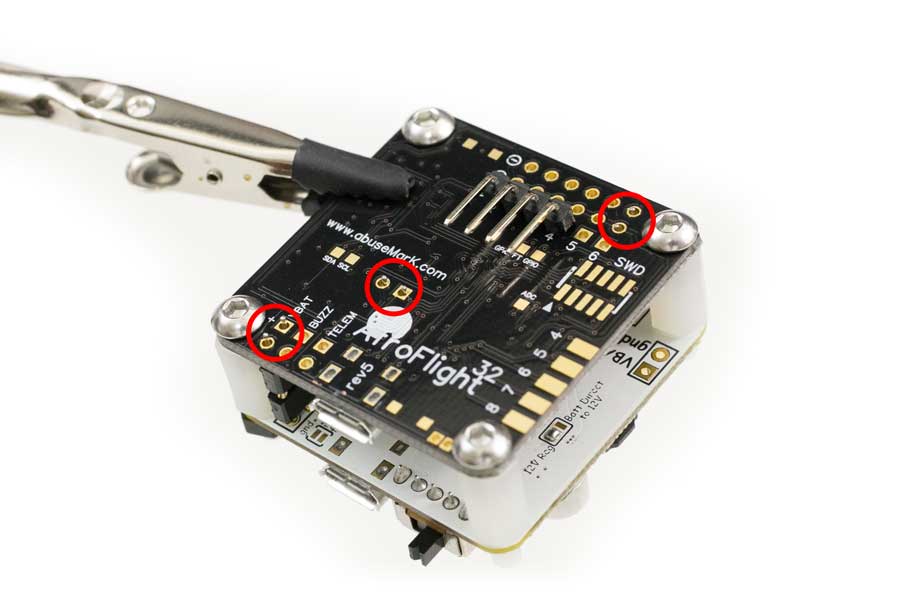
This is one of the reasons why I love the OSDoge board. It stacks on top of the Naze32 and eliminates a lot of wires. The 5V, TX/RX AND VBAT connection points are circled in red above. Put the male/female pins together and put them through the holes. Use the included standoffs to make sure they line up before soldering. Once they are soldered it will stay in place and line up perfectly when you stack them.
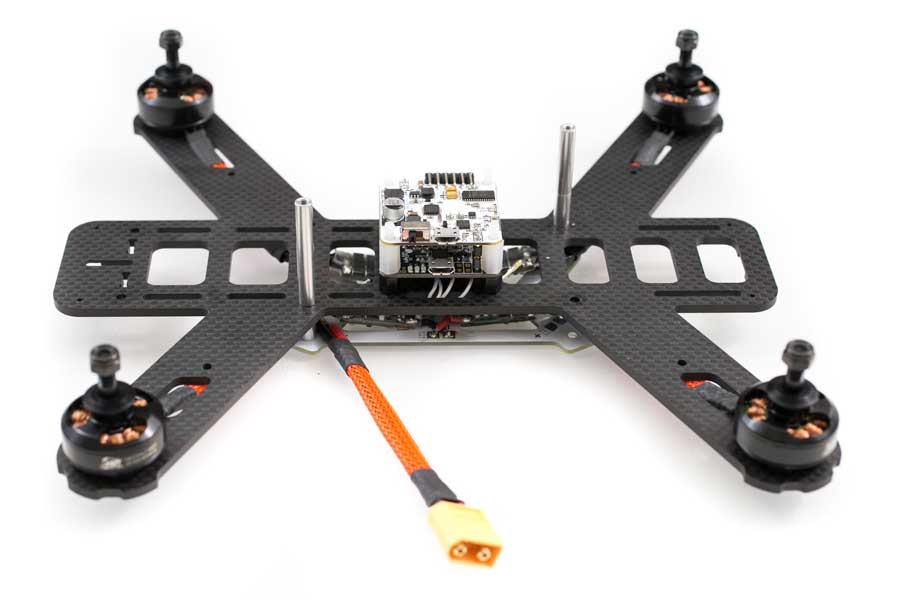
Once you have the male/female pins soldered this is what the QAV250 will look like with the OSDoge stacked on top of the Naze32. I like to put the OSDoge on top. That way there is more clearance for the FPV cables and it’s easier to remove if you need to troubleshoot anything.
That’s it for part1 of this build. Check back on part2 when we setup the Naze32 with Cleanflight, program the Taranis, hook up the FPV camera/transmitter and set up the OSDoge with…..brrrrr (drumroll) RSSI! This took me 6 months to figure out so I’m super stoked about it!
If you found this post helpful, it would be super cool if you purchased the components from my store or purchase items from my Amazon links. These posts are expensive and take a loooong time to make so the purchases make it possible for me to keep making them. Thanks in advance, I greatly appreciate it 🙂


