How to Build an FPV Quadcopter
Yes! Time for another build! This is for someone just getting into building FPV quadcopters. I will show you step by step how to build your own racing quad. If you are brand new to FPV quadcopters, I highly recommend reading the Quadcopter Basics post to familiarize yourself with the working parts of an FPV quad. Keep in mind you can apply the build principles below to building pretty much any FPV quadcopter whether it’s a QAV250, ZMR250, ZUUL, Mb Epic…etc.
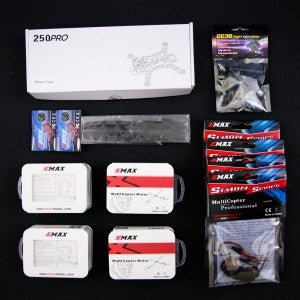
To keep things simple I will be building the EMAX 250 Nighthawk Pro kit. Even though the Pro kit is called a 250mm it’s actually a 280mm. Included in this kit are the following:
- 1 x Full Carbon Fiber 280mm Quadcopter Frame (3mm arms, 1.5mm top, 2mm middle and 1mm bottom)
- 4 x Motors – MT2204 2300KV
- 4 x 12A ESCs with BlHeli firmware.
- 1 x CC3D Flight Controller
- 2 x Pairs 6030 Carbon Fiber Propellers
The difference between the full carbon “Pro” kit vs the “Glass fiber and Carbon fiber kit” is that the glass + carbon fiber kit comes with smaller motors, smaller 5030 props and the frame is not full carbon fiber. If you can find the full carbon fiber pro kits I suggest getting this one over the glass fiber kit. The price difference is usually less than $10.
In addition to the EMAX 250 Nighthawk Pro kit, you will need the following parts. The links are what I’ll be using in this quadcopter build.
- A transmitter that supports at least 6 channels. I will be using a FrSky Taranis X9D
- Receiver – FrSky D4R-ii I use this in all my builds. It’s small, has telemetry and supports PPM.
- A 3 or 4s battery and 1000mah – 1800mah – Tattu 3s 1300mAh 75c or Tattu 4s 1300mAh 75c
- XT60 connectors or any other type of plug for the power. I use XT60 because most LiPo batteries use these.
- Battery Charger – A basic 50w charger will do fine.
The EMAX 250 Nighthawk kits come with an OpenPilot CC3D clone board. I will be switching this out for a Naze32 Acro board. You can still use the CC3D but I think the Naze32 is a much better board for several reasons.
- The PIDs are easier to tune and it has a more “locked in” feel.
- Built in low voltage monitoring
- Output for discovery buzzer and low voltage warning.
For the FPV section I’ll be using the following components.
- 700TVL Security Camera. I’ll be testing this camera out vs my normal Sony Super HAD camera. Let’s see if there’s a difference between a $14 camera vs a $55 camera.
- Immersion RC 600mw A/V Transmitter
- FatShark Dominator V2
- FatShark SpiroNET Cloverleaf Antenna
The following parts are optional. You can still build the quad without these parts but I highly recommend it. It will make your build easier.
- Mini Power Distribution Board (PDB). This will make installing the ESC’s, power cable or anything else you need to power easier and help make it a cleaner build.
- Bullet Connectors. These will make repairs to the motors or arms easier. Otherwise you’ll have to solder the motors directly on the ESC’s.
- Piezo Buzzer This will act as a low voltage warning and a discovery buzzer. This can be a life saver when you lose your quad in tall grass.
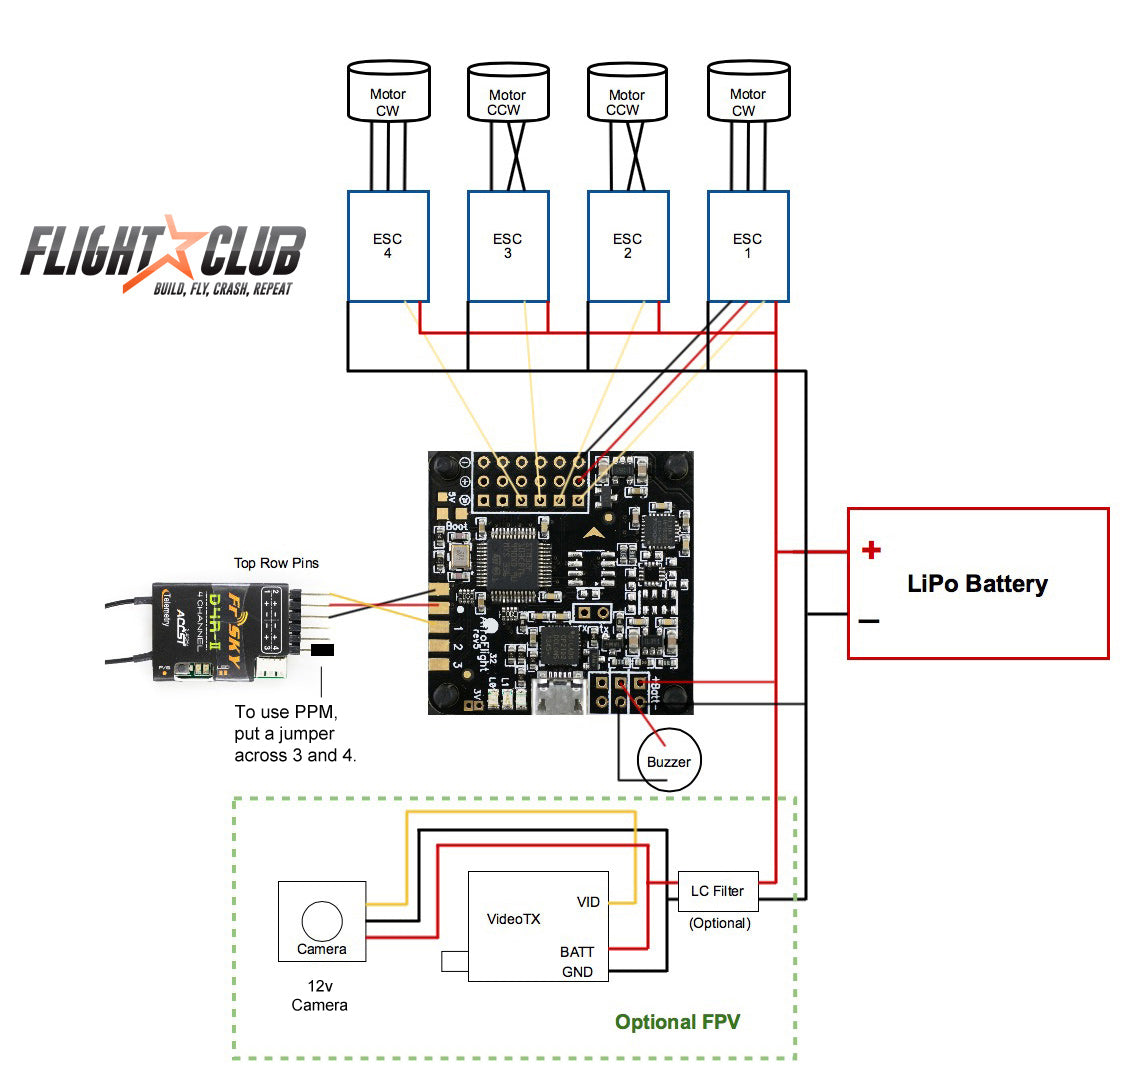
This is the basic schematic for this build. To power the flight controller (Naze32), we’ll be using the BEC (battery eliminator circuitry) power off ESC 1. You can remove the power and ground (red and black wires) off the other ESC’s because it’s not needed and it helps clean up wires.
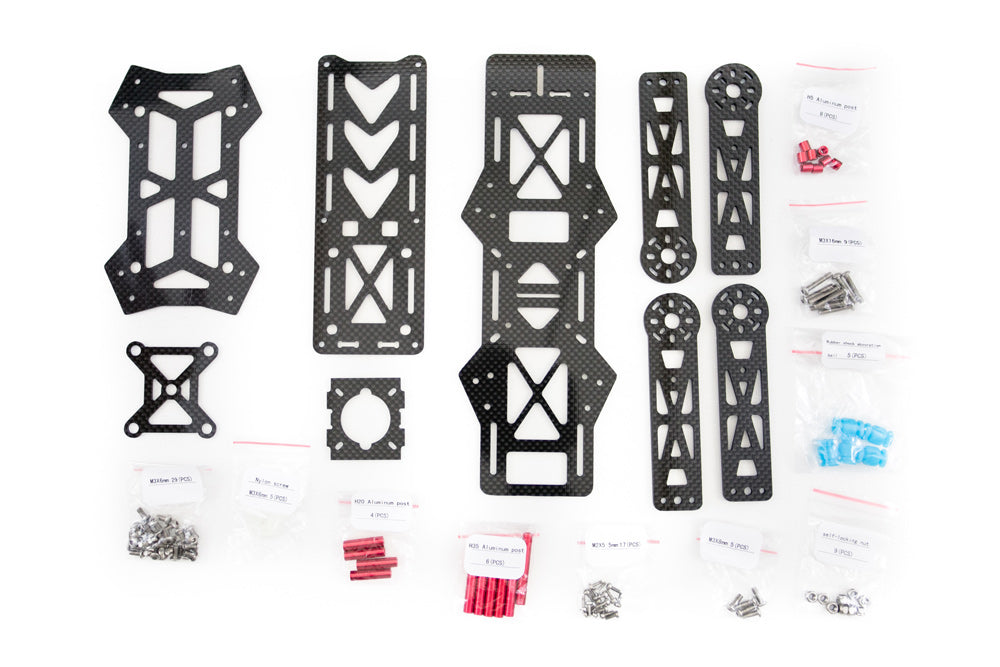
Make sure you have all the parts for the frame.
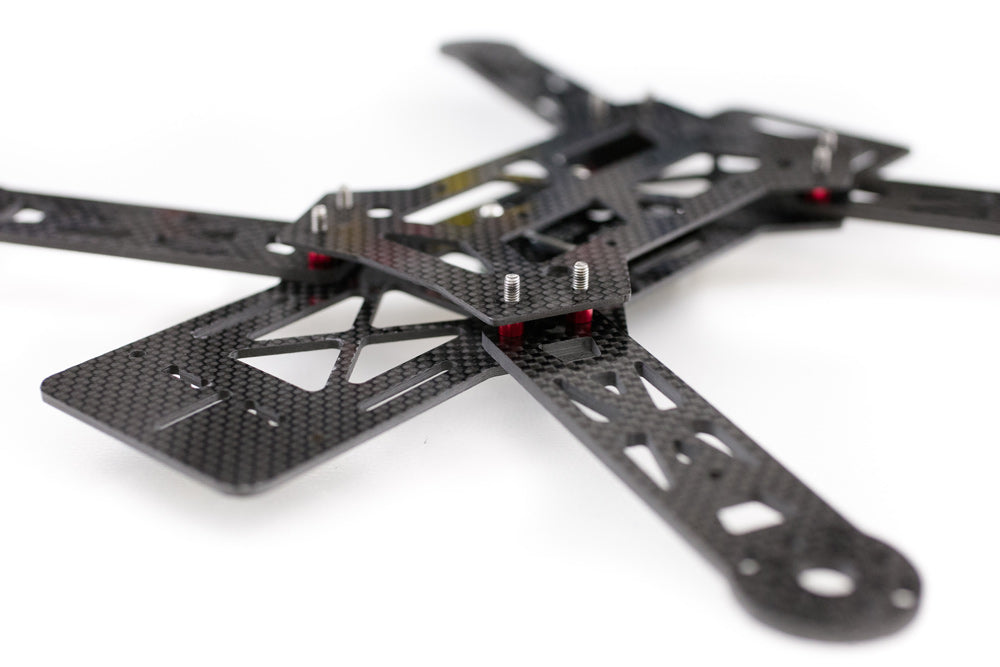
Use the M3x16 screws and H5 spacers to mount the arms. Later you’ll use the self locking nuts to secure everything.
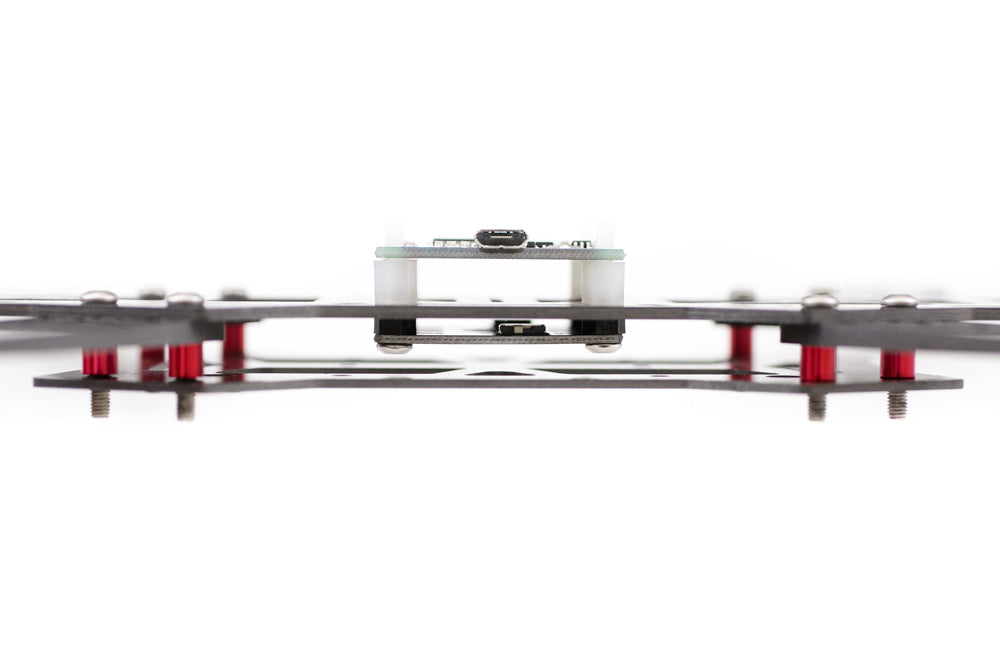
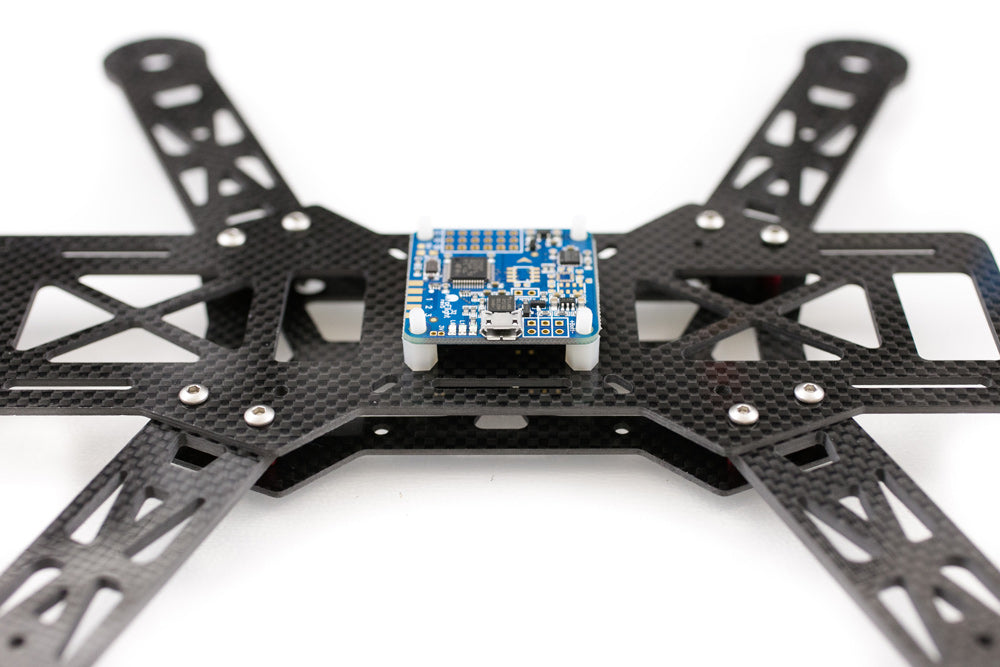
This is the part of the quadcopter build that takes me the longest, figuring out how I’m going to lay everything else. This one is pretty easy because the EMAX 250 frame is almost exactly like the Lumenier QAV250. I’ll put the mini PDB under the Naze32 so it will be easy to solder the ESCs. The Naze32 will be facing to the right. Make sure you set the correct board alignment if you face the Naze32 any other way than the arrow on the Naze32 facing forward. If you don’t the quad will do crazy things when you take off.
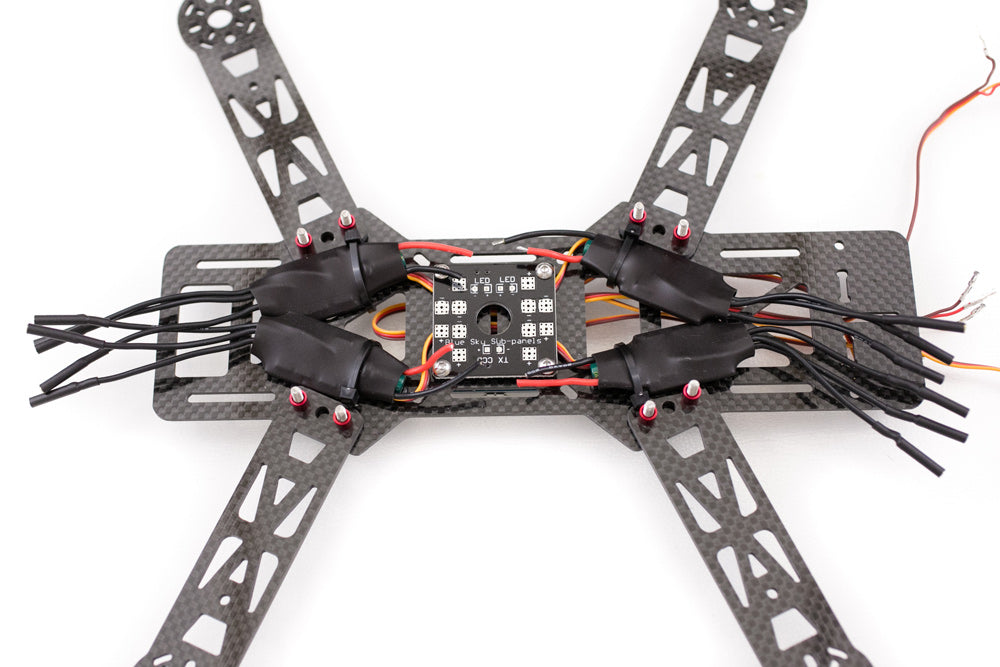
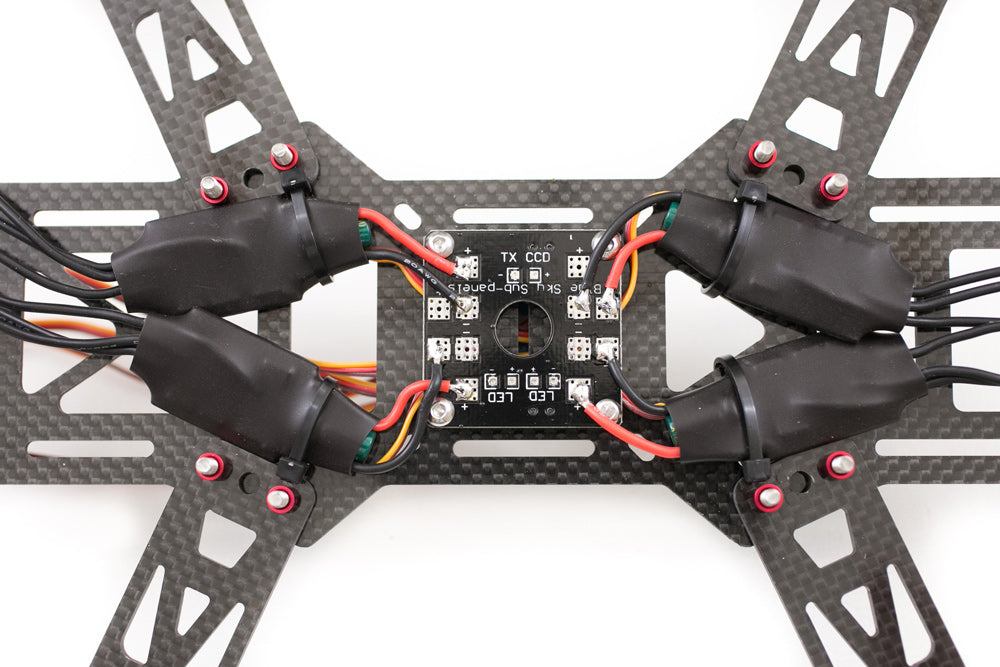
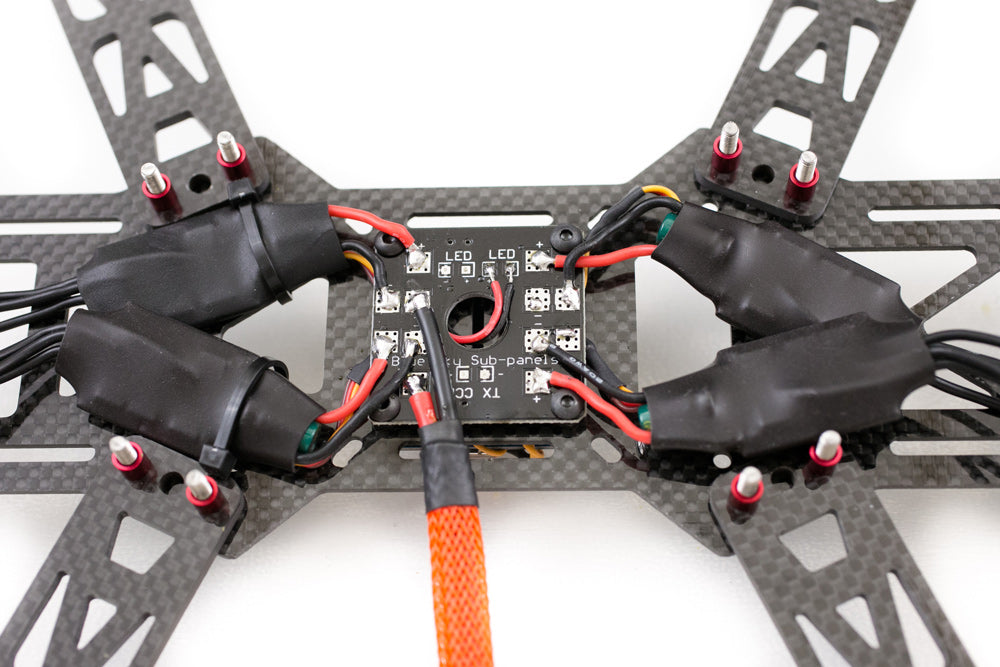
Mount the ESCs under the main frame to minimize the wires and it makes it easy to solder the wires. Shorten the power and ground wires so you can solder them on the pads. If you decide to mount the ESCs on the arms you’ll probably have to solder the motor wires directly on the ESCs. There won’t be enough room for the bullet connectors. Run the signal wires from the ESCs under the PDB so you can connect it to the Naze32 on the other side.
If you are building the quad without a power distribution board, you’ll need to make a wire harness to splice the wires together. Connect all the reds to the red on the battery and negatives to negative of the battery.
Solder the red cables to the + and negatives to the – on the power distribution board. Make sure you have a good clean solder joint that’s shiny and smooth. A solder joint that’s dull and bumpy may come loose while you’re flying.
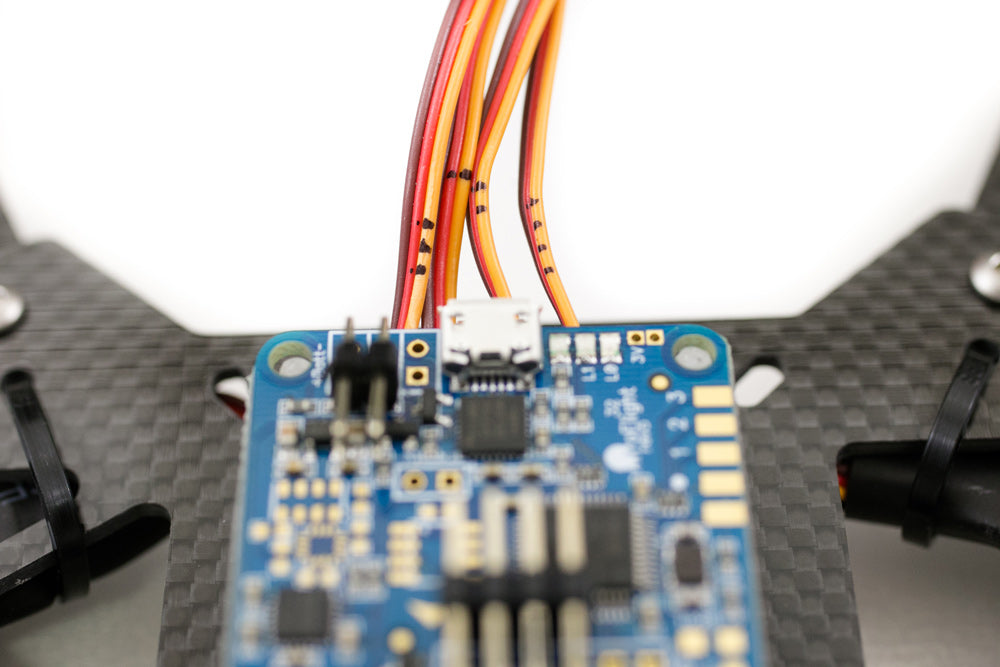
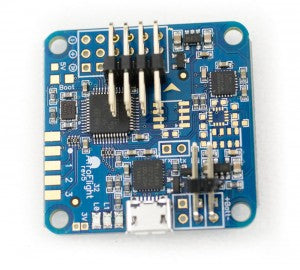
For this quad build I’ll be using 90 degree pin headers facing inside on the Naze32 board. This will make the build look clean with minimal wires. Solder the pin header on outputs 1-4 and the VBAT and buzz. The VBAT will connect directly to the battery or PDB so you can monitor your battery voltage. The buzzer will be used as a low battery alarm and discovery buzzer.
Now you can start connecting the signal wires from the ESCs to the Naze32. It helps if you mark the signal wires 1-4 so you won’t get the wires mixed up when connecting them. On this quadcopter build we’ll be using the power from ESC 1 to power the Naze32. You won’t need the power and ground wires from ESC 2, 3 and 4 so you can remove them.
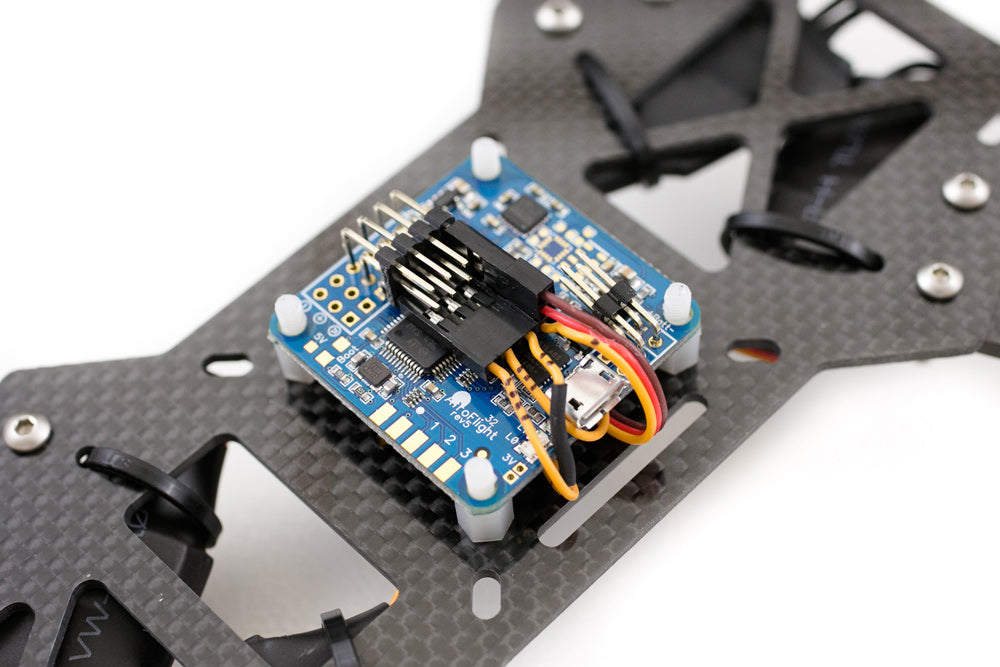 Connect signal, power and ground from ESC 1 to the Naze32 output 1. Since the 90 pin header is facing inside, the signal will be the bottom pin, power in the middle and ground will be on top. Make sure you connect the power and ground correctly to the Naze32. You will probably fry your board if you get this backwards. Since we removed the power and ground off 2, 3 and 4 you are left with just the signal wires. Plug them into a 3-pin connector harness and plug it in 2, 3 and 4 output on the Naze32.
The easiest way to shorten the wires from the ESCs would be to remove the heat shrink from the ESCs, cut to length, re-solder and put the heat shrink back on.
Connect a 2 pin connector from the VBAT (the red and black wire coming through the middle of the PDB) on the Naze and solder it directly to the battery or PDB. Solder your battery cable to the PDB.
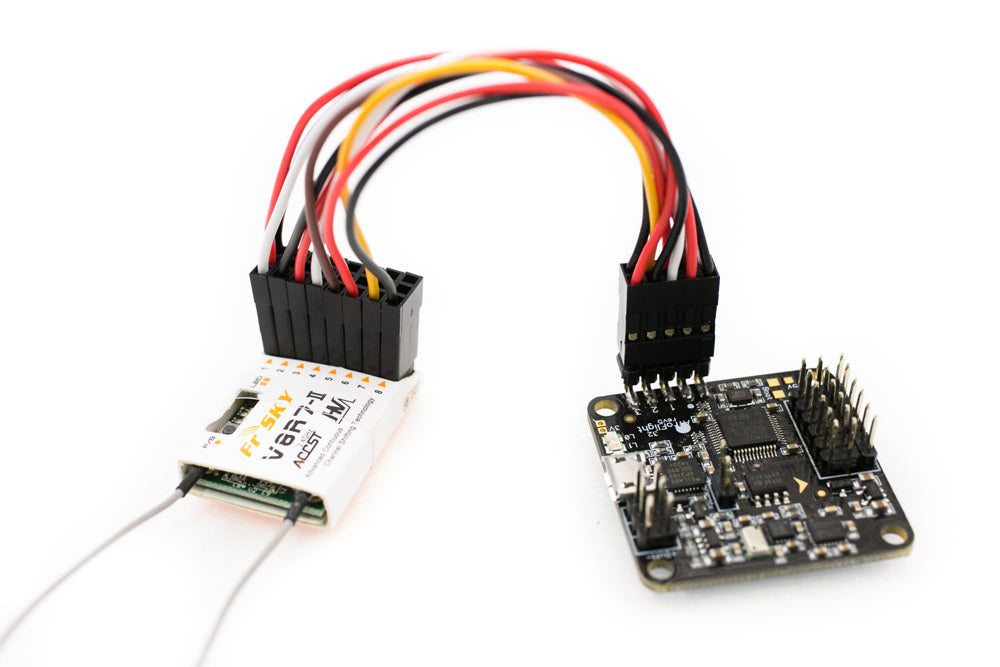
If you are using a receiver that supports CPPM or PPM such as the FrSky D4R-ii, put a jumper wire across 3 and 4, connect signal, power and ground to the Naze32. On the Naze32, ground is on left, power middle and signal is on the right. PPM will let you use connect just channel 1 but still output 8 channels. You can use a header pin to connect it but I like to solder the receiver cable directly on the Naze32.
If you are using a regular (non PPM) receiver you’ll need a RC breakout cable to connect channels 1-6 on your receiver to 1-6 on the Naze32. Channel 1 will be on the 3 wire connector, ground, power and channel 1.
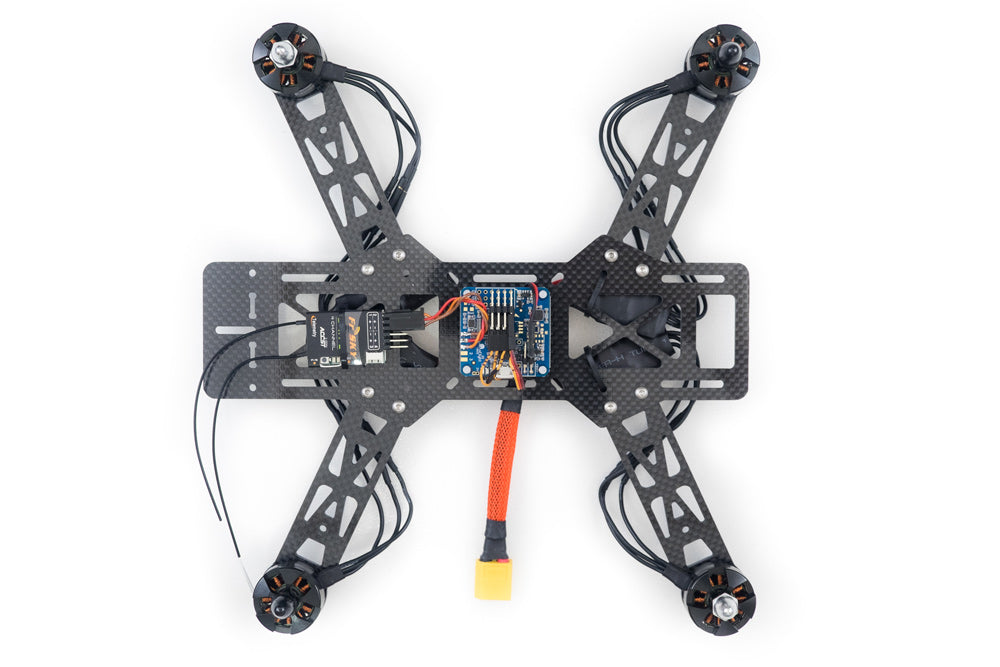
The EMAX 250 kit comes with CW and CCW motors. The prop nut on the CCW motors tighten by turning to the right (normal way). The CW motors tighten to the left. Make sure you mount the motors like the picture above. Go ahead and plug in the motors to the ESCs.
That’s pretty much it for the basic build of the quadcopter. Check out part 2 for setting up the Naze32, receiver, programming the transmitter and hooking up the FPV (camera and transmitter) part.
If you found this post helpful and want to support the site, you can make your Amazon purchases through the links on this site or with this Amazon link. It won’t cost you anything extra. Thanks in advance, I really appreciate it 🙂


