It feels like Christmas whenever I start a new mini quad build. In part 1 of this 3 part Hovership ZUUL Racehound review, we looked at the frame. Part 2 we’ll hit the highlights of my setup.
This is not mean to be a step-by-step how to build a mini quad post. I will do that in a separate post.
Components used in the ZUUL Racehound build:
- ZUUL Racehound
- Naze32 Acro
- OSDoge
- Afro 12A ESC
- Sunny Sky 2204 2300v Motors
- ImmersionRC 5.8GHz 600mw Video Transmitter
- Fat Shark Cloverleaf Antenna
- Sony Super HAD CCD 600TVL Video Camera
- FrSky D4R-ii Receiver
- Taranis X9D
- Mini Power Distribution Board
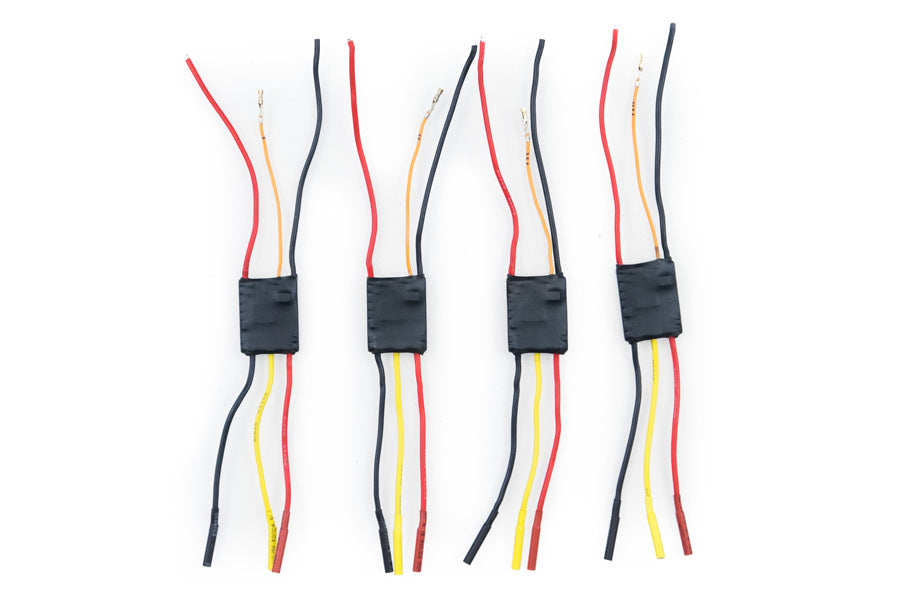
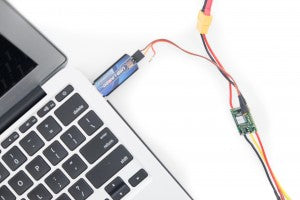
I will be using BlHeli firmware on the Afro 12A ESC’s with Cleanflight and Oneshot in this build. I used a Turnigy USB Linker and this video to flash the ESC’s with BlHeli. Flashing the ESC’s were much easier than I expected. After you do the first one it takes about 5 minute total to flash the other ESC’s.
How to flash BlHeli
- Get the correct CP210x USB drivers for your system from Silicon Labs and install it.
- Download and install the software BlHeliSuite
- Once in the BlHeliSuite, select the programming tool you are using from the top drop down menu “ATMEL/SILABS”. In my case it’s the Turnigy USB Linker
- Select your com port where your USB programming tool is connected and baud rate 9600.
- Plug in the USB programming tool into your computer and connect the ESC to the programming tool using ONLY the signal and ground wire.
- Power the ESC
- Click “Connect” on the BlHeliSuite.
- Click “Read Setup”
- Yes to “Do you wan to flash it to BlHeli Firmware”
- Select your ESC model, hit ok and you’re done.
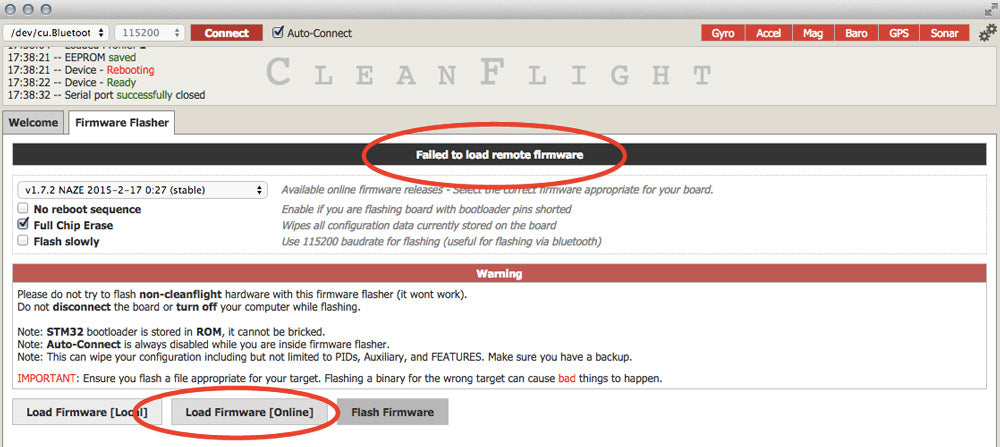
Before you can use Cleanflight, you have to flash your flight controller (Naze32) with the Cleanflight firmware. Normally you can load the firmware online but for some reason it wasn’t working for me this time. If you run into this problem you can download the firmware and load it from your computer (local). You can get the files here.
If you want to use Oneshot, all you have to do is hit the “ONESHOT125” checkbox in Cleanflight.
Afro 12A ESC’s flashed with BlHeli ready to be mounted. I’ll only be using the signal wires from the ESC’s because I’ll be powering the Naze32 from the OSDoge.
Figuring out how to lay out all the components always take me the longest. The cutout in the frame on the ZUUL is only a couple millimeters bigger on each sides than the Naze32 so installing breakout pins facing out would make it a pain in the butt if I needed to remove the plates later. I decided to install all the pins facing inside and on the undersides of the boards to keep things tidy.
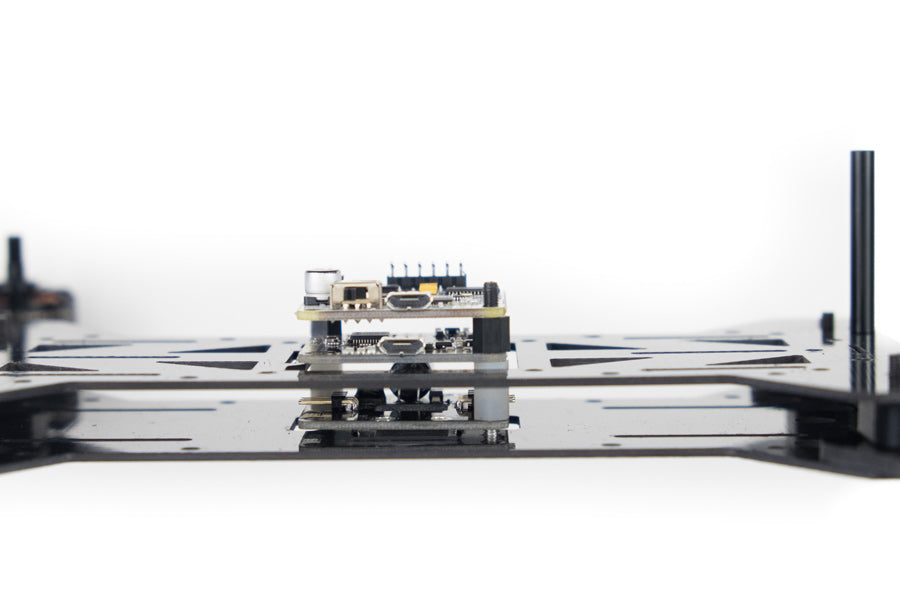
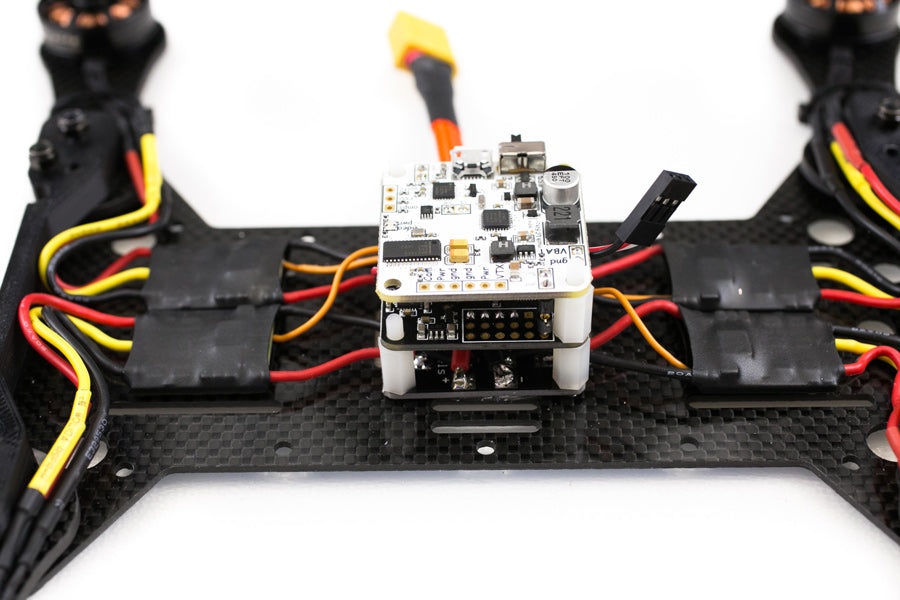
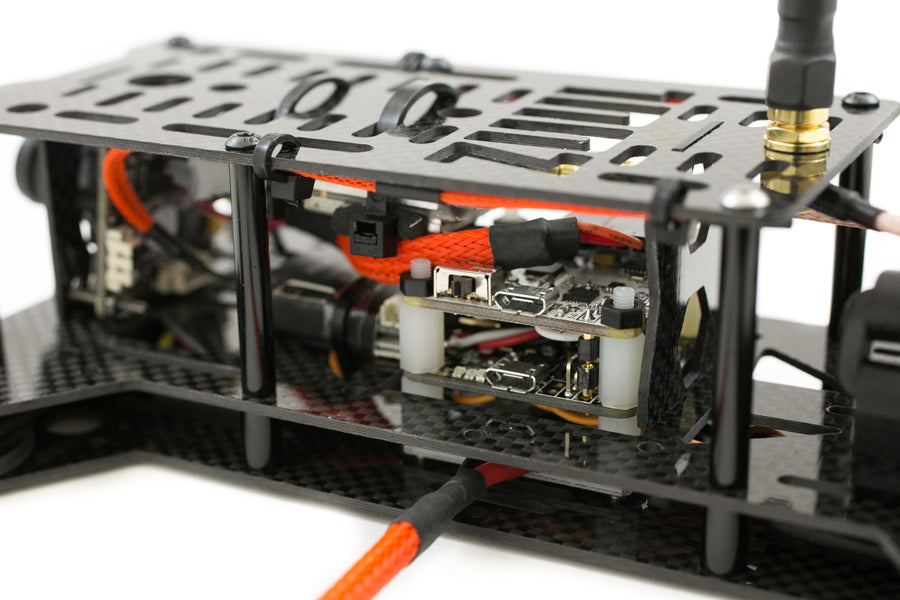
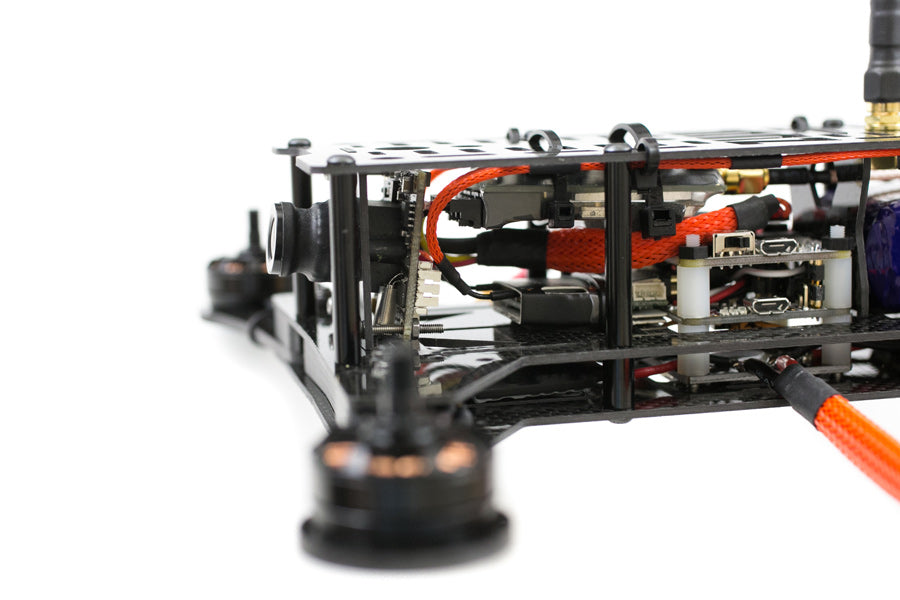
I love this stack. Mini power distribution board on bottom, Naze32 in the middle and OSDoge on top. It keeps wires to a minimum and tidy.
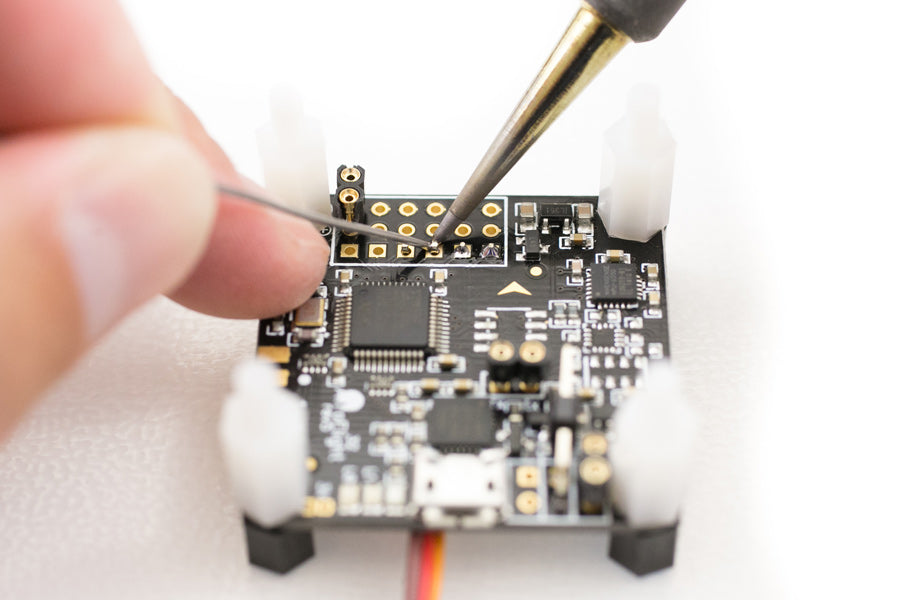
Soldering the Naze32 is easy and fun if you have the right tools. It helps to have a soldering iron where you can adjust the power like this one and a small clean tip. I find 675 degrees is good for soldering header pins on the Naze32. It’s actually better to use a hotter temp vs a lower temp. With a lower temp you have to hold the tip on the pins longer heating everything around and can melt plastic. Be careful to not to use too much solder. It can cause a solder bridge and make magic smoke.
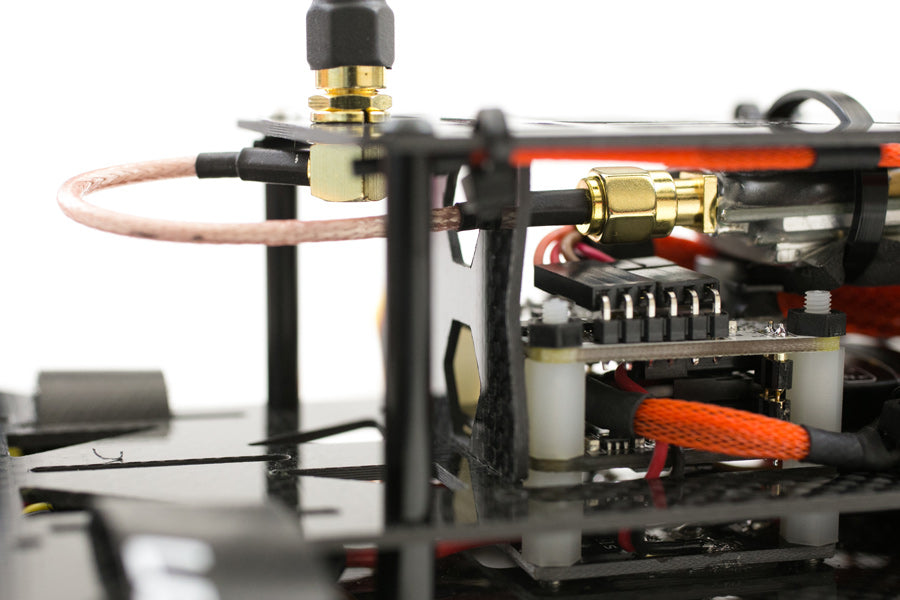
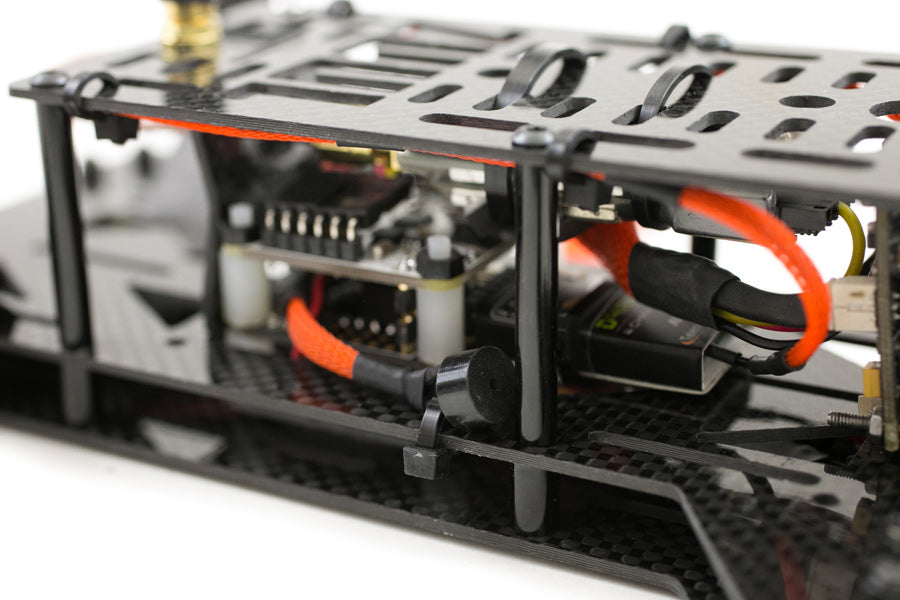
Naze32 with everything soldered except for the receiver. The signal pins are mounted on the bottom facing in and buzzer out pins on top. The Naze32 will be powered by the OSDoge female receiver pins connected to the positive and negative pads on channel 6. The other two female receiver pins are tx/rx and vbat.
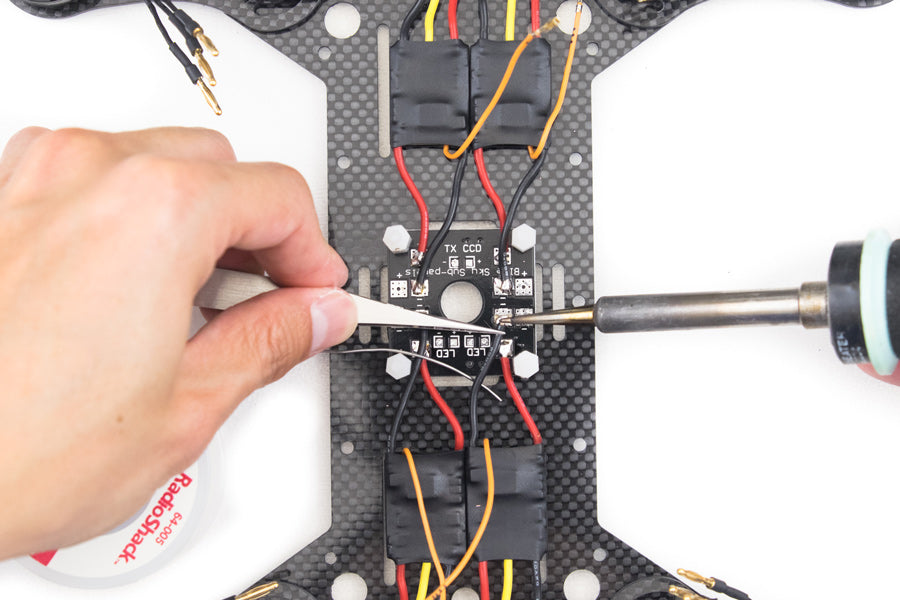
I’ll be mounting 4 ESC’s, XT60 battery connector and vbat for the OSDoge/Naze32 on the mini power distribution board. When soldering big wires like ESC and battery wires, I use around 750 degrees. It helps to pre tin the wires and pads with some solder. When you solder the wires to the pads, make sure you heat the wire and pad together. Don’t just melt solder and drip it on the connection. Do not move the wire before the solder becomes solid. This can cause a bad solder join and come loose later. A good solder joint should look smooth and shiny. If it’s dull and bumpy it’s a bad joint.
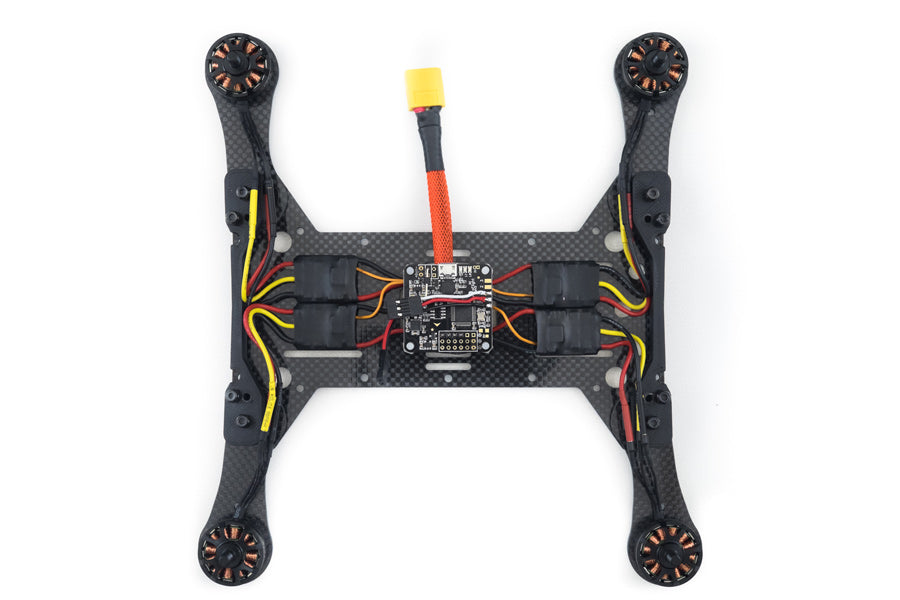
Everything wired up ready for the OSDoge. I decided not to hardwire the motors to the ESC’s for one simple reason, I still suck at flying. I crash and break motors all the time.
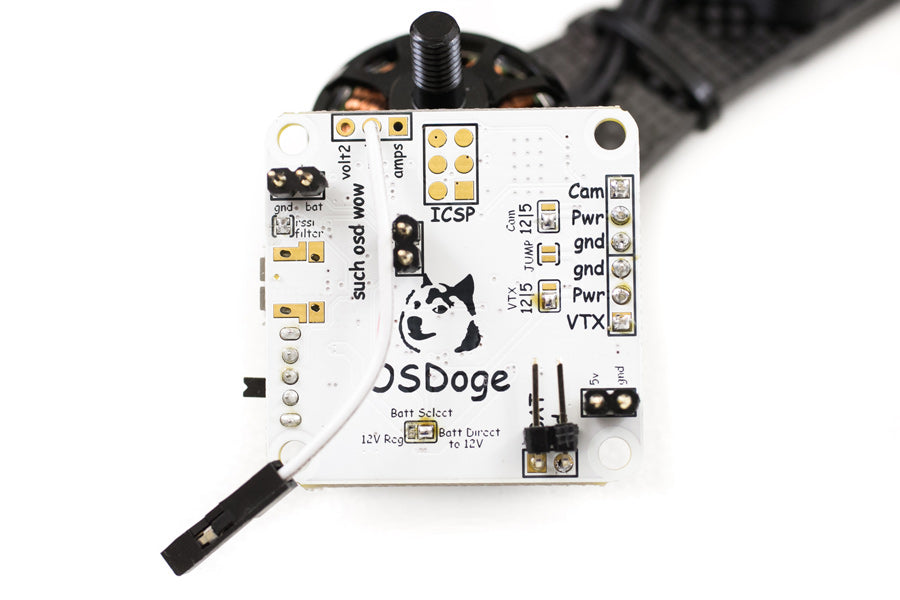
OSDoge with the jumper pads, male pins, vbat and rssi wired up. I’ve enabled 12v for the video transmitter/camera and the rss filter. Check back soon for a detailed install on the OSDoge.
The OSDoge makes it so easy to wire up the video transmitter and camera.
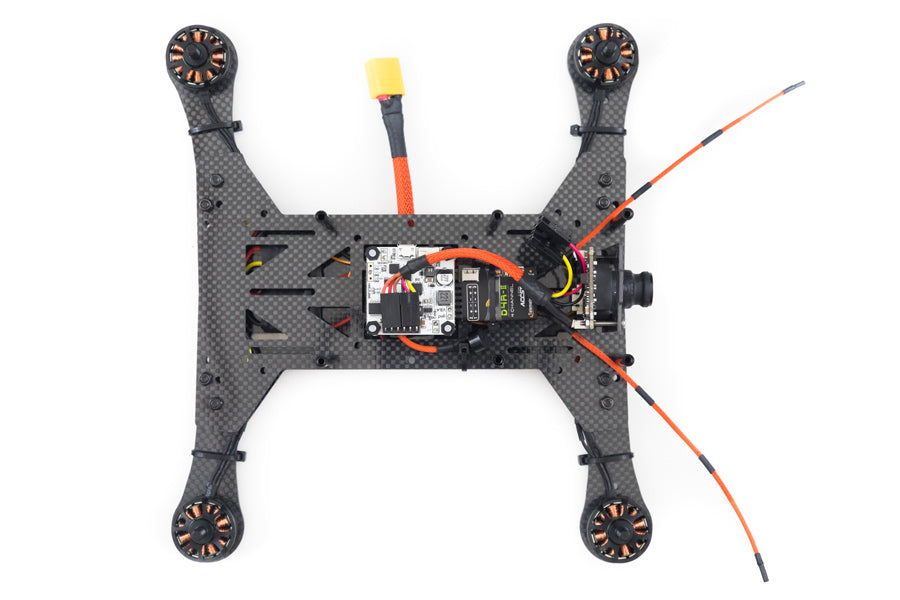
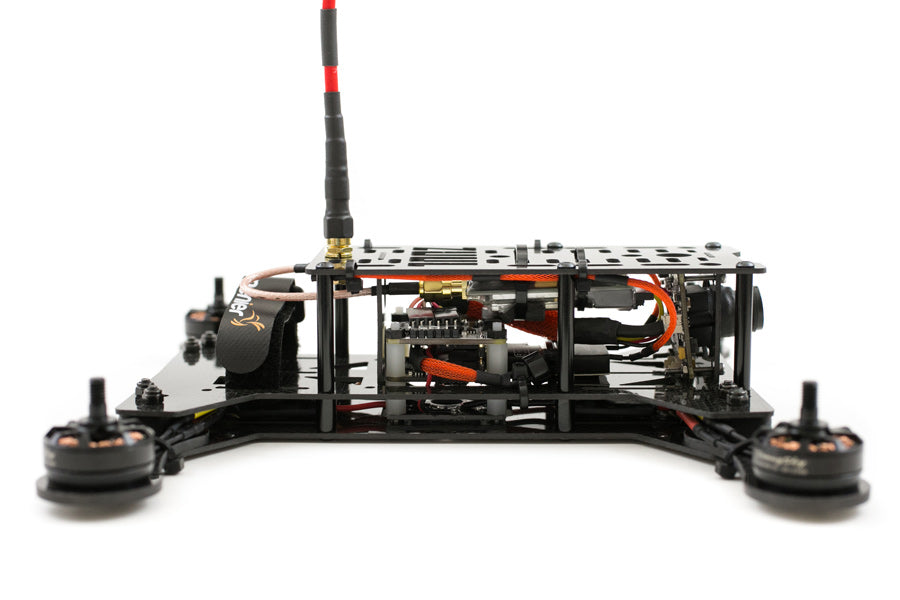
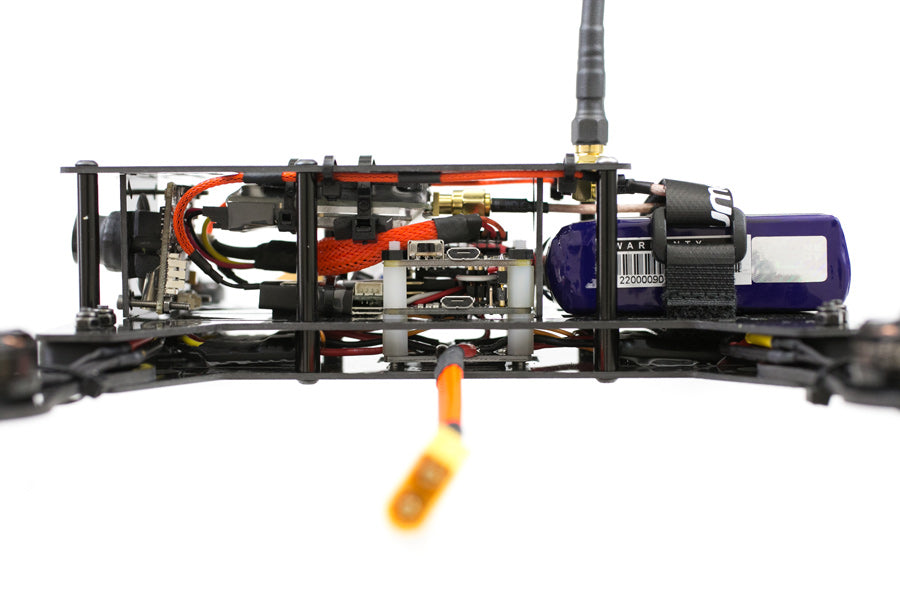
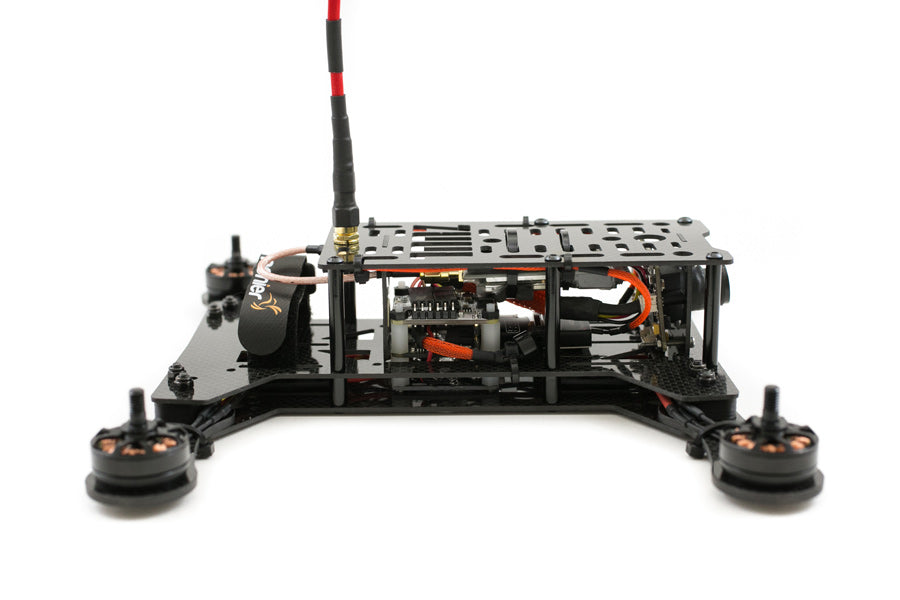
Side view of everything installed. I zip tied the ImmersionRC video transmitter to the top plate with two layers of neoprene tape on the top and another layer on the bottom. This helps reduce vibration on the vtx for a cleaner picture. The camera and vtx are powered by the built in LC filter on the OSDoge.
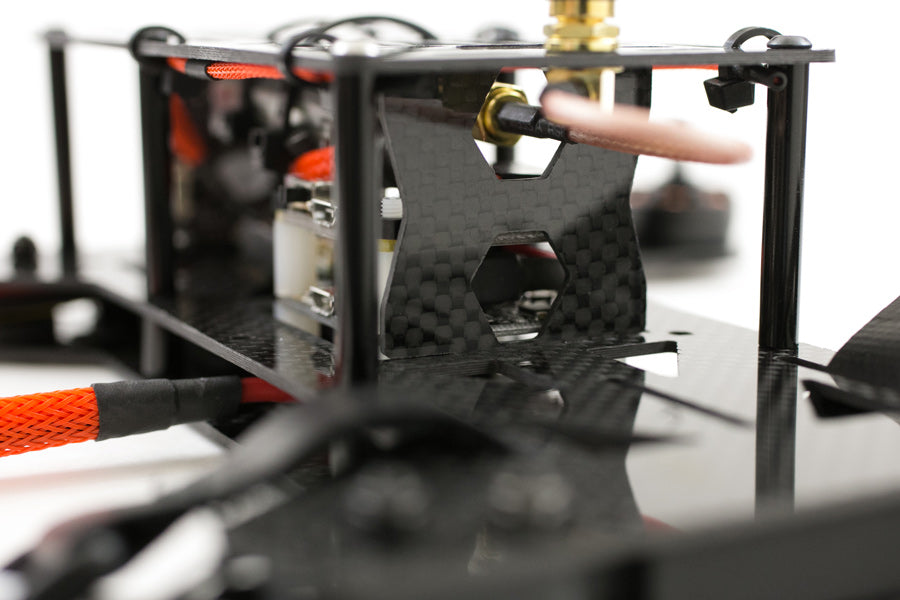
On the ZUUL Racehound you can’t mount the Naze32 with the OSDoge with the mini USB facing back because of the firewall. Figuring out how to mount the Naze32 is like a puzzle with the connectors but I found this is the best orientation for my setup. If you mount your flight controller any other way than the USB facing back, make sure you adjust the board alignment in Baseflight or Cleanflight. Otherwise bad things will happen when you try to take off.
If you crash a lot, like me, do not mount your antenna directly on the SMA connector on the video transmitter. It will rip the connector off the vtx board when you crash. Instead connect it to an extension cable like this one. It’s better to replace a $8 cable vs a $70 transmitter when you crash.
For this feature alone, I would choose the Naze32 over the CC3D. The discovery buzzer has saved my butt countless times when I lost my quad in a grass field. If I didn’t have this $3 buzzer I would have lost my $500 quad. It’s so easy to set up too. All you do is plug it into the Naze32, assign a switch on your transmitter and set a switch position in the “Modes” tab in Baseflight/Cleanflight. You can even set it up as a low battery alarm. In Baseflight/Cleanflight under the Configuration tab, enable VBAT and set your battery alarm voltage. I have mine set at 3.4 so it will start beeping when my 3s battery drops to 10.2 volts.
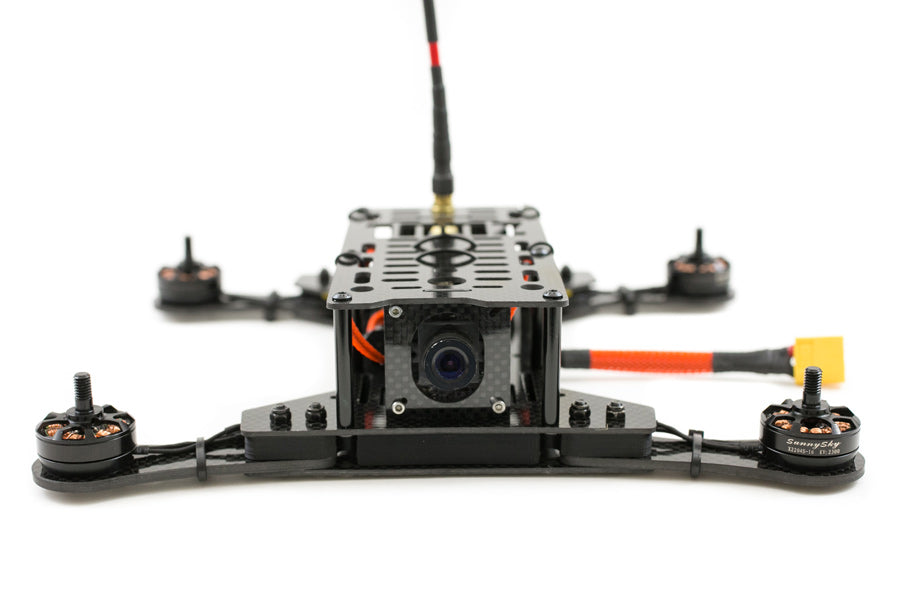
The arms on the ZUUL Racehound feel very strong with hardly any flex. It’s sandwiched between two 1mm carbon fiber plates and a 3D printed ABS adapter. It feels much stronger than the Luminier G10 and carbon fiber arms.
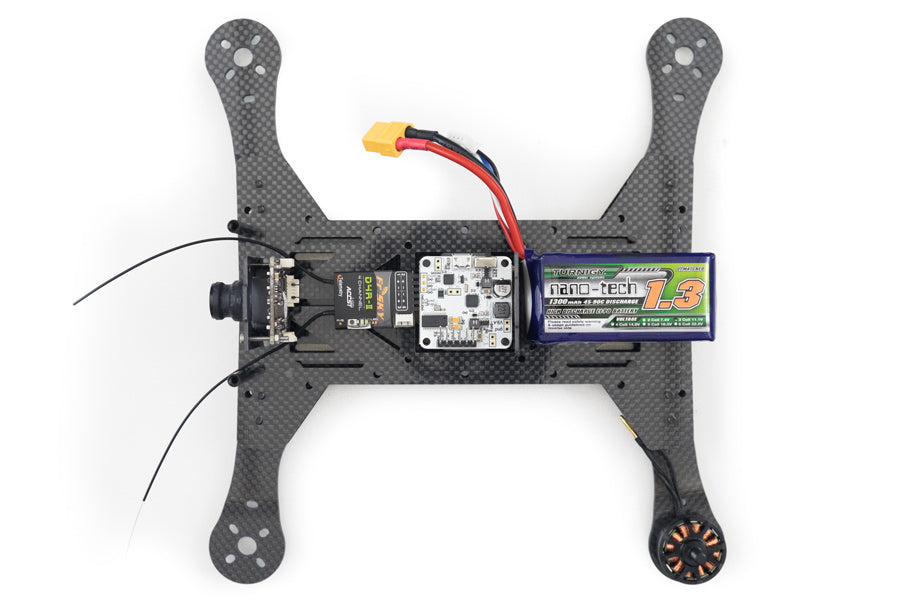
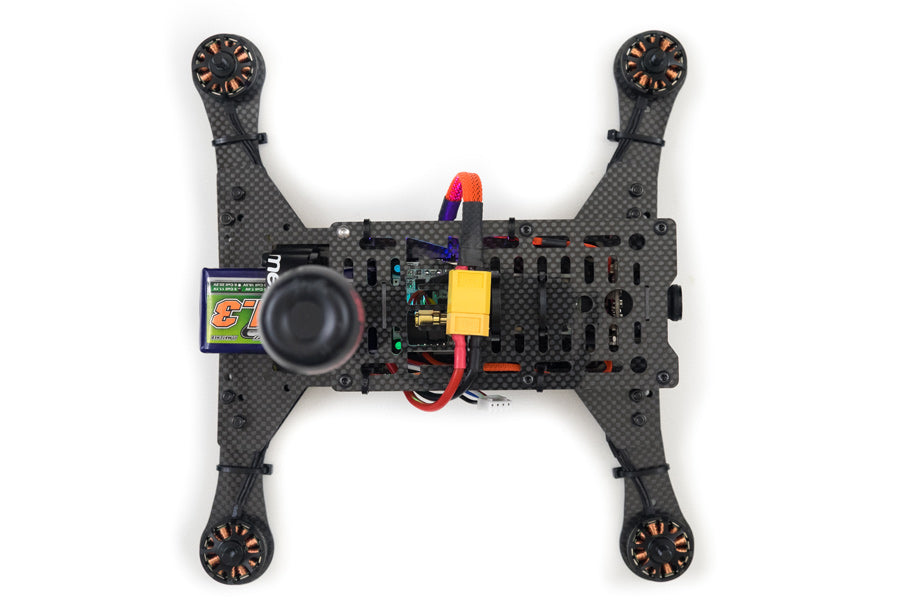
I decided to route the power cable in the middle of the quad. On my QAV250 I had it mounted on the rear of the quad but didn’t like it. I severed two balance leads during some crazy crashes. Yup, I crash a lot.
The rear arms are mounted with the fixed arm positions but the front are mounted with the folding positions. I’m hoping it will absorb some shock when I crash.
With my current flying skill level, I’m not too confident about how the camera is mounted. It protrudes from the frame with no protection at all. Looks like my camera is toast if a tree jumps in front of me….we’ll see.
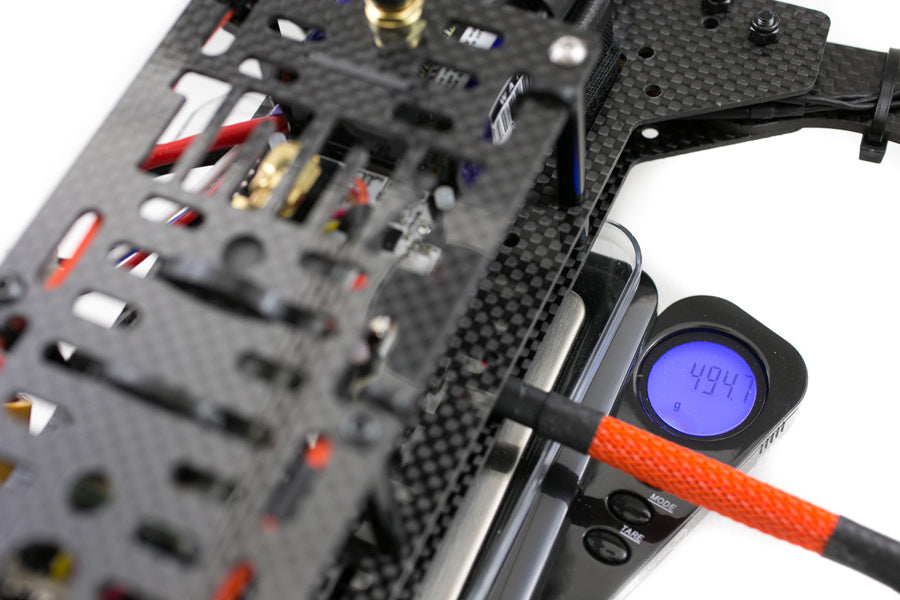
All up weight with a Turnigy Nano-Tech 3s 45c 1300mah battery without GoPro or Mobius is 494g. A little heavy for a carbon fiber mini quad that only handles 5″ props.
The wide body made mounting and routing wires easy. A minor gripe was it was a little hard to get to the power distribution board. When I finished the build, I found out the way I soldered the power cable it was too short and couldn’t reach the battery. I had to disassemble 80% of the quad to get to the PDB to re-solder the power cable.
Overall this build was pretty straight forward and fun. We’ll see how it flies in part 3 of this review.
If you found this post helpful and want to support the site, you can make your Amazon purchases through the links on this site or with this Amazon link. It won’t cost you anything extra. Thanks in advance, I really appreciate it 🙂


