Tiny Whoop Upgrade
This is a Tiny Whoop upgrade must, the motors. I’ve been putting around in my Tiny Whoop with the standard motors and having a blast. But I was missing out. I recently added a Tiny Whoop upgrade that really woke up the micro quad, the Lumenier RX0615-14 Micro Brushed Motors.
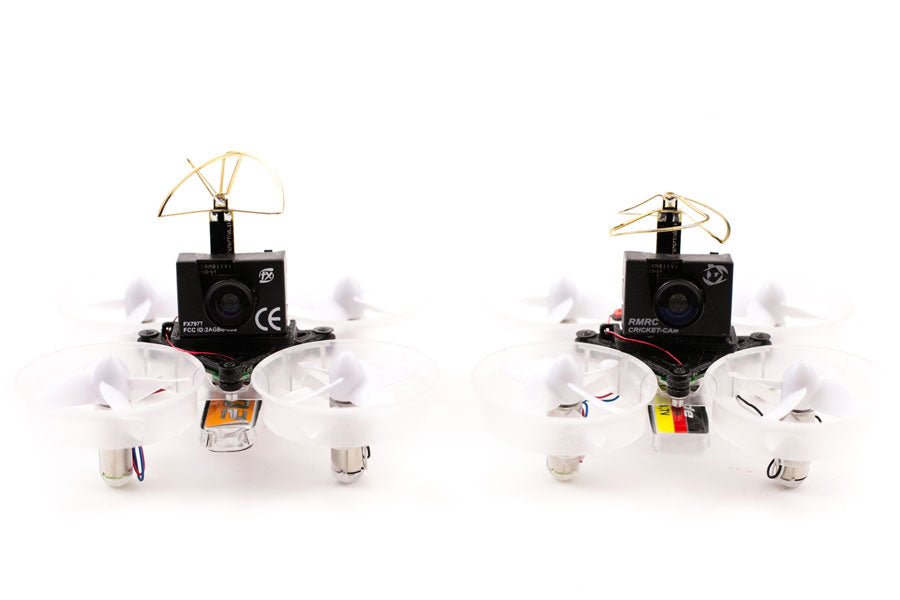
I’ll be comparing two Tiny Whoops in this post. Tiny Whoop 1 using the Micromotor warehouse fast motors and batteries vs Tiny Whoop 2 using the Lumenier RX0615-14 Micro Brushed Motor and batteries. My guess is they are exactly the same items, just rebranded. Let’s see if there’s a difference.
Check out my other post on how to build a Tiny Whoop and watch the flight with the standard motors.
Parts Used in this Tiny Whoop Build
- Inductrix
- Tiny Whoop Camera Mount
- Micro VTX and Camera combo
- Lumenier RX0615-14 Micro Brushed Motor
- Lumenier 205mAh Batteries
- Micromotor warehouse fast motors
- Micromotor warehouse batteries
Comparison
Battery: Physically the dimensions are nearly identical on the two batteries with the same specs. They are both 3.7v, 205mah capacity and 25C/50C burst. The Lumenier battery is slightly smaller and lighter.
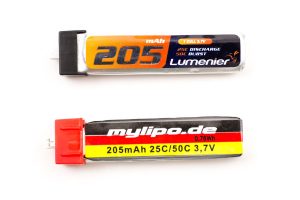 Micromotor warehouse battery $6
- 51mm x 11mm x 5.5mm
- 6g
Lumenier $5
- 50mm x 11mm x 5.5mm
- 5.5g
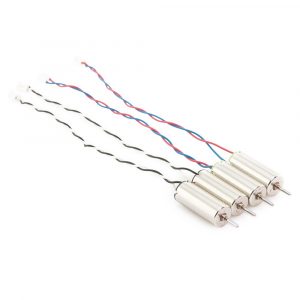 Motors: On the outside these motors look exactly the same. They are both 6x15mm, 14,000KV, 1.8g, input voltage of 1.5-4.2v with a 1A draw at 3.7v. The only difference is the price.
Micromotor Warehouse Motors $23
Lumenier Motors $19
Install
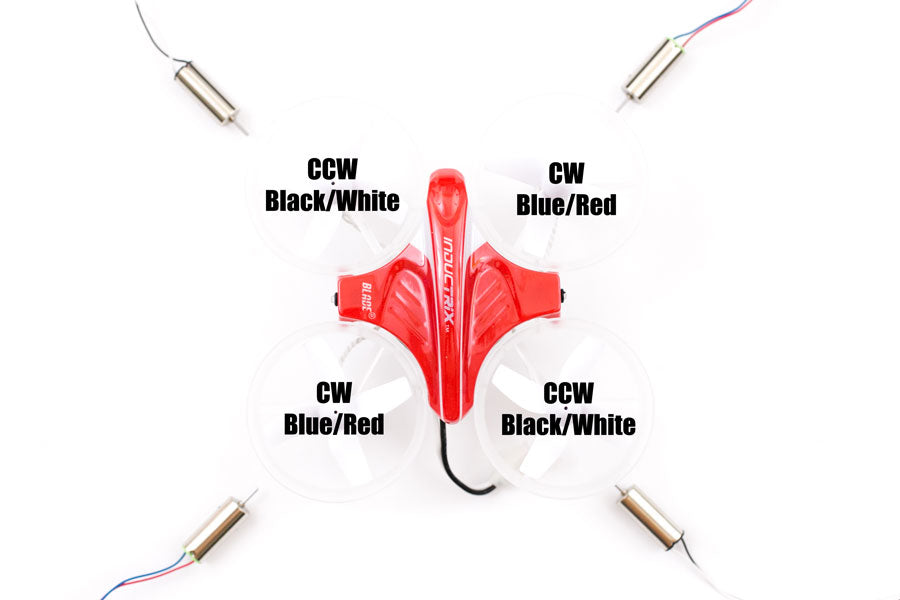
This Tiny Whoop upgrade is pretty straight forward. The motors have color coded wires for CW and CCW. It’s the same on both motors. Red/Blue wires are CW and Black/White wires are CCW motors.
-
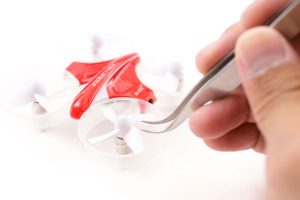 Remove the props from the old Tiny Whoop motors. Use something curved to pry them off. There are no threads, it fits on by friction. Place them somewhere you can easily remember where to put them back on. I suggest the four corners.
 - Unroll the tiny rubber band around the motors holding the wire.
- Unplug the connectors from the control board.
- Remove the old motors
- Use the diagram above for placement of motors.
- Thread the motor wire through the frame.
- Push the motors down into the frame and plug the motors back in the control board.
- Roll the rubber band back around the motors to hold the wire.
- Push the props on the shafts. Done!
Flight Performance
This is a Tiny Whoop upgrade must. I can say the motors upgrade easily doubles the thrust on the Tiny Whoop. It feels like a totally different quad. Now there’s enough punch to get you out of trouble. On the stock motors when you go full throttle you have to wait a little before the quad actually starts to ascend. With the upgraded motors the lift is instant and fast. Because of the extra thrust, the Tiny Whoop can sustain a more aggressive forward pitch meaning it’s super fast! Well as fast as a 25g quad can be.
Running the Tiny Whoop with upgraded motors, bigger batteries are a must. The standard 150mah battery will give you about 1 minute of runtime. Using the 205mah batteries with stock motors, I was getting around 5 min of flight time. Using the upgraded motors I get about 4 min. Losing 1 min of flight time is something I would easily sacrifice for the increase in flight performance.
Upgrading the Tiny Whoop motors and batteries is not just for going faster. Having more thrust actually makes the quad easier and more fun to fly. So isn’t this what it’s all about, more fun? Push the fun meter off the charts and get this Tiny Whoop upgrade going!
If you found this post helpful, it would be super cool if you purchased the components from my store or purchase items from my Amazon links. These posts are expensive and take a loooong time to make! The purchases make it possible for me to keep making them. Thanks in advance, I greatly appreciate it :

