OSDoge Setup with RSSI update!
This is an updated setup guide for the OSDoge board. As of 12/1/15 the new OSDoge boards come flashed with the latest version of MWOSD 1.5.1. This version of 1.5 GUI is much faster and easier to use then the 1.2 version that was used in my first OSDoge setup with RSSI guide. The OSD font is bigger and fatter so it’s easier to read when you are flying.
You have to use the version MWOSD GUI that’s flashed on your OSDoge. If you are using MWOSD 1.2, you have to use the 1.2 version GUI. Same with 1.5.x. 1.5.x GUI will only read MWOSD 1.5.x. You can’t use 1.2 GUI and connect to an OSDoge that’s running MWOSD 1.5.x. The easiest way to figure out what version is on your OSDoge without using the computer is connect the VTX and Cam. The start up screen on the OSD will say what version it’s running.
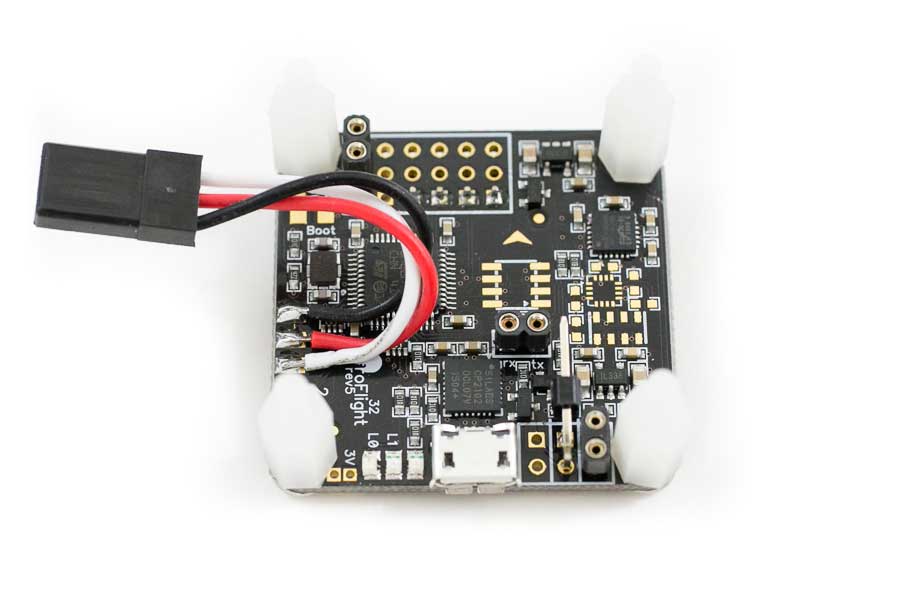
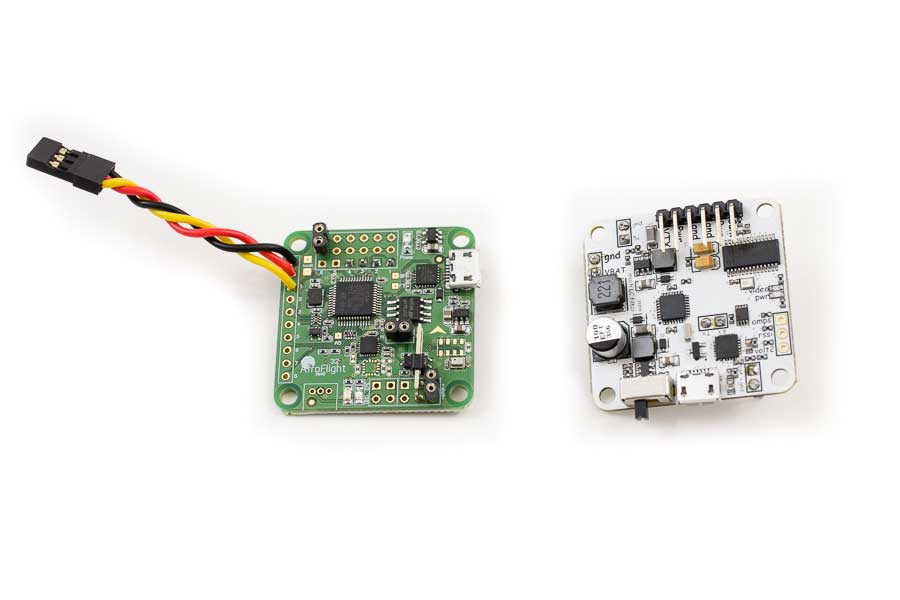
First, read the OSDoge with RSSI setup guide, but don’t download anything yet. The physical setup is the same except the guide uses the rev5 Naze32. The new rev6 Naze32 is almost the same board except for the rx input headers and the USB doesn’t line up. The rev5 uses a 5 pad double side, the rev6 uses a 10 pin. For the sake of the OSDoge setup, all you’ll be using are the first three pads (rev5) or holes (rev6), GND, 5V and PPM1. This will connect via PPM to your D4R-ii. So nothing really changes here.


To use the new OSDoge you’ll need to download MWOSD 1.5.x. If you bought an OSDoge from my store after 12/1 it will be running the latest 1.5.1 firmware. The new ones won’t connect using older versions like MWOSD GUI 1.2.
- Download MWOSD 1.5.x The newest is 1.5.1 but it doesn’t support mac yet so I’m using 1.5.
- Update your Java. I’m using Java 8 update 66
- After you update Java go to this page to verify your Java version. It will ask if you trust this source, click yes, then run. What this does is it gives Java permission to be used on your computer.
- Download the CP210x USB to UART VCP driver for your system if you haven’t already done this for your Naze32. I’m using the Mac OSX v4
- After you download and install everything, restart your computer.
- On the OSDoge board, move the switch towards the USB and connect the USB to your computer. Make sure you plug the USB into your computer with the board connected before moving to the next step. On mine if I don’t do this it won’t open my correct CP210 port.
- Open the MWOSD folder and find the folder MW_OSD_GUI
- Open the folder for your system. I’m using a mac so I’m using the “applications.macosx”. If you are on a windows machine, open the one for your version of windows, 32 or 64 bit.
- Click the “MW_OSD_GUI” icon to open the program.
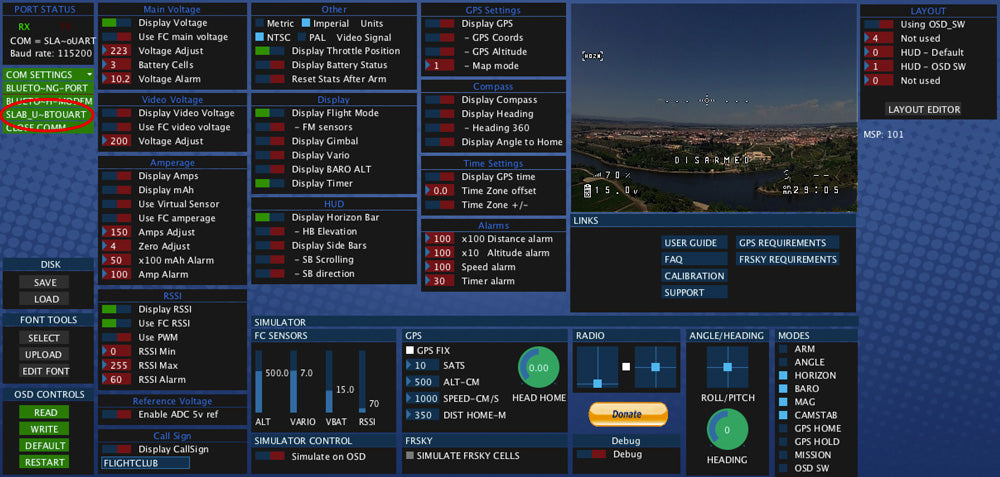
- Once you open the GUI, near the top left you’ll see all your COM ports. Click the “SLAB_U-BTOUART” port to connect. (See the MWOSD image below circled in red)
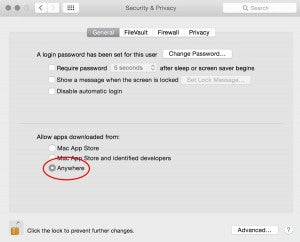
 On step 9, if you get an error saying the the file is damaged and it should be deleted, it’s just a firewall error. On a mac go to system preferences > security & privacy > general tab > and under “Allow apps downloaded from:” click “Anywhere”. You’ll only have to do this the first time you open the GUI. After it opens you can set it back to whatever you want.
Once you have it opened and connected, make all your settings and hit “WRITE ” under OSD CONTROLS on the left before you disconnect (close comm). All the small green boxes are what I have enabled. The only ones you must have set like the image above are RSSI and Main Voltage. This screenshot is set for 3s. If you are running 4s, change the battery cells to 4 and your voltage alarm to 13.6v or whatever you want the voltage to start flashing. All the other green boxes are just whatever you prefer. Play with it and see what you like.
Hope that helps clear up the confusion. Thanks for sitting through this boring post. In my next build, the QAV210, I’ll show you a dummy proof way to set this up.
If you don’t want to mess with any of this, you can buy a custom OSDoge/Naze32 stack fully configured with Betaflight, setup with RSSI and all the other OSD goodies.
If you found this post helpful, it would be super cool if you purchased the components from my store or purchase items from my Amazon links. These posts are expensive and take a loooong time to make so the purchases make it possible for me to keep making them. Thanks in advance, I greatly appreciate it 🙂


