Three Inch Quad Build : FlightClub Phuket
This three inch quad build the FlightClub Phuket is favorite quad to fly right now. Being so small, light and tough, it just bounces off stuff and keeps flying. With turtle mode enabled you may never need to retrieve a quad.
The Phuket is a 140mm slight stretch X canopy quad designed for 3″ props. Think of it as a baby Tokio.
Features
- Adjustable camera angle from about 30 – 75 degrees
- Frame with canopy and hardware, 42g
- Countersink holes for a completely flat bottom
- Ultra durable TPU canopy
- Beastly 3.5mm Hypotenuse cut carbon fiber bottom plate
Tools Used in this build
- Weller Digital soldering Iron
- Rosin Core solder
- ES120 Gyroscopic Screwdriver
- Sony a7Rii camera for filming
- Soldering Vise
Build List
- Phuket Frame
- Cicada F4 30A AIO
- Motors – Tmotor F20II 1408 3750kv
- Receiver – FrSky XM+
- Camera – FOXEER Arrow Micro 2
- VTX – TBS Unify Race VTX
- Lumenier AXii Stubby RHCP
- Props – Gemfan 3052 or HQ Props 3x4x3vs1
- Phuket Arm Guards
A build kit is available for the Phuket. It will include everything you need to do this build including the cheat sheet, Taranis backup file and BetaFlight backup.
Three Inch Quad Build
** UPDATE **
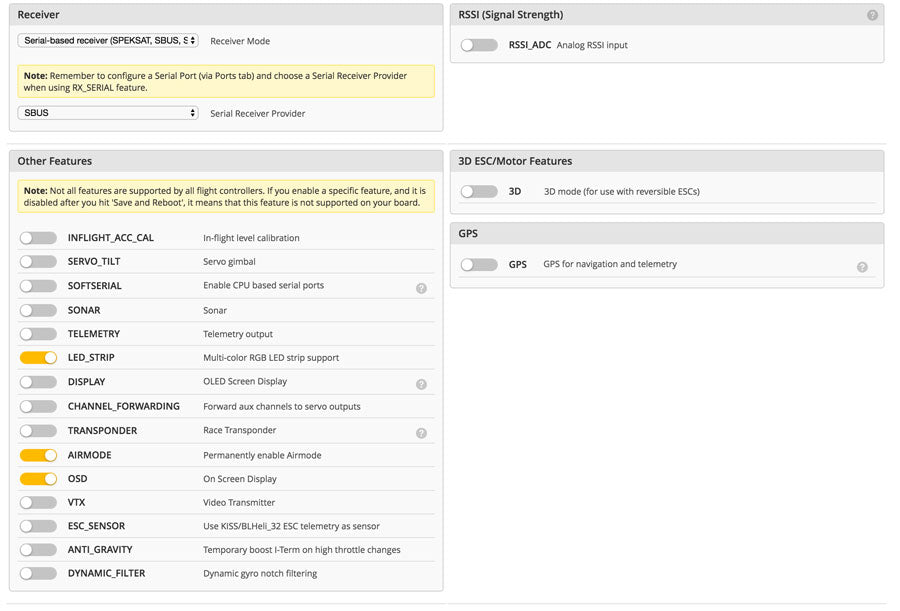
In the build video I said to remove the TBS smart audio wire. Some readers pointed out that you can use the smart audio to change vtx band/channel in the betaflight menu. To do this all you have to do is connect the white smart audio wire to TX6 then in Ports in betaflight set Peripherals for UART6 to TBS smart audio. See the ports image below.
The Phuket is designed to be built with a single stack FC/ESC AIO. I’ll be using the Cicada 30A F4 AIO. There are other AIO board that can be used like the Asgard 30A AIO, Lumenier Alpha 30a or KISS AIO. I really like the Cicada AIO cause it has built in 5v to power your camera or vtx, BetaFlight OSD, current sensor, buzzer and LED output. The Betaflight OSD is awesome cause you can configure your osd to display whatever you want and it will let you tune your pids from the Taranis and osd. You can change the VTX band/channel from the Betaflight menu.
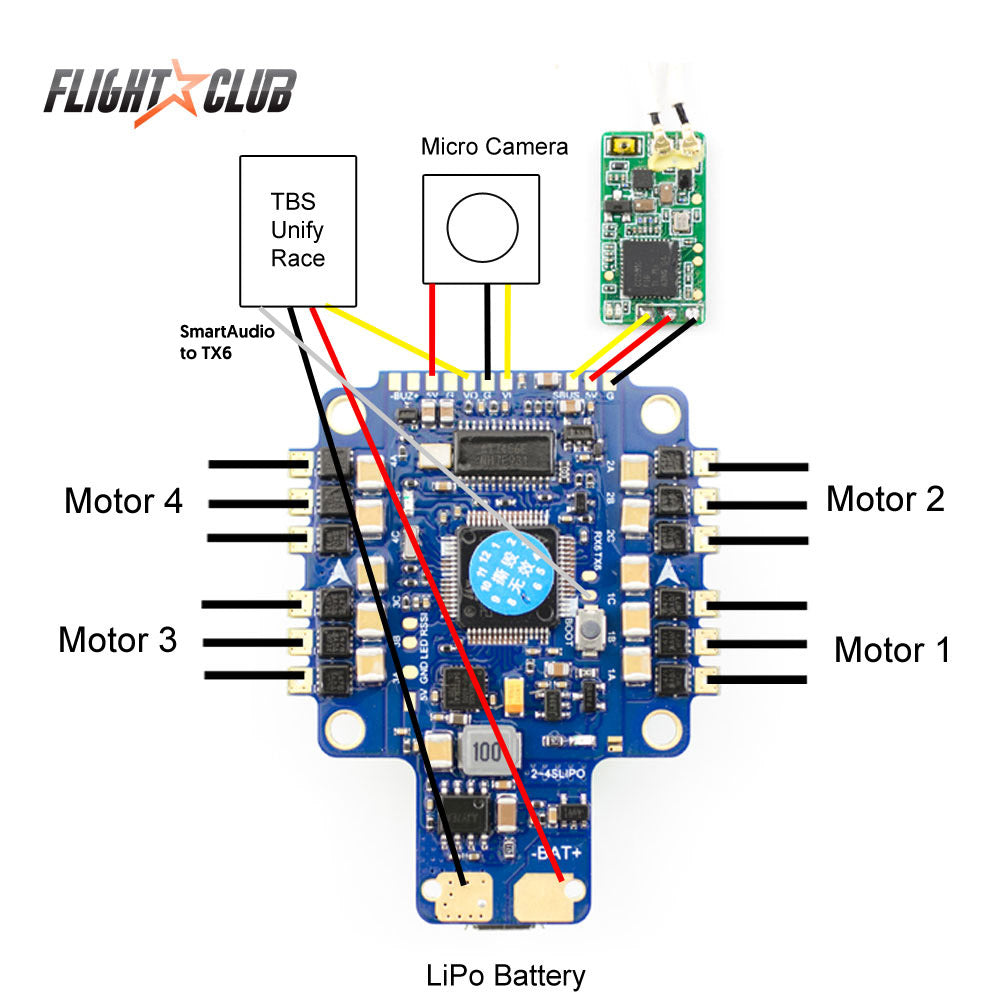
As you can see from the schematic, using an AIO for this three inch quad build is super simple. Because the ESCs and FC are all on one board, there’s no need to solder any esc wires or signal wires. All you need to do is solder on a power cable for the battery, solder the RX, camera and VTX then you’re done!
Three Inch Quad Build
The USB on the board has a charge so put a piece of tape on the frame right below the USB on the back. This will stop the USB from touching the frame and making magic smoke.
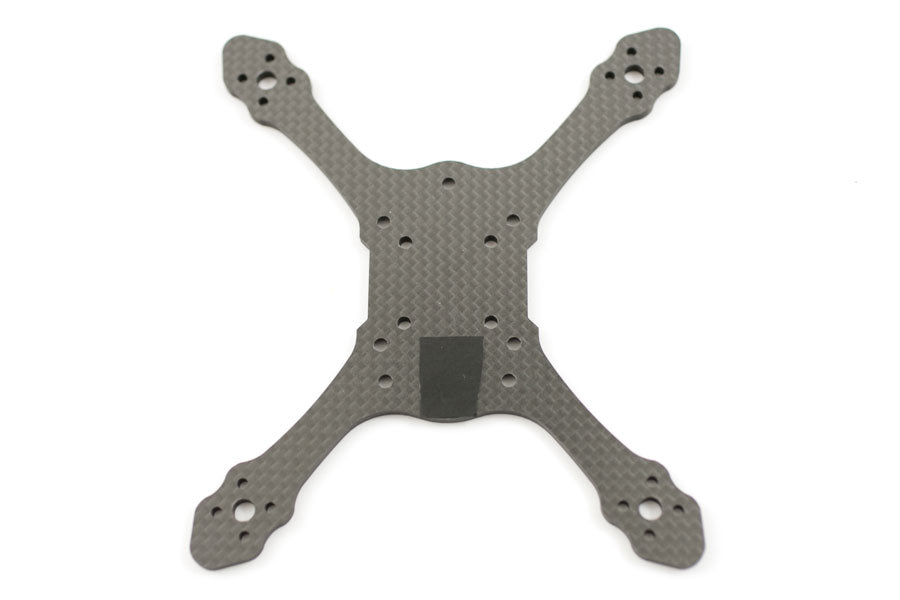 When mounting the motors on the frame make sure none of the screws are touching the windings. This can cause the motors to overheat and burn out.
Cut the motor wires and solder them on the board. It doesn’t matter how you solder the wires. We can reverse any wires in BLHeli later.
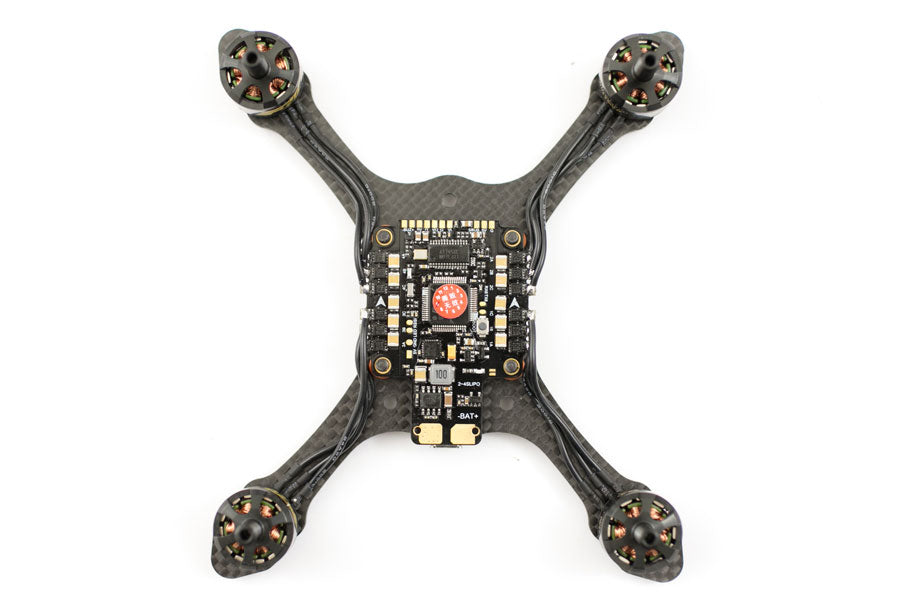 Install a battery cable.
Cut the camera and VTX harness and solder them on according to the schematic. The VTX will be powered directly off the battery. Power for the camera will come from the 5v off the AIO. The video signal from the camera will go to VI and the signal from the VTX will go to VO.
Use some of the leftover wire from the camera and solder the ground, power and SBUS to the rx input on the Cicada AIO.
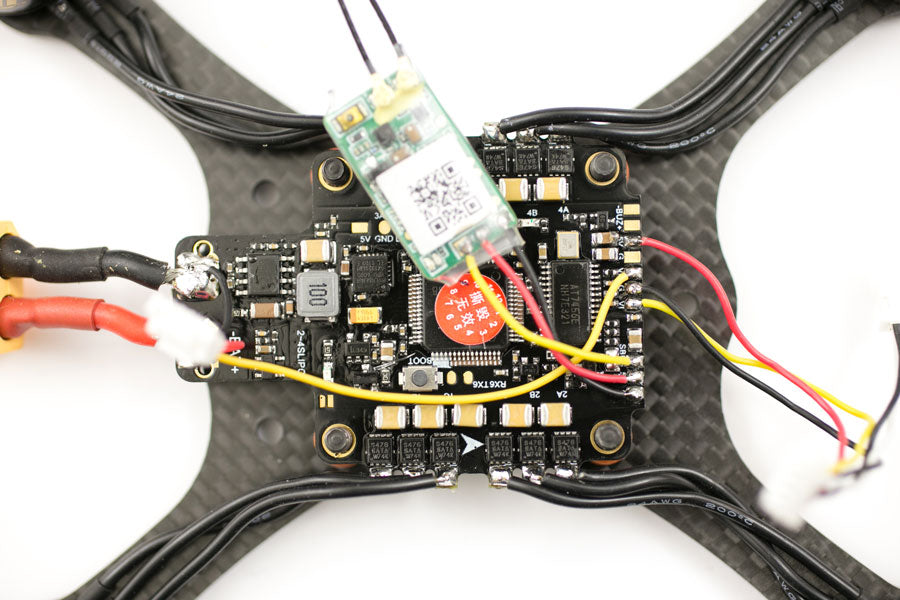
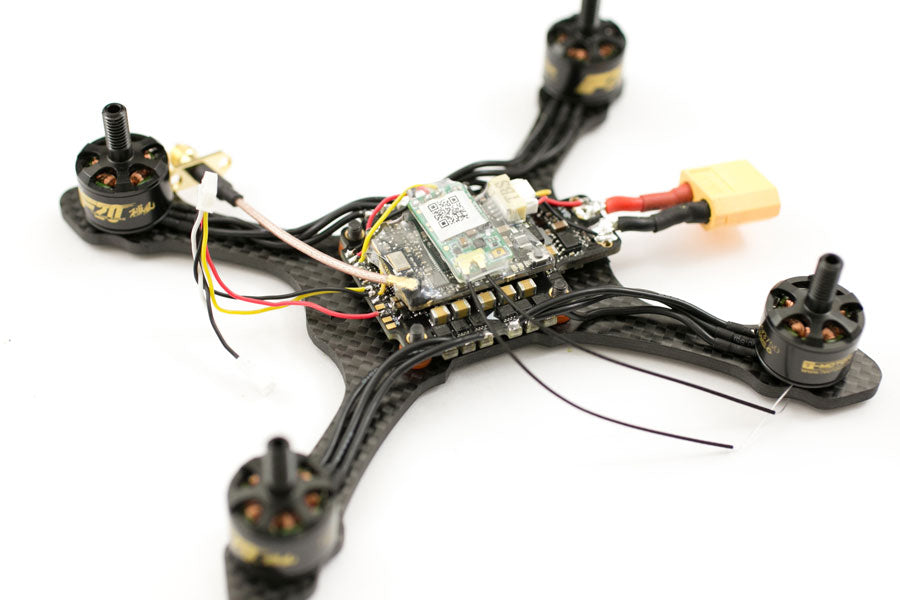
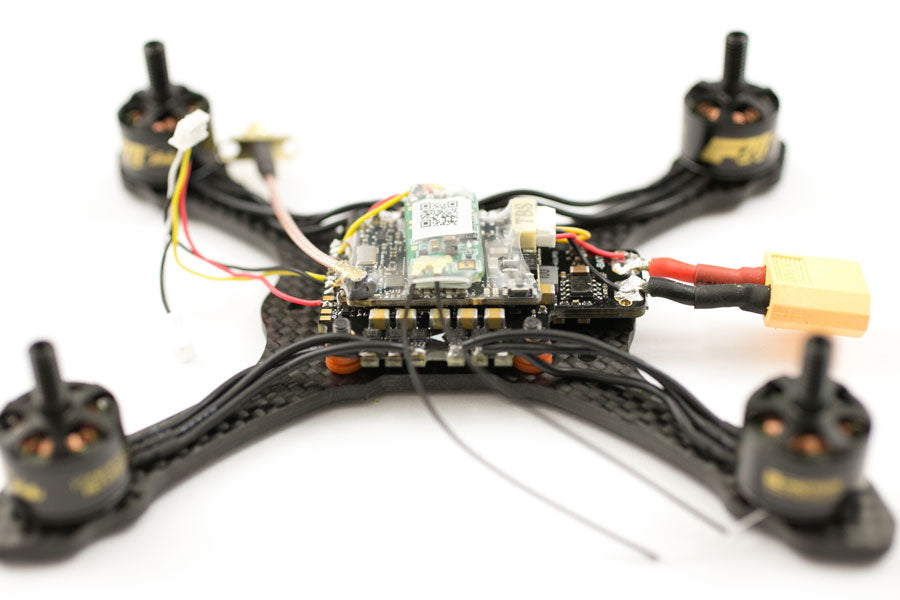
Cut 3/4 of the double sided tape that came with the TBS Unify Race and stick the VTX on the AIO. With the 1/4 tape left use it to mount the XM+ on the VTX. Try to mount the XM+ towards the back of the quad. It’s best to leave a little bit of room under the camera. That way on hard hits the camera won’t move down and hit the RX or VTX.
Taranis and Binding the XM+
For the sake of keeping this build post shorter, I will skip the Taranis setup. For the full setup you can see my other builds where I show how to set everything up. Or you can get the full Taranis Program files here. This will have everything setup for you.
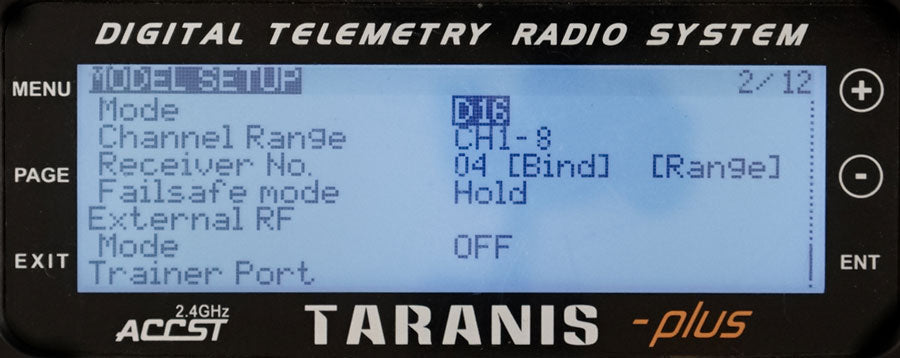
To bind the XM+ to the Taranis, go to page 2/12 and scroll to the BIND. Hit that and it will start beeping. Hold down the button on the XM+ while plugging in the battery. Unplug the battery and exit out of binding. When you plug back in the XM+ should be green.
BetaFlight Configurator
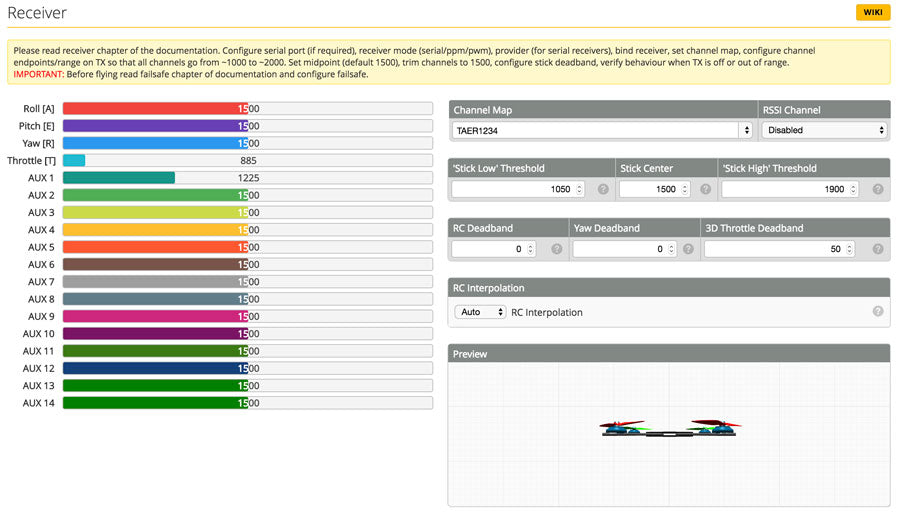
In Chrome, search BetaFlight Configurator and ADD. Download and install the correct CP210x USB to UART Bridge VCP driver for your computer system if you don’t already have it.
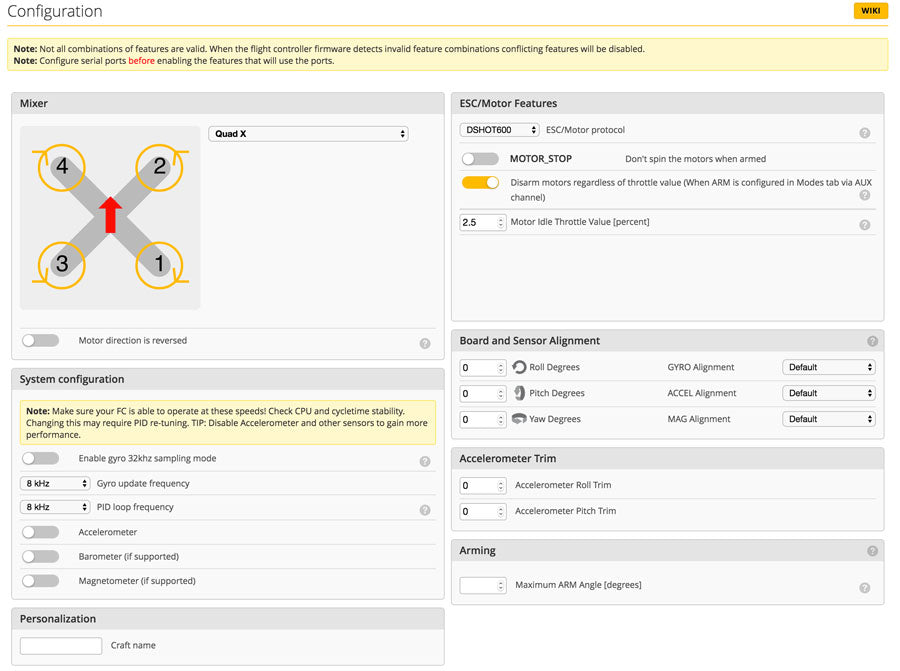
Press the boot button on the Cicada 30A AIO while plugging in the USB. This will put the AIO into DFU mode and let you flash the fc. Select OmnibusF4 target and select BetaFlight 3.2.1
Watch the video above to configure the BetaFlight.
BLHeli Configurator
- In the Chrome App store, add the BLHeli Configurator to Chrome. Since you already downloaded the CP210X and VCP drivers for Betaflight you don’t need to do this again. It should connect as is.
- Open the BLHeli configurator and plug in the USB on the Cicada AIO and battery to quad.
- Click Connect at the top right on the configurator. Then Read Setup on the bottom right.
- Flash the ESC to 16.63 DSHOT.
- Select the ESCs that need to be reversed, if any.
- When you are done with the settings click Write Setup on the bottom. You will hear a restart chime, done!
PIDs
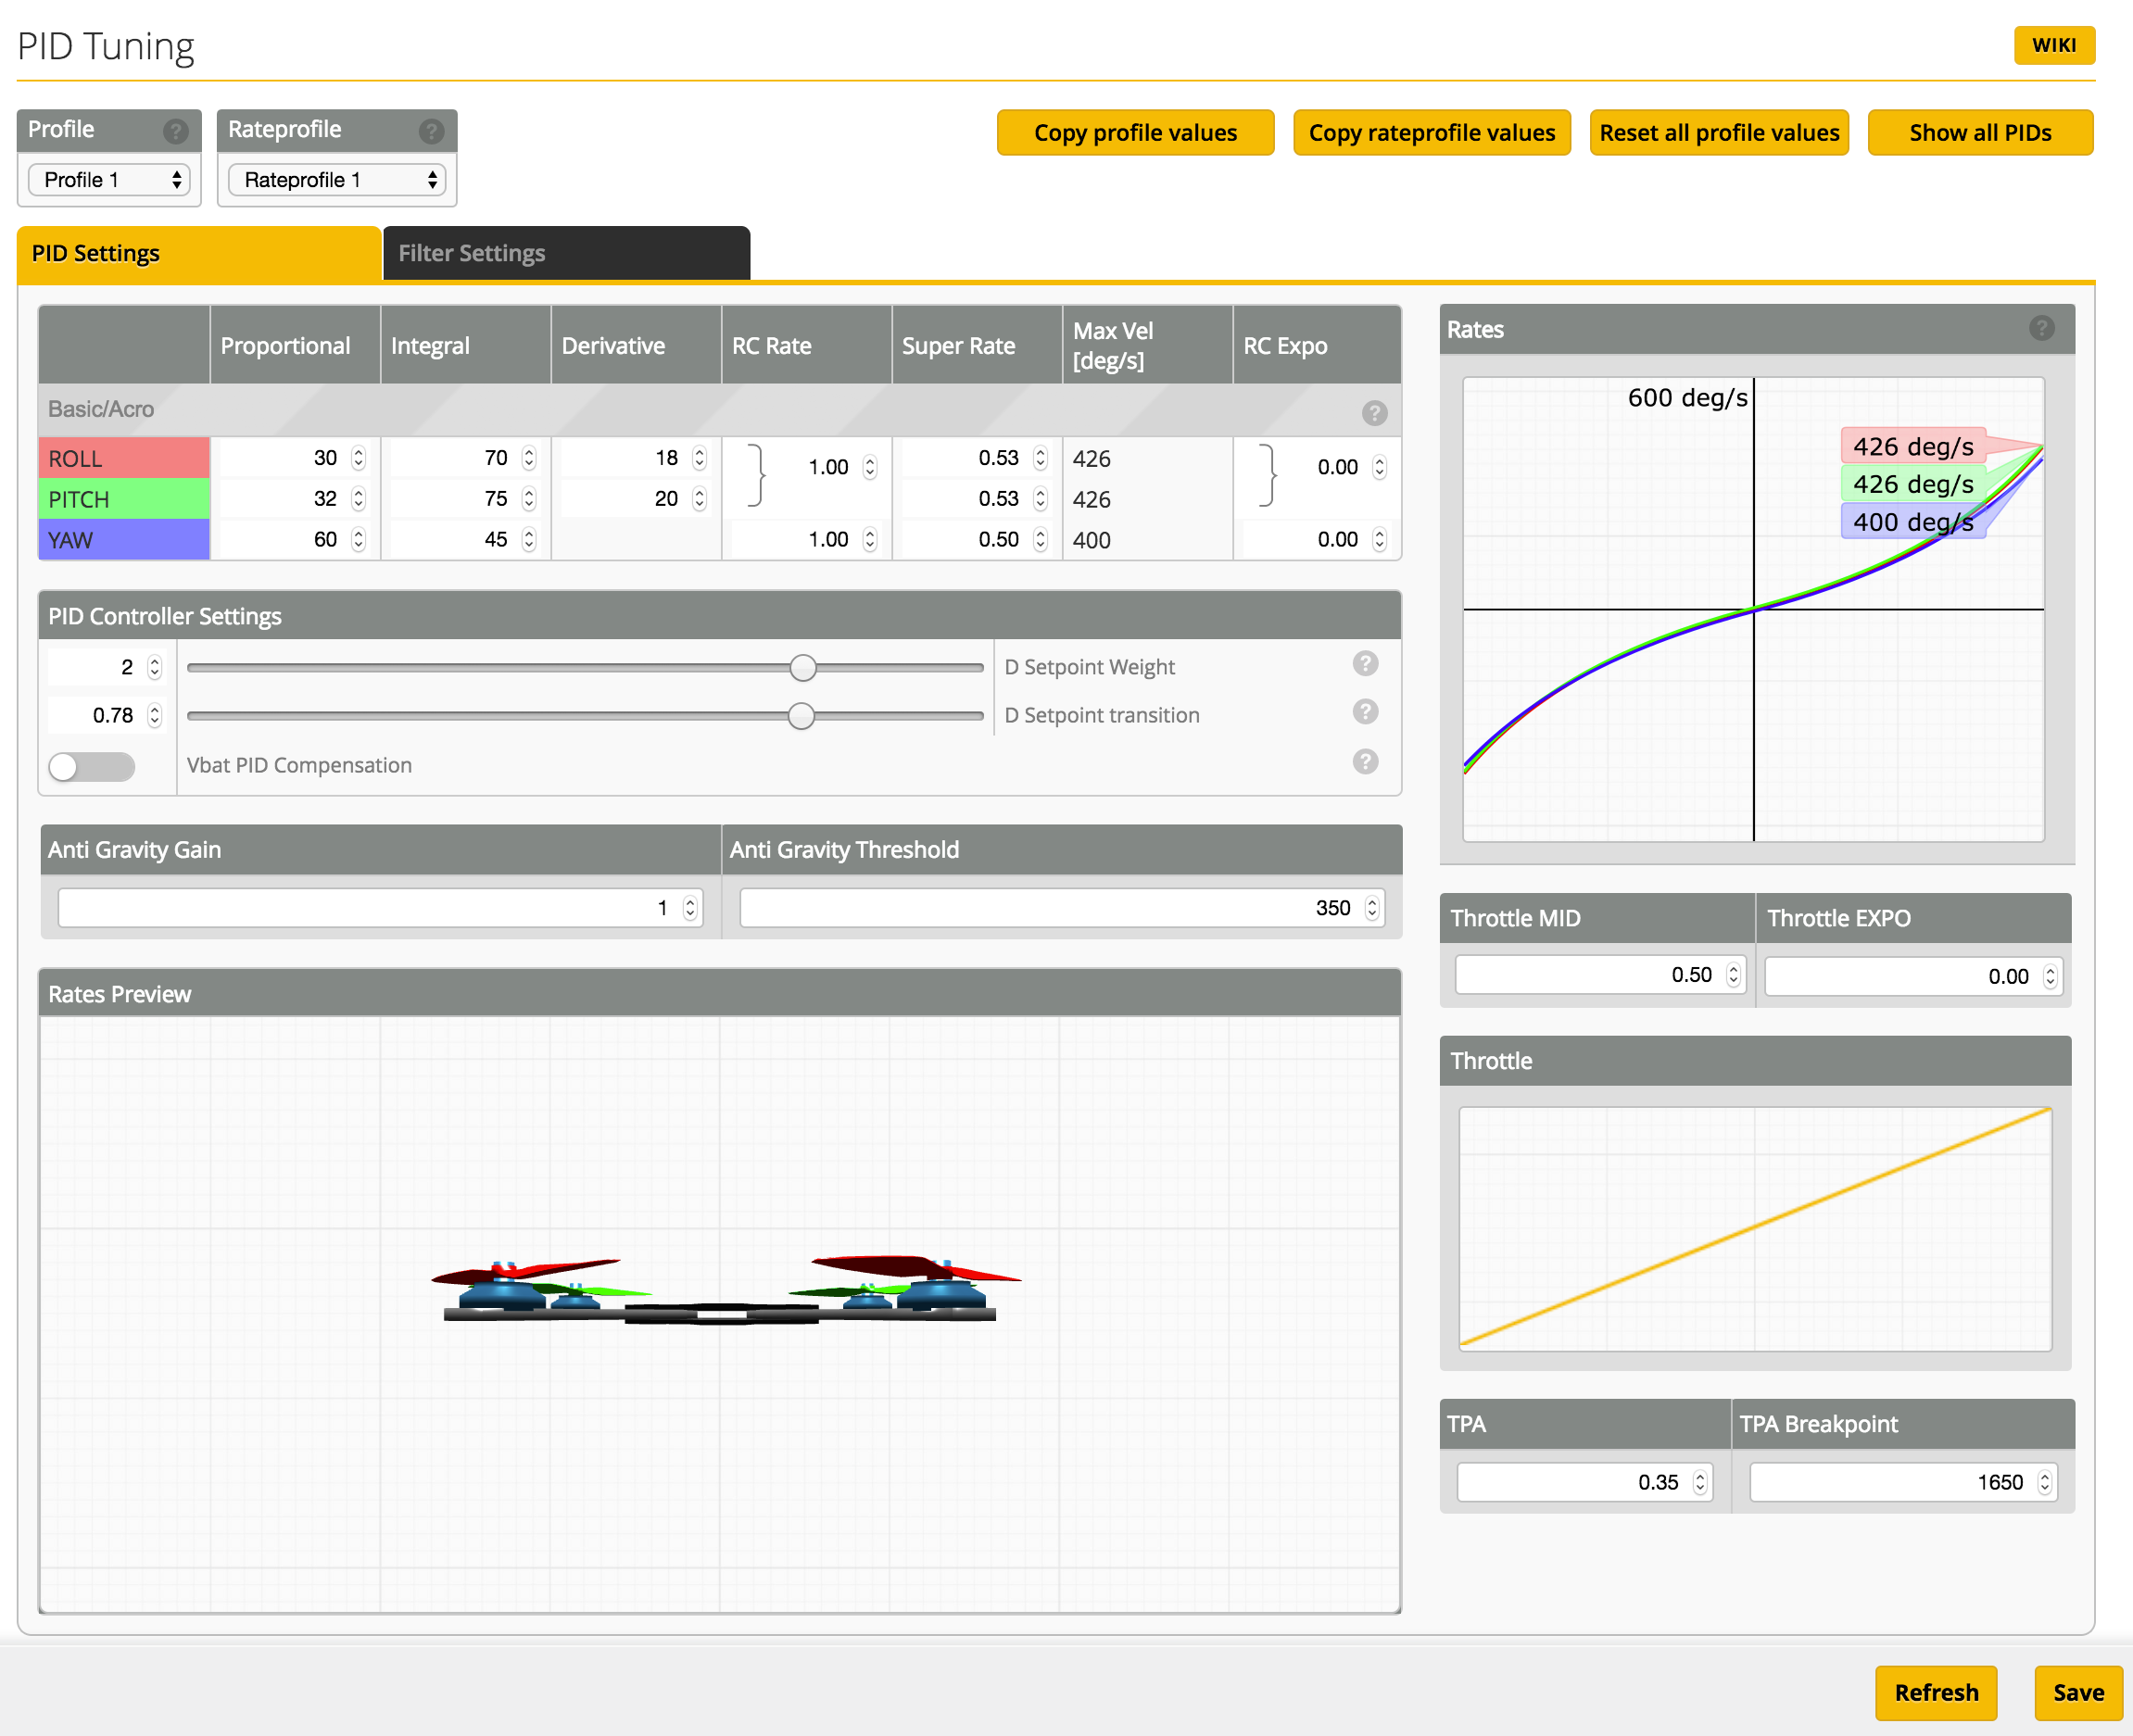
These are my PIDs for the Phuket using a 500mAh pack and GemFan 3052. You can adjust the rates to your liking. I like to use a lower rate cause I find it easier to navigate on a track.
Time to Rip!
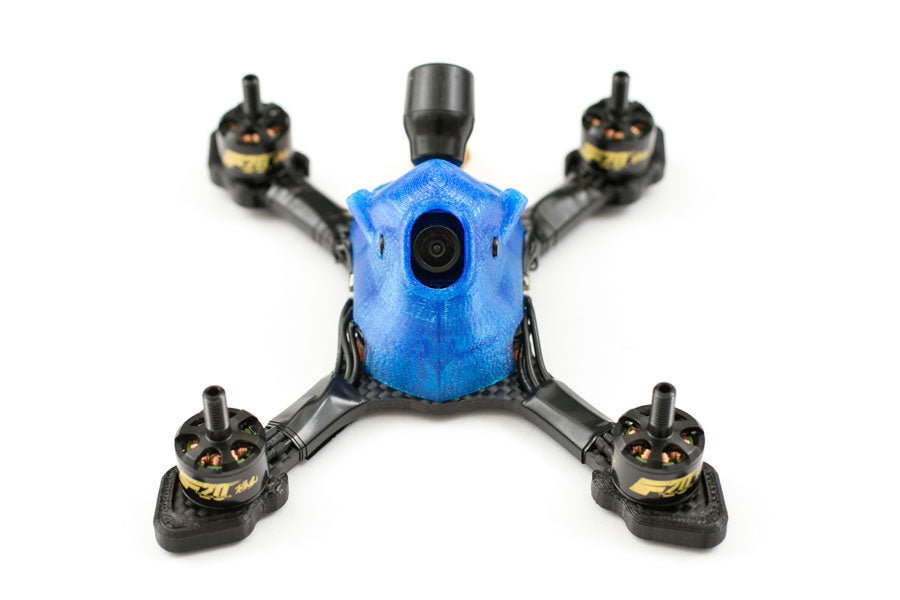
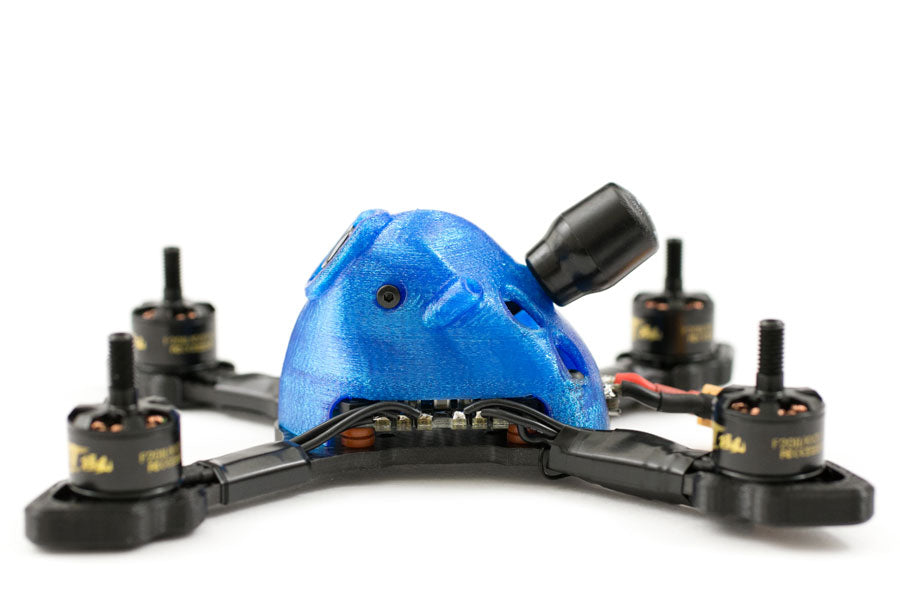
The final build weight is about 158g without props or battery. I’ve been using a Lumenier 500mAh pack but I think a high C 850mAh pack would be better. With the 500mAh pack you’ll between 1:30 to 4min depending on how hard you fly.
This three inch quad build, Phuket is easily the most fun quad I have. It’s an absolute blast to rip around a track or freestyle in a playground. Give it a try. I guarantee you’ll have loads of fun flying this little beast!
If you found this post helpful, it would be super cool if you purchased the components from my store or purchase items from my Amazon links. These posts are expensive and take a loooong time to make so the purchases make it possible for me to keep making them. Thanks in advance, I greatly appreciate it 🙂


