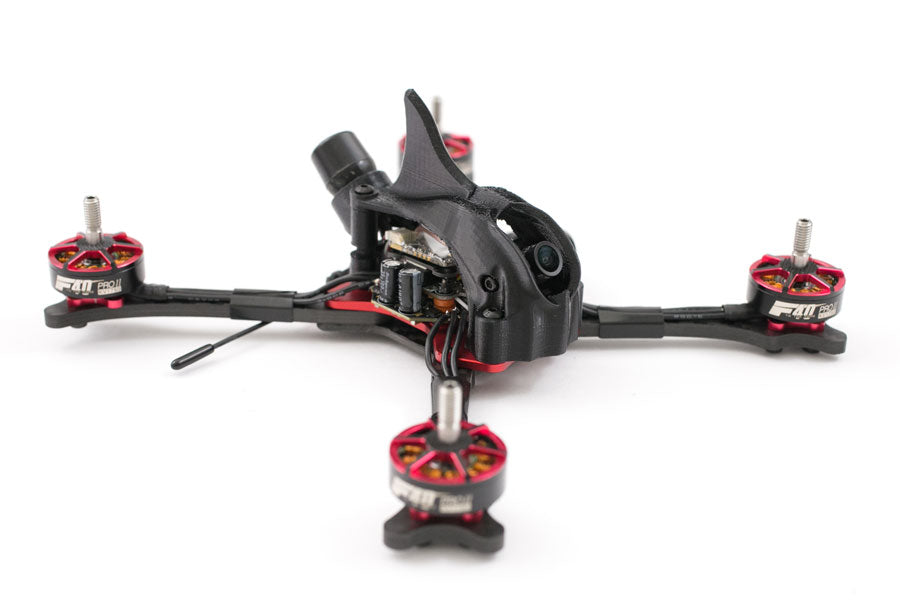
Part 1 of the Neutron race drone build was all of the physical build and soldering of the parts. Part 2 of the race drone build will be the BetaFlight setup and flight footage.
The setup is really simple.
Crossfire Setup
Instead of posting the TBS Crossfire update and bind procedure twice, please refer to the PROton long range setup. The only difference is that you have to use SBUS protocol instead of CRSF.
If you are using the XM+ instead of the Crossfire you can skip this part. The rest of the BetaFlight setup is the same.

For RSSI, change the mode to CH12 then assign RSSI/LQ to CH12

BetaFlight Setup
Get BetaFlight.
- Download BetaFlight Configurator for your computer system. I’m using Mac so I use ” betaflight-configurator_10.4.0_macOS.dmg”
- If this is your first time using BetaFlight download and install the CP210X and VCP drivers.
- Connect the flight controller to your computer via micro USB
- Click Firmware Flasher
- Select OMNIBUSF4 for the target, and 3.5.1 for the firmware
- Click Load Firmware Online
- Hit Flash
- After the flash is complete hit connect
On the Ports tab enable Serial RX on the UART1 and TBS SmartAudio for Peripherals on UART6.

On the configuration tab make sure you set the YAW to 180 because the EMAX mini magnum stack is oriented with the caps on the right of the board. Select serial and SBUS for the receiver setup.


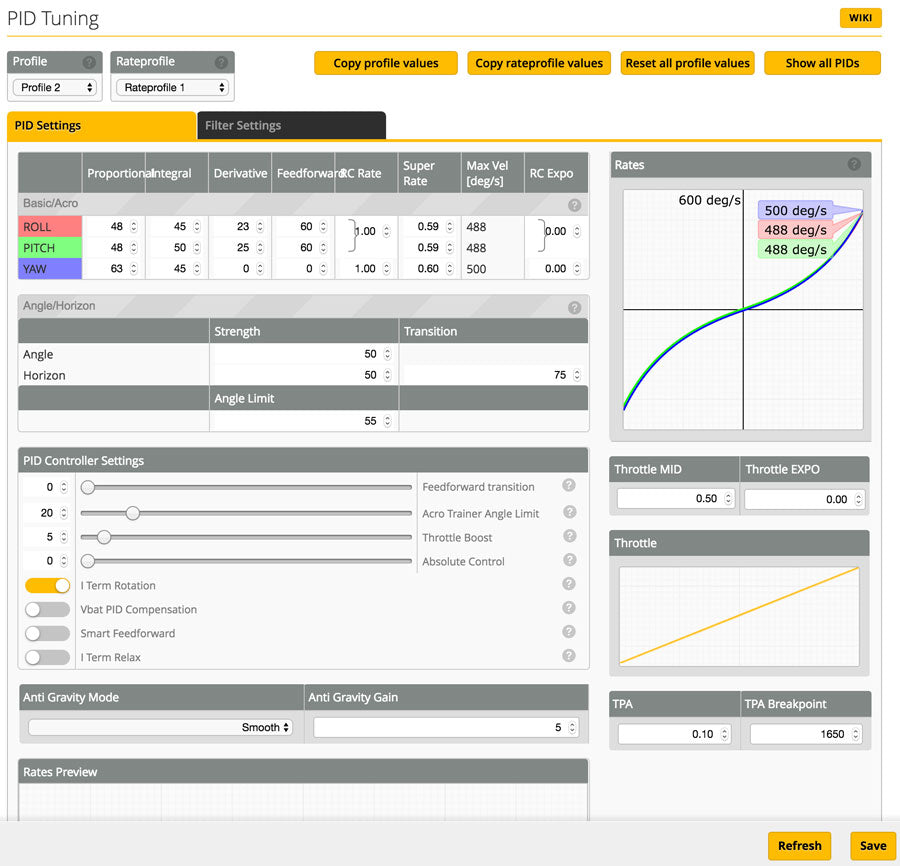
These are the PIDs for a 6s setup. Adjust the super rates to your liking. The higher the Max Vel the more responsive the sticks will be near the center sticks. Using lower rates below 500 is recommended for racing.

Use these PIDs for a 4s setup

Change the Channel Map to TAER1234 and use AUX8 to output the RSSI Channel.

Use two switches for arm/buzzer on AUX1 and enable turtle mode on AUX2.


Customize the OSD screen to display whatever you like.


Motors tab
Watch the video on how to test the motors.
In this race drone build the ESC is oriented with the caps on the right. This is a 180 degree rotation with the normal placement. Instead of rearranging the wire harness, it’s easier to remap the motor outputs.
In CLI type:
resource motor 1 none
resource motor 2 none
resource motor 3 none
resource motor 4 none
resource motor 1 B00
resource motor 2 B01
resource motor 3 A03
resource motor 4 A02
then type “save” and hit enter
Now test that the motors are spinning correctly for their channels.
Running reverse motor rotation direction is recommended. It helps keep the camera lens clean. Make note of any motors that are not spinning in the correct direction. They can be reversed in BLHeli32.
BLHeli32
BLHeli32 is a stand along program that runs on windows only. Unlike BLHeli-S which is a App in Chrome. I’m using Mac so I have to run windows off Parallel.
- Download BLHeli32
- Open the folder and select the exe program file
- Plug in the battery on the quad and plug in the USB on the flight controller.
- On the top, select “BHLeli32 Bootloader (Betaflight/Cleanflight)
- Make sure you are on the correct COM port on the bottom left
- Click connect then Read Setup
- Highlight the ESC you want to change the settings on and make the settings like reverse Motor Direction
- Click Write setup
- Repeat steps 7 and 8 for each ESC you need to make settings
- Once you are done close the program and you will hear a tone from the motors.

Go back to the motors tab in BetaFlight to verify the motors are spinning the correct direction. At this point the BetaFlight and ESC setup is finished!
Camera Setting
 The Foxeer Arrow Pro is a great camera. The daylight image is great out of the box but for night flying I just make one change in the settings. Go into the exposure setting and turn the automatic gain control (AGC). This will prevent the camera from overexposing the image thus blowing out the highlights in the screen causing washed out images. Turning AGC off will show a more correct exposure making the gates pop in the darker situation.
Fly
This race drone is a pleasure to fly. The lightweight frame combined with the super powerful Tmotor F40II Pro 1750kv, you can make the quad go anywhere you want. The throttle is instant with no sag and it can turn on a dime.
The AUW build weight with no props or battery is 257g.

This 6s Neutron race drone may convince me to switch over to 6s. Try this build for yourself, I think you’ll be blown away!
If you found this post helpful, it would be super cool if you purchased the components from my store or purchase items from my Amazon links. These posts are expensive and take a loooong time to make so the purchases make it possible for me to keep making them. Thanks in advance, I greatly appreciate it 🙂

